Field Type: Placeholder Field - JotForm
🔴 On2Air Forms - JotForm has been shutdown to focus on our On2Air Backups Airtable app Learn more about automated Airtable backups - on2air.com
⭐
We now have a brand new  On2Air Forms app for Airtable that doesn’t require JotForm! It connects directly to Airtable. You can sign up for free access at On2Air Forms Signup Learn more here - On2Air Forms
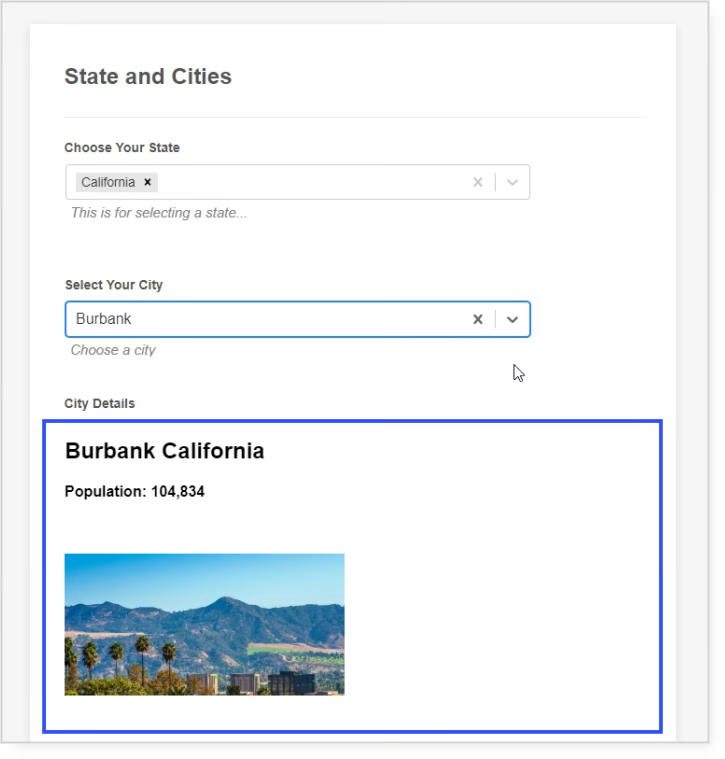
The Placeholder Field is used to output any Airtable record data in your form, based on a specific Select or Sub-Select On2Air field in JotForm. It can output hidden data, table-related data, or user-generated data. The Placeholder Field Type can be styled using Markdown or HTML.
With On2Air: Forms, your forms in JotForm connected with Airtable have many advanced features.
You can specify search filters based on parent fields, sort the display order, input text placeholders, specify default values, style in Markdown or HTML, and much more.
Understanding On2Air Placeholder Fields for Jotform
How to Add the Placeholder Field to Your Form in JotForm from the On2Air Dashboard
Section titled “How to Add the Placeholder Field to Your Form in JotForm from the On2Air Dashboard”💡
We are waiting for JotForm to add the On2Air Forms widget to the Integrations area in JotForm. For now, you will add the On2Air Form fields from the On2Air dashboard instead of in JotForm.
- Before creating a Placeholder Field, you should have already created a Select Field or a Select and Sub-Select Field
In your individual Form dashboard:
- Click + New Field
- Choose the field type you need
- Click Update Details to begin configuring your field
‣
Other
Using the Placeholder Field Configurations
Section titled “Using the Placeholder Field Configurations”There are two ways you can edit the Placeholder Field Configurations. You can edit from your JotForm form or you can edit from the On2Air: Forms dashboard. They both display the same configuration options.
Please configure your field from the On2Air Dashboard until the widget is added to JotForm.
From the JotForm form field (This is the easiest)
- The configuration options will display when choosing the Placeholder Field from the On2Air Widget in the instructions above
To edit after the setup process
- Click the field you want to edit
- Select Widget Settings (the magic wand icon)
- The Widget Settings will pop out on the right-hand side
- Click General
- Click the Edit Settings button
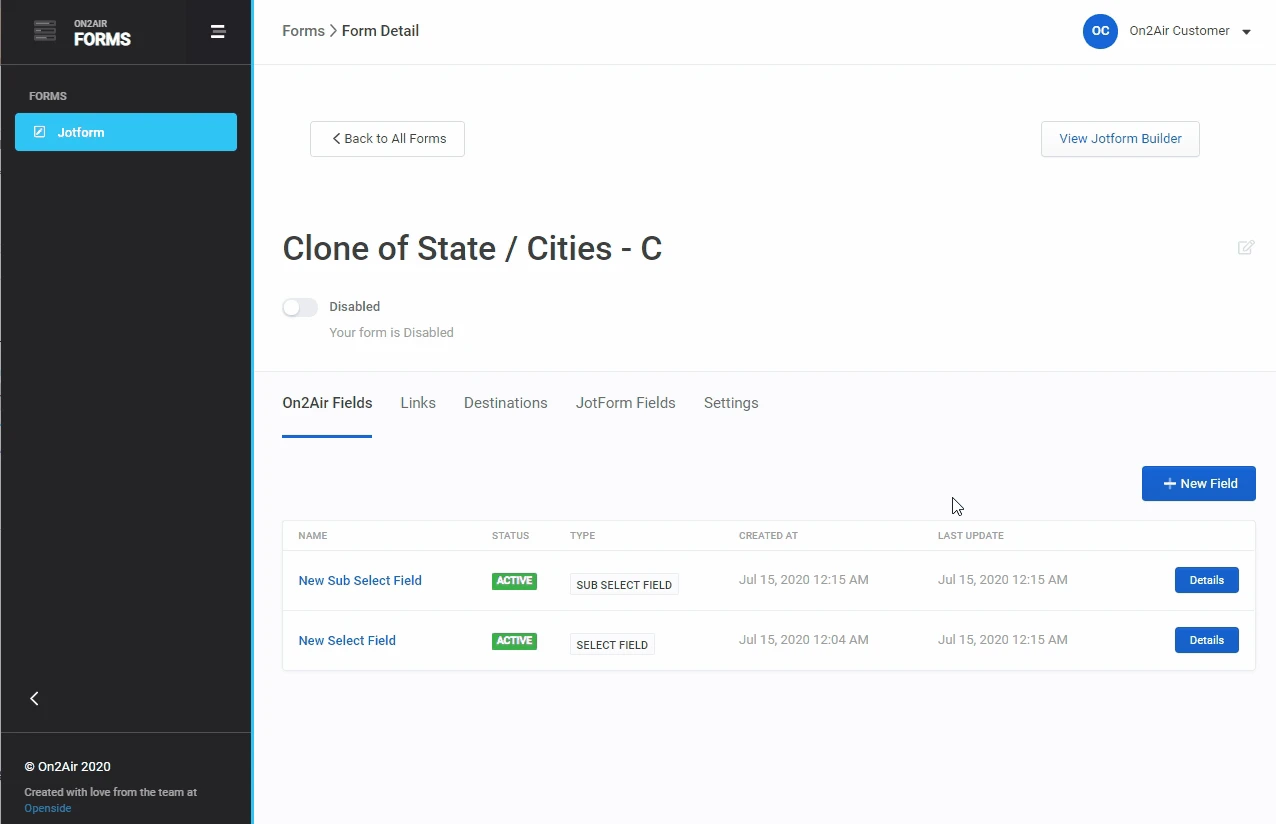
From the On2Air dashboard
- Click the Details button to the right of your form
- You will be in the On2Air Fields tab
- Click Details next to the field you want to edit
- Click Update Details
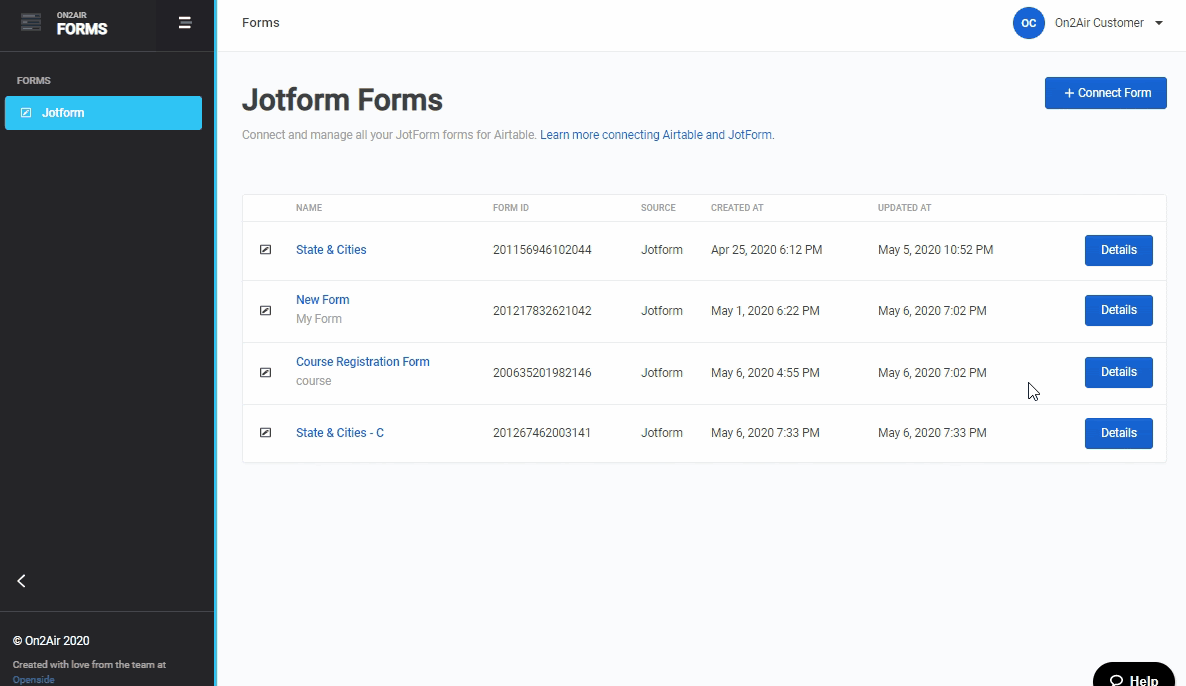
- Once the configurations are chosen, click Update Field Details
- If needed, you can also Discard Changes
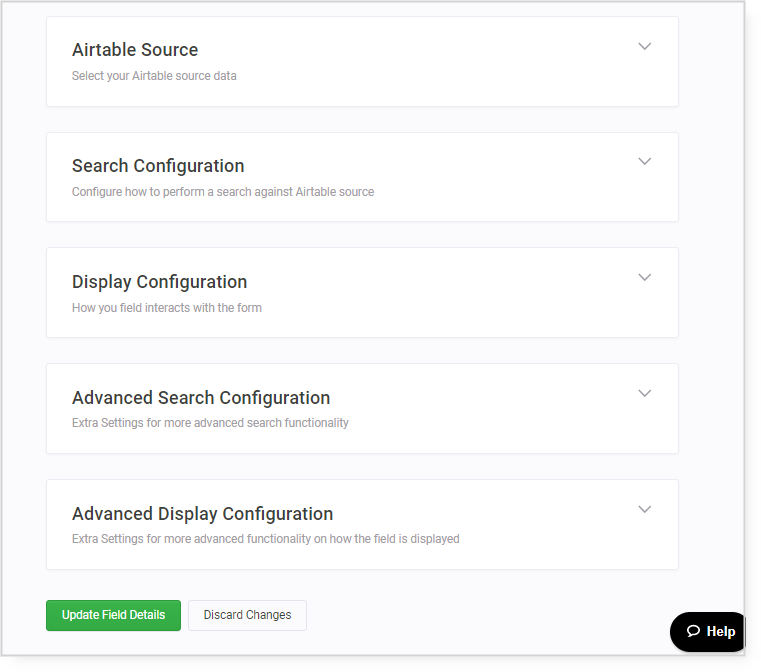
Configuration Details
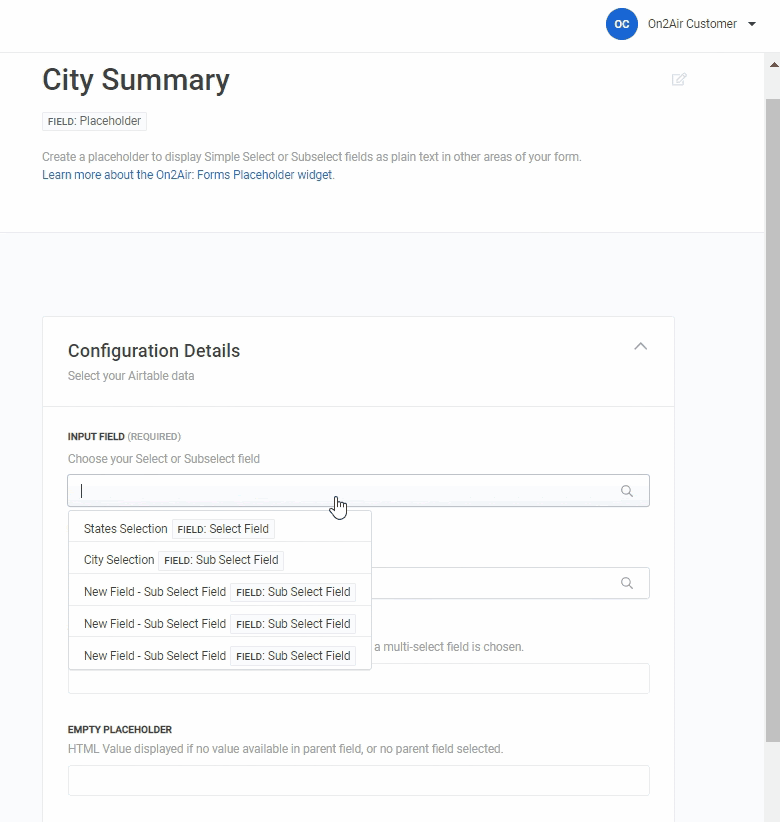
Section titled “Configuration Details”Input Field - The form field your placeholder output is watching
Field Name - The Airtable field you want to display as the placeholder This field is populated from your Sub-Select Field Display Configuration Value Field
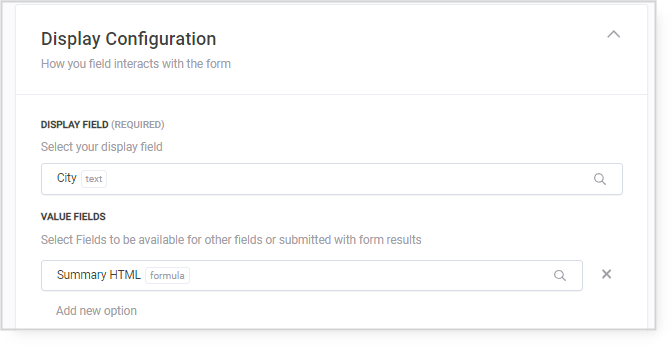
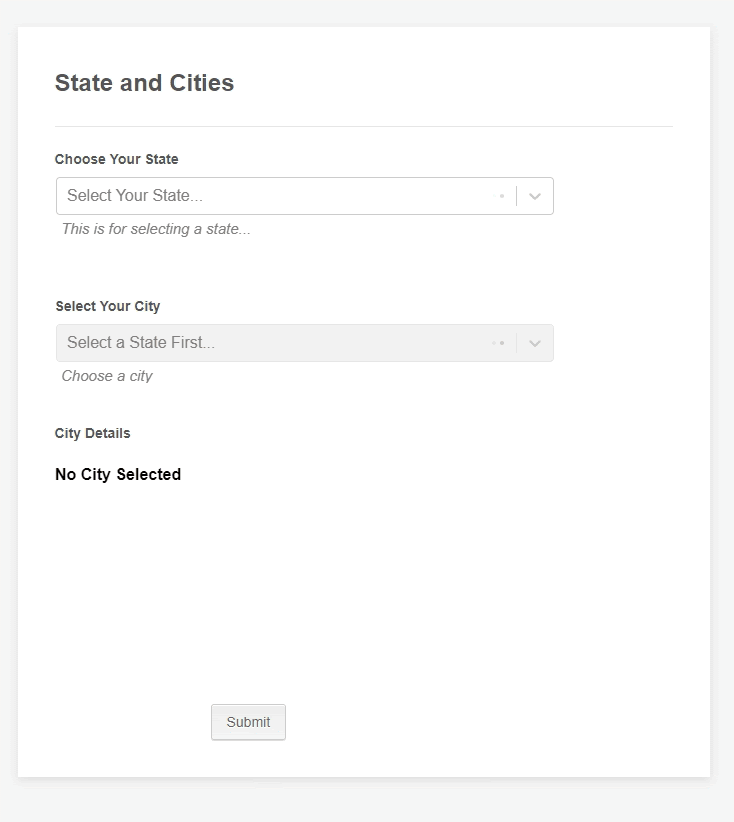
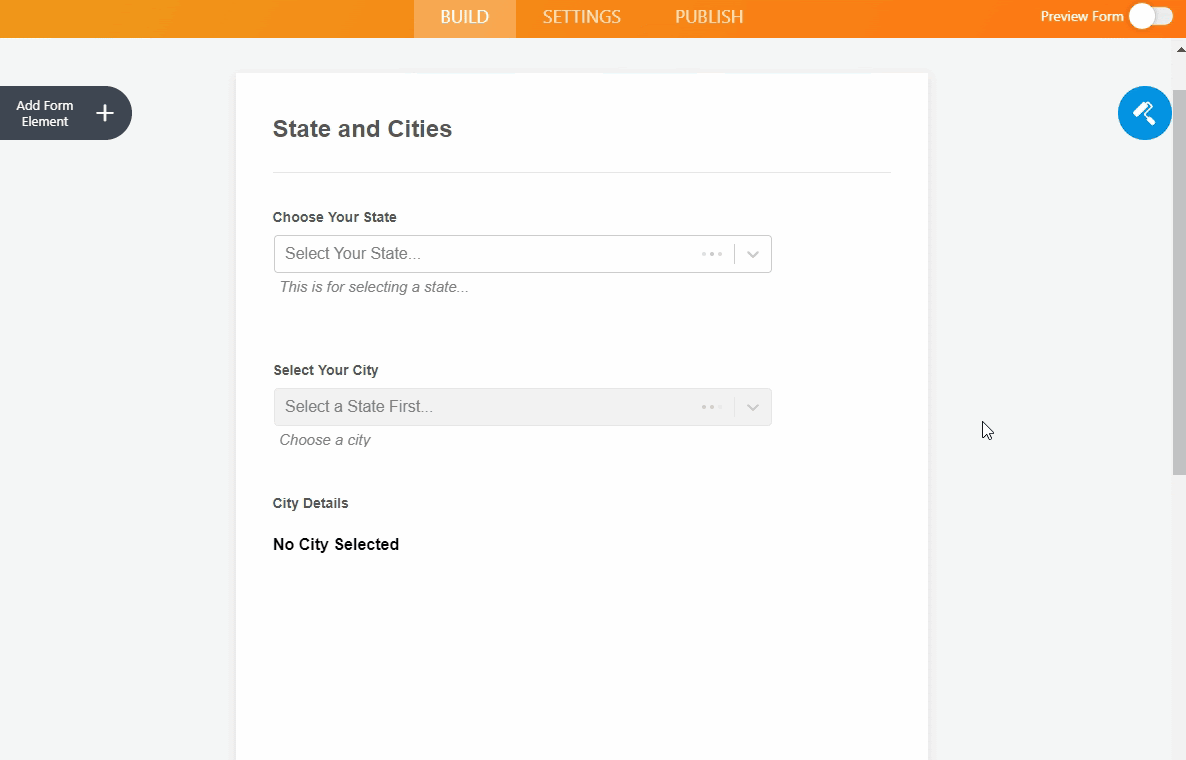
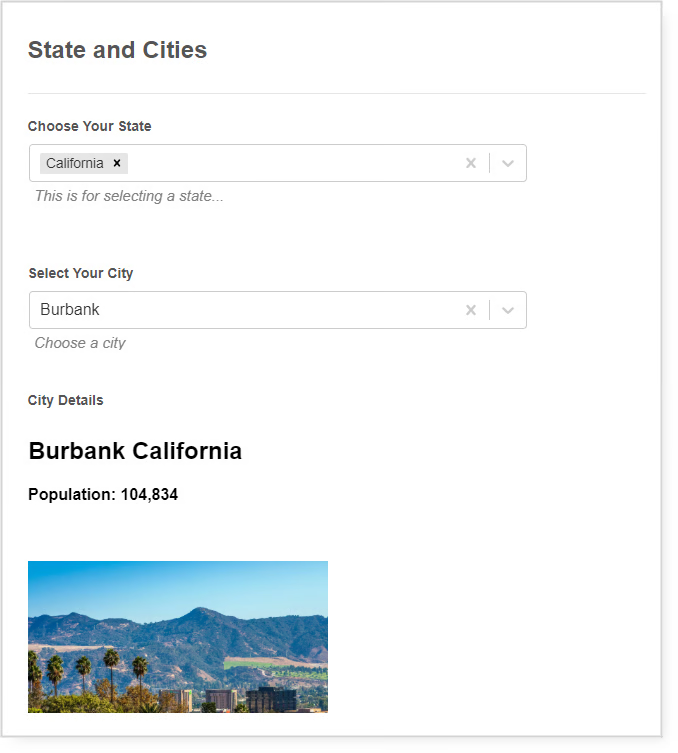
Example: Input Field is City. Field Name is Summary HTML.
The field in Airtable for City is a list of Cities. The field in Airtable linked to Summary HTML as a Placeholder is a formula field containing Text, another field name, and an image URL link, all formatted in Markdown and HTML.
Separator - Input a separator symbol to separate multiple results * Can be Markdown or HTML * Example: \\n<hr>\\n
Empty Placeholder - Text displayed if nothing is selected * Can be Markdown or HTML * HTML Value is displayed if no value available in the parent field or no parent field is selected
Advanced Display Options
Section titled “Advanced Display Options”-
Convert Rich Text - If you are using Markdown in your Placeholder field, toggle this ON (blue)
-
Autosize Placeholder Frame - Automatically size placeholder output field in your form according to your placeholder output needs (Recommended)
Autosize Advanced Settings
The sizes in the advanced settings affect the Placeholder box size shown in the blue box below
Height Buffer - Add a height buffer space to your placeholder * Use pixels * Should be a standard numeral
Height Min - Set a minimum height for your form placeholder * Use pixels * Should be a standard numeral
Height Max - Set a maximum height for your form placeholder * Use pixels * Should be a standard numeral
Width Buffer - Add a width buffer space to your placeholder * Use pixels * Should be a standard numeral
Width Min - Set a minimum width for your form placeholder * Use pixels * Should be a standard numeral
Width Max - Set a maximum width for your form placeholder * Use pixels * Should be a standard numeral
JotForm Meta Field Items
Section titled “JotForm Meta Field Items”To update the JotForm field settings, enter new values here. Leave blank to leave as is. Once the changes are made in On2Air, refresh the JotForm Builder to see changes. These are not saved in On2Air, only updated in JotForm.
-
Field Name - Used for the URL parameter (This is equal to the Unique Name in JotForm Advanced Properties.) In our examples, “state” was the Unique ID.
-
Field Text - The field label displayed above your form field
-
Field Order - Use a numeric value to order your form fields. You can also use the drag-and-drop option in JotForm. The Header field counts as #1.
You can find these settings in JotForm
- Click a form field
- Select Properties (the gear icon on your form field)
- Select the Advanced tab
- Click Field Details
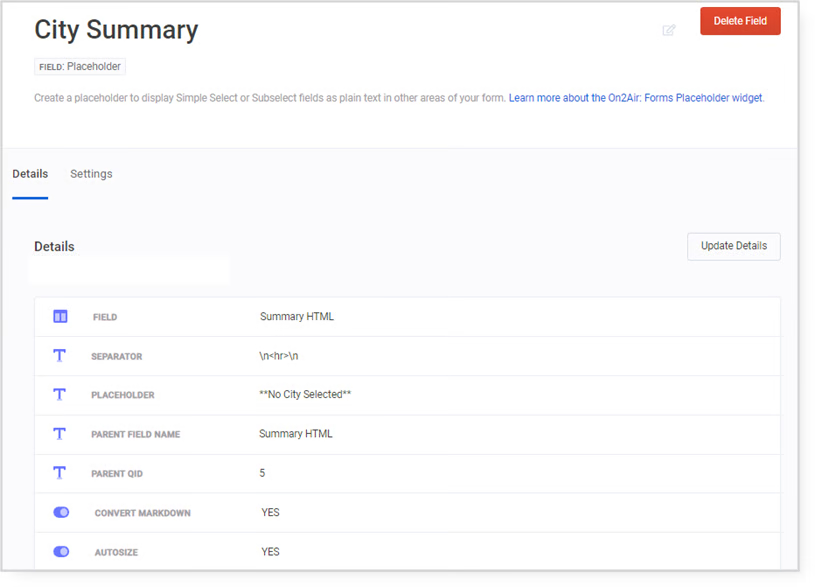
Placeholder Field Details
Section titled “Placeholder Field Details”-
Details - An overview of all configurations in your Placeholder Field
-
Update Fields - This will open your configurations table allowing you to set up or change your configurations
Placeholder Field Settings
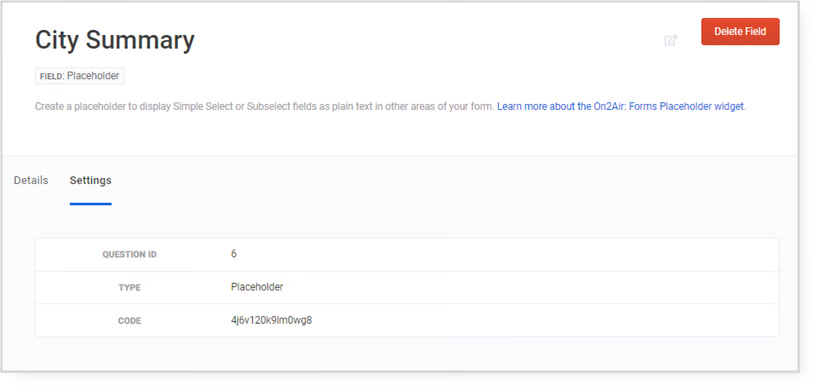
Section titled “Placeholder Field Settings”- Question ID - The order of your field
- Type - Displays whether this is a Select Field, Sub-Select Field, or Placeholder Field
- Code - Displays a unique ID
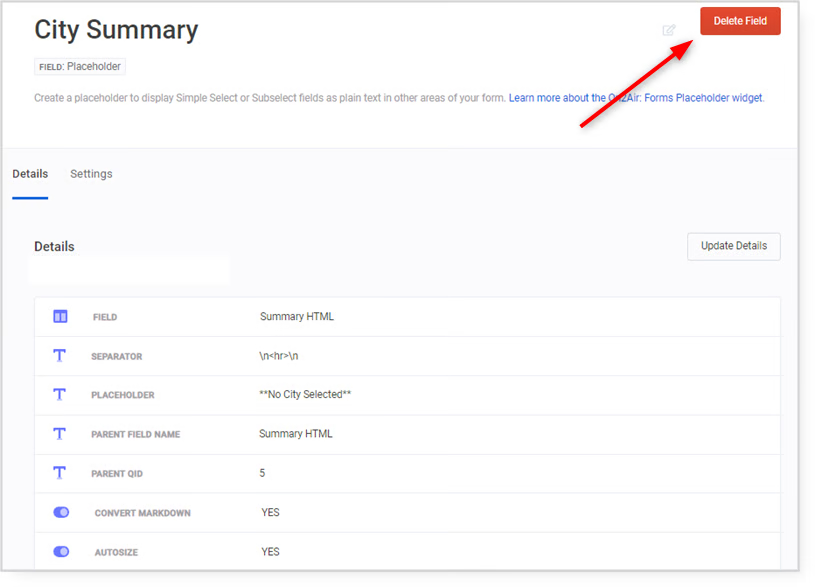
Delete Field
Section titled “Delete Field”- To delete your Placeholder Field, click the Delete Field button on the right-hand side
- In the popup, click Yes, I want to delete this field
- WARNING: This action cannot be undone