How to Back Up Multiple Airtable Bases
 On2Air Help Center >
  On2Air Backups Start a free trial
In this article
-
🎥 Video Guide
-
Step-By-Step Guide for Brand New Backup Projects
-
Add Additional Airtable Bases to a Current Backup Project
🎥 Video Guide
Section titled “🎥 Video Guide”Step-By-Step Guide for Brand New Backup Projects
Section titled “Step-By-Step Guide for Brand New Backup Projects”-
Open the On2Air web app at app.on2air.com
-
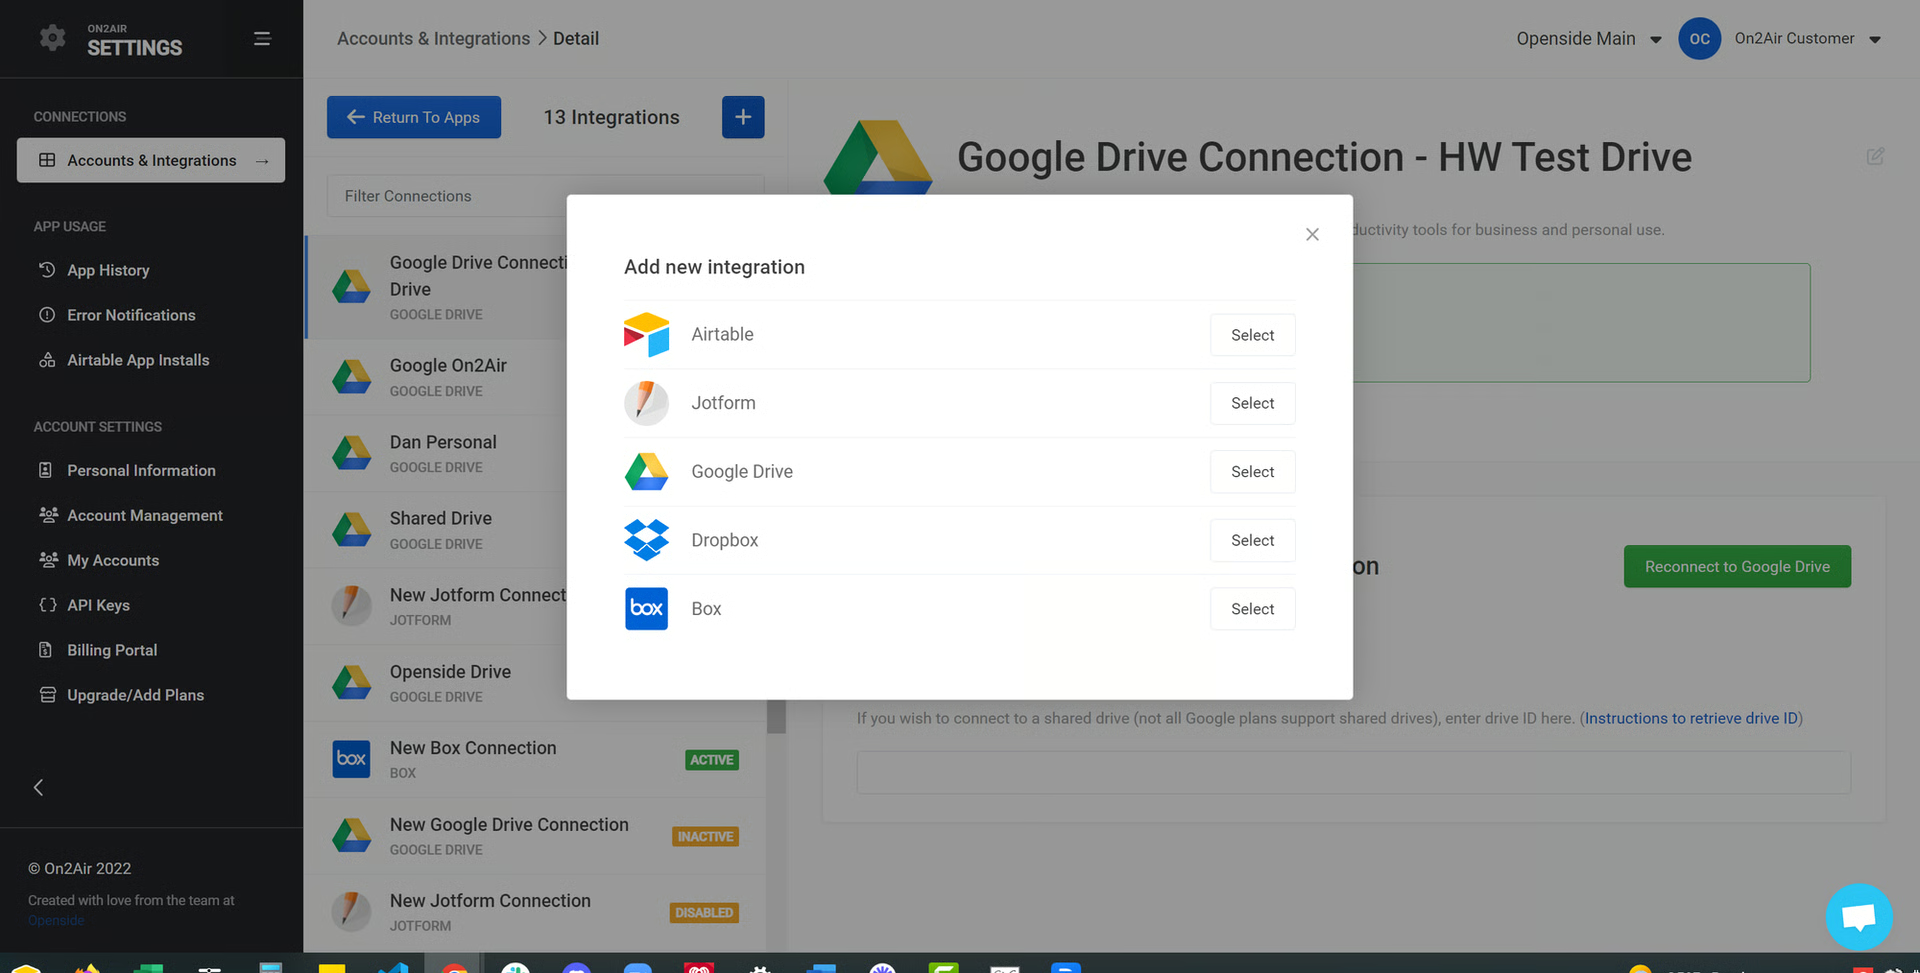
Create a Connection to your Airtable workspace and to your cloud storage on the Settings page
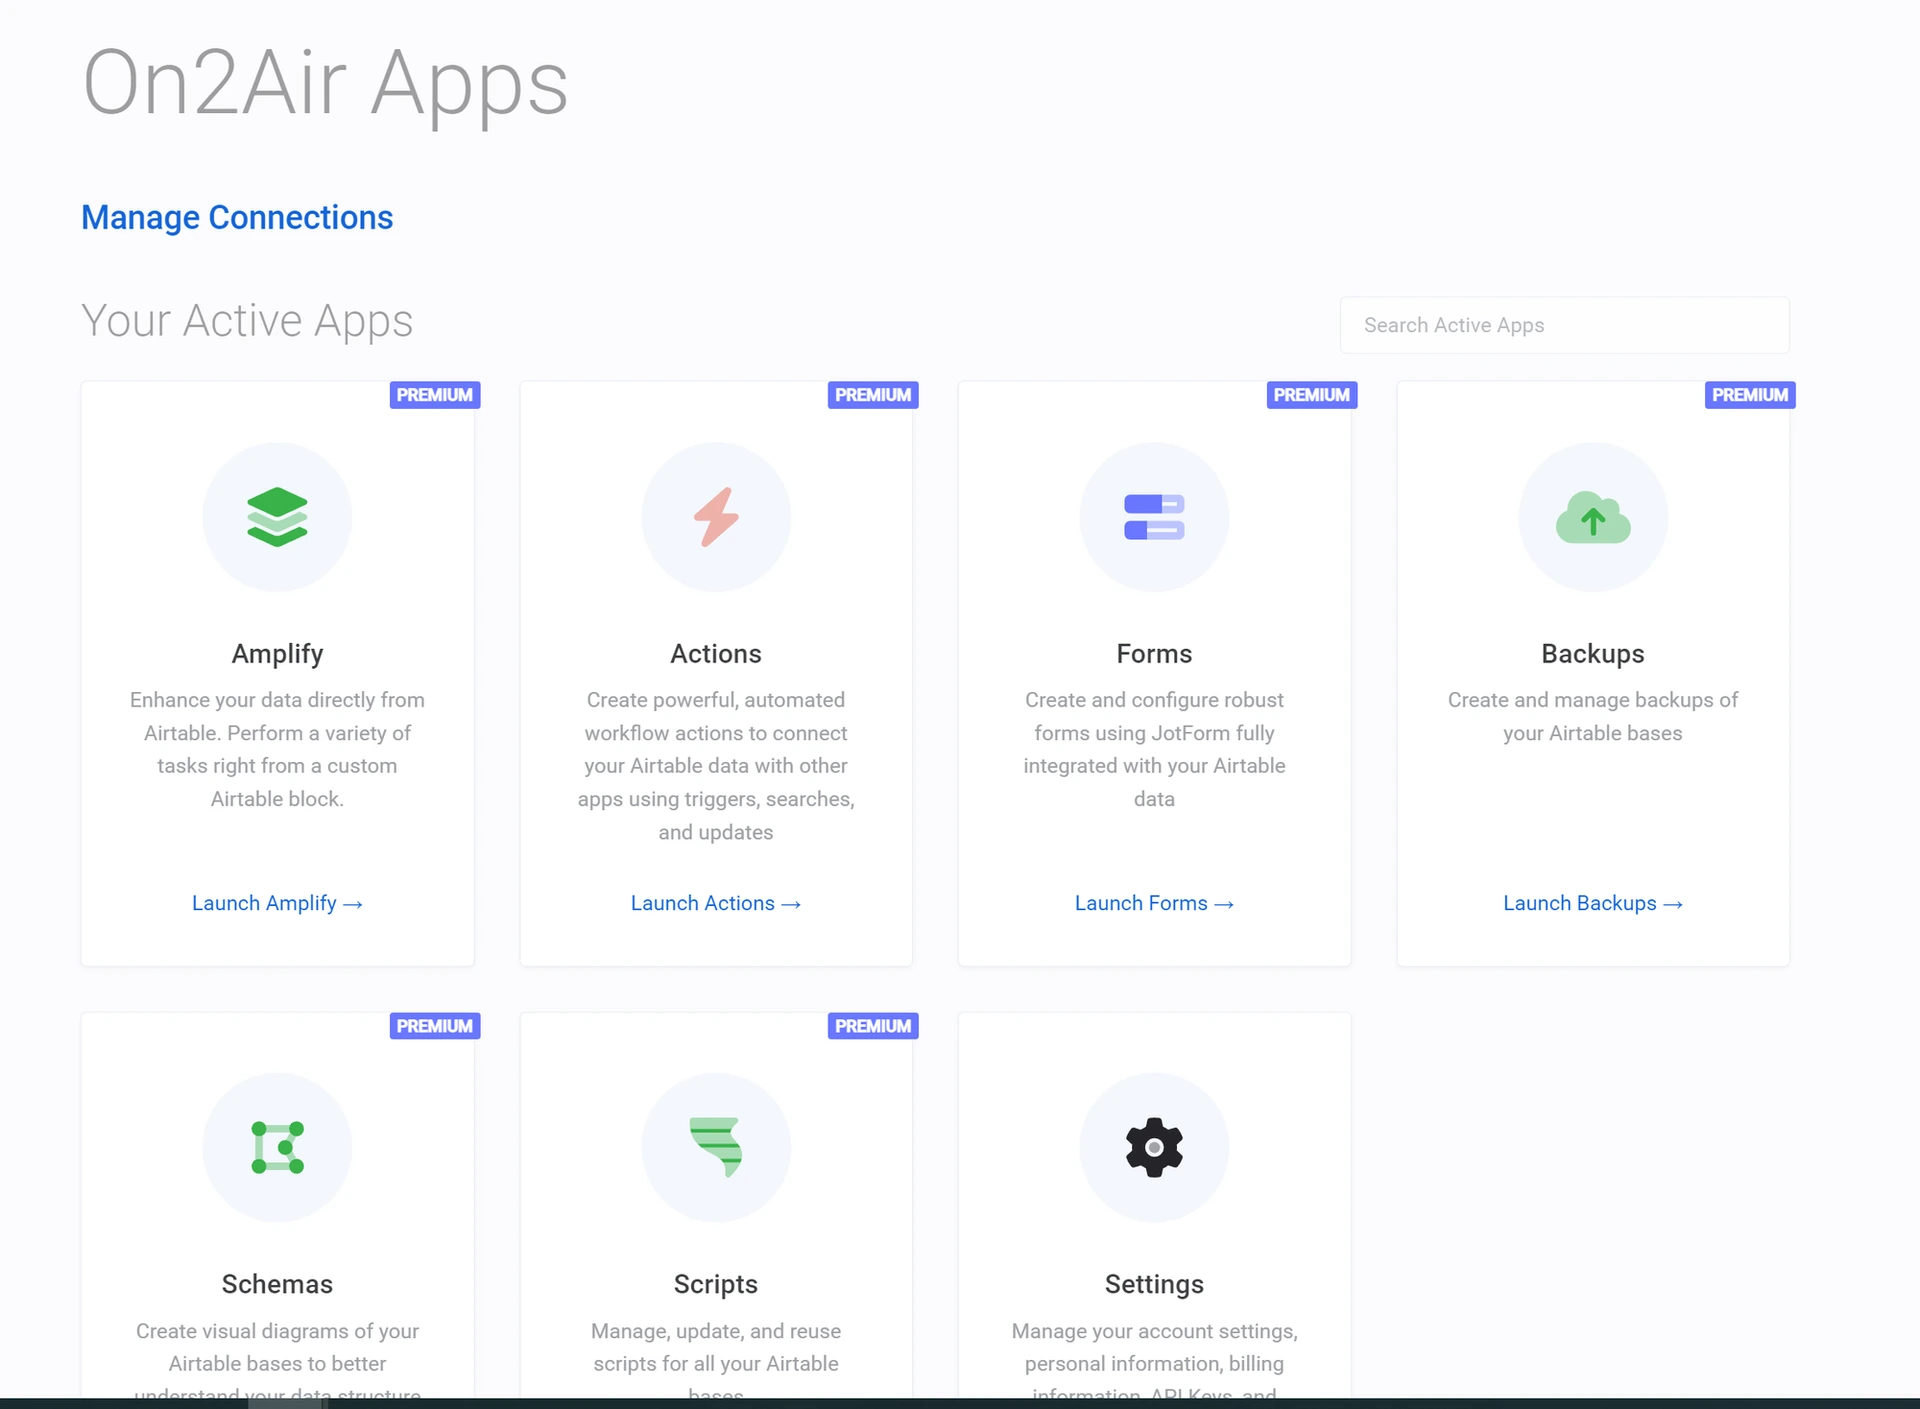
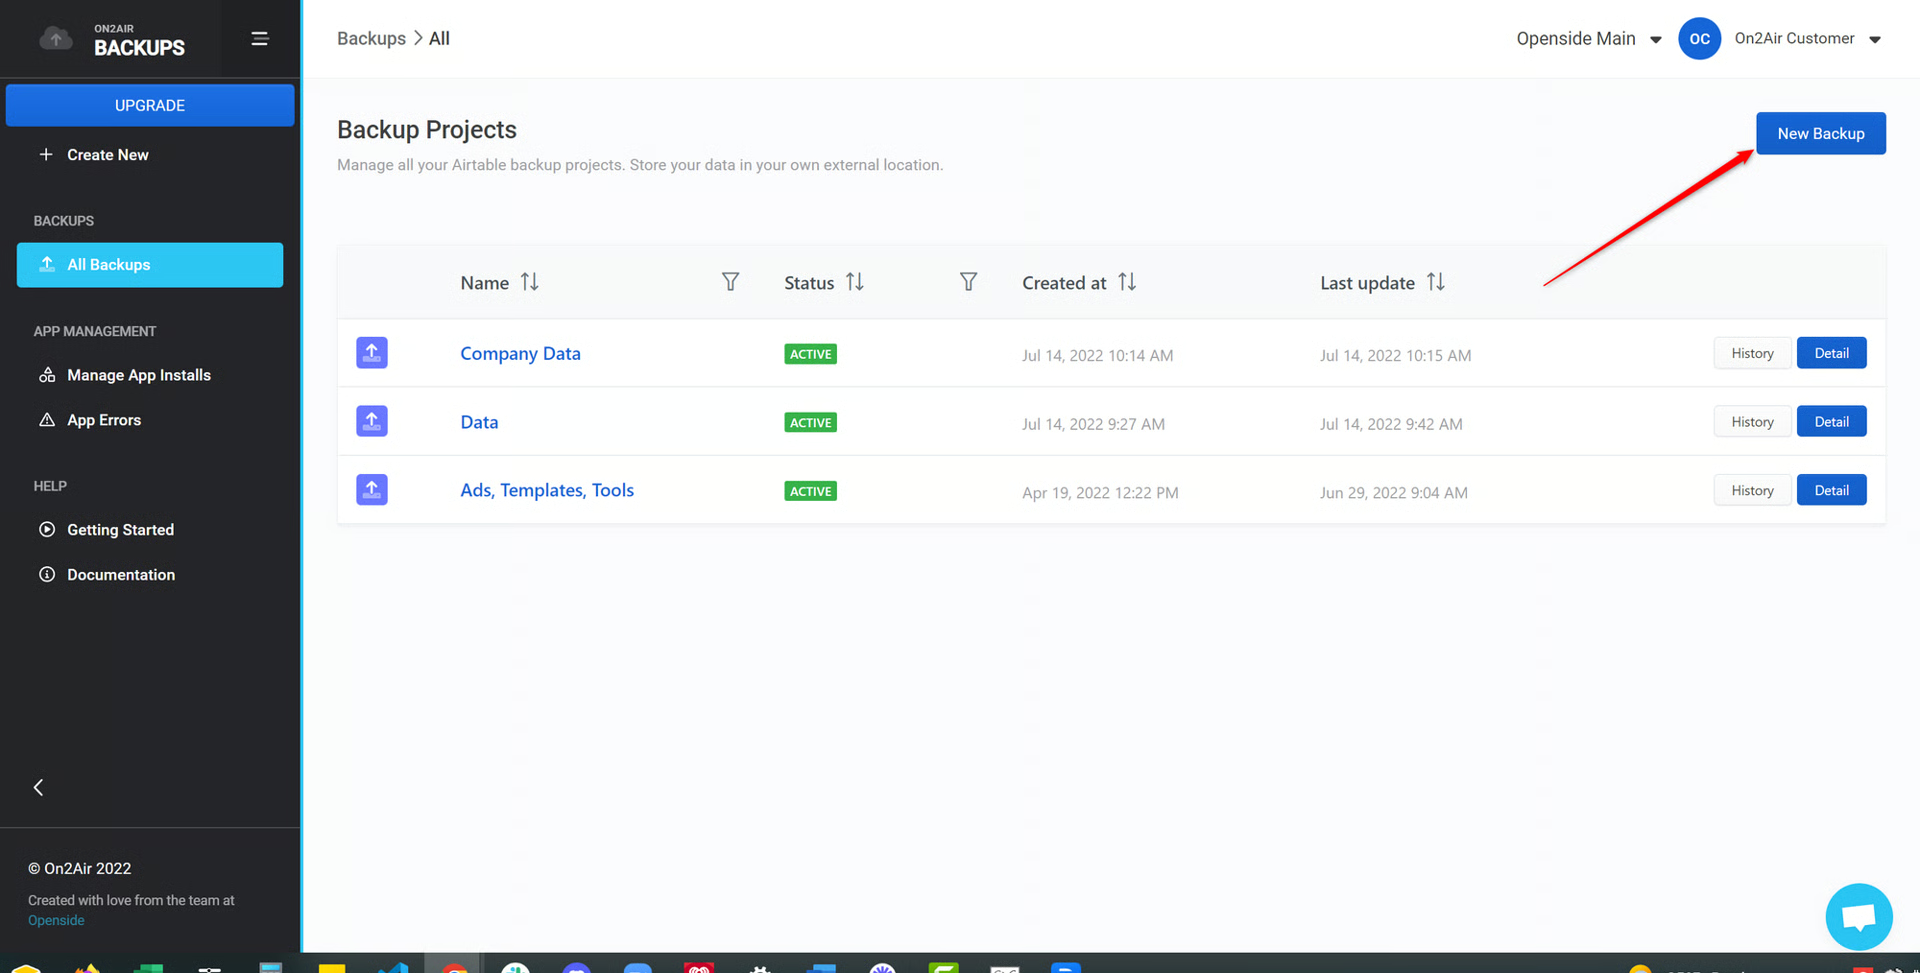
- Open the Backups app from the On2Air web app dashboard
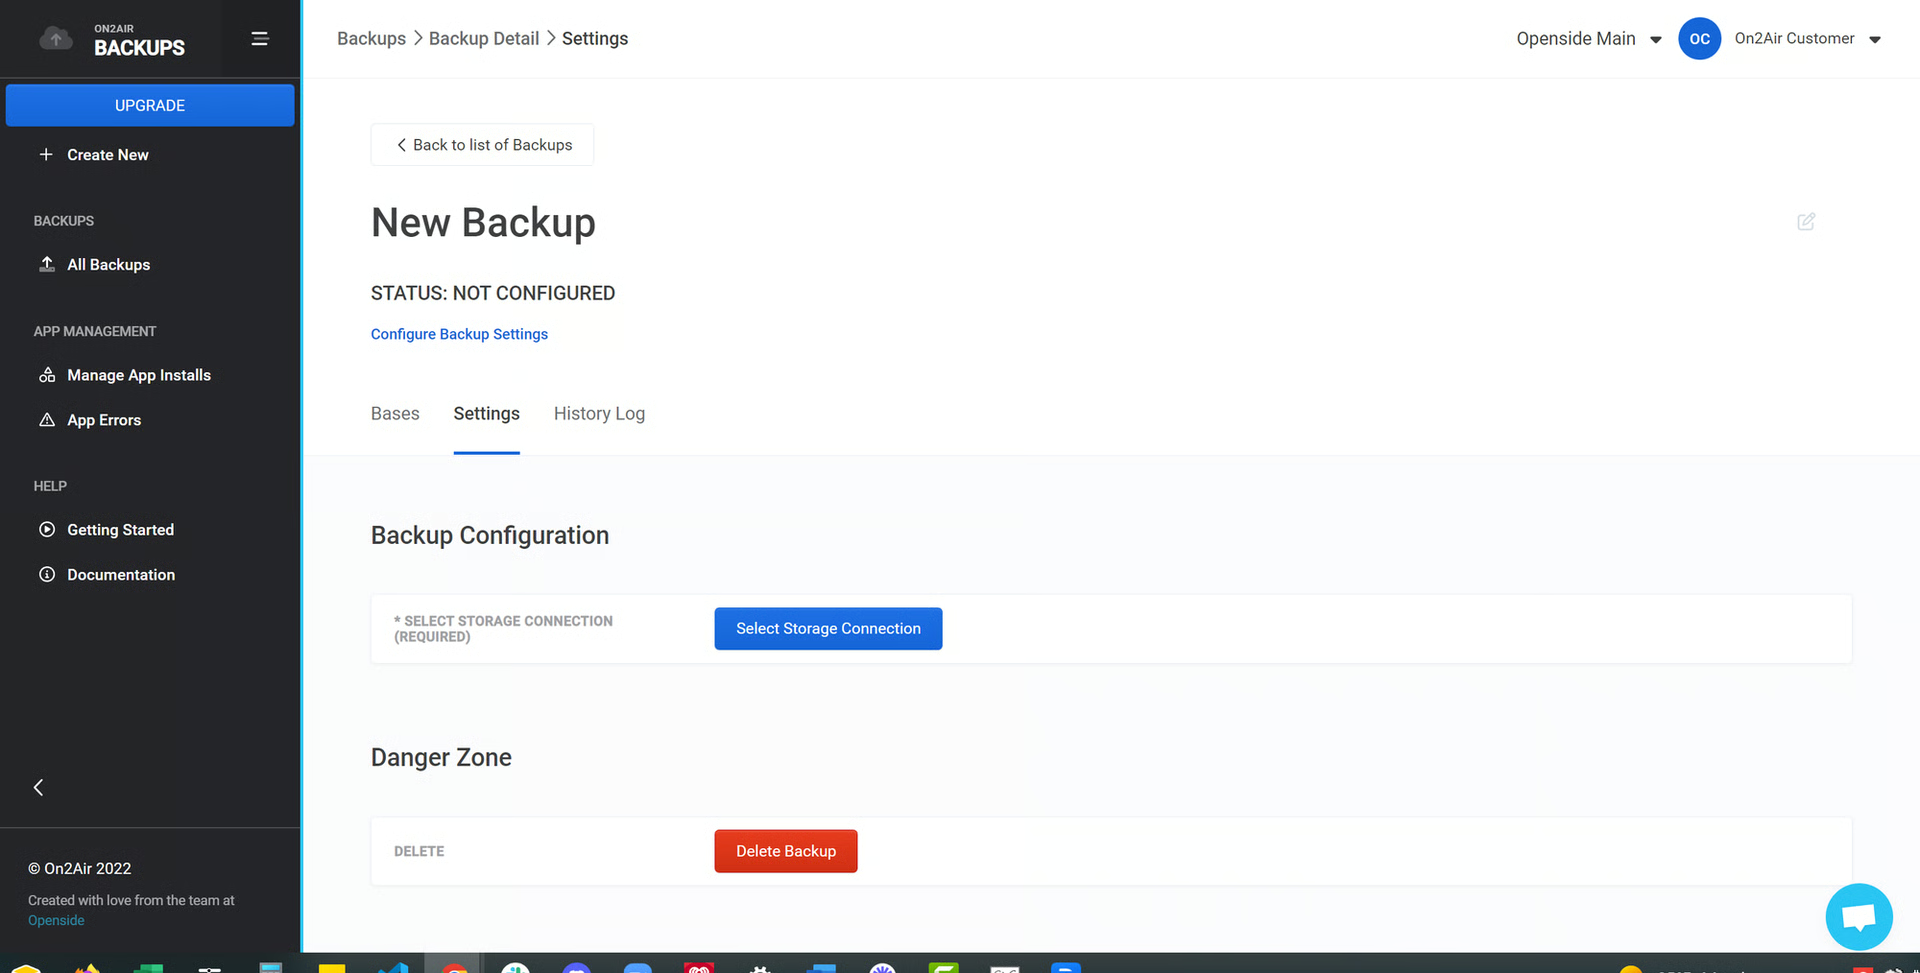
- Click New Backup
-
Click Configure Settings
-
Click Select Storage Connection and choose your Cloud Storage Connection
You can create a New Folder or you can use a Current Folder from your drive
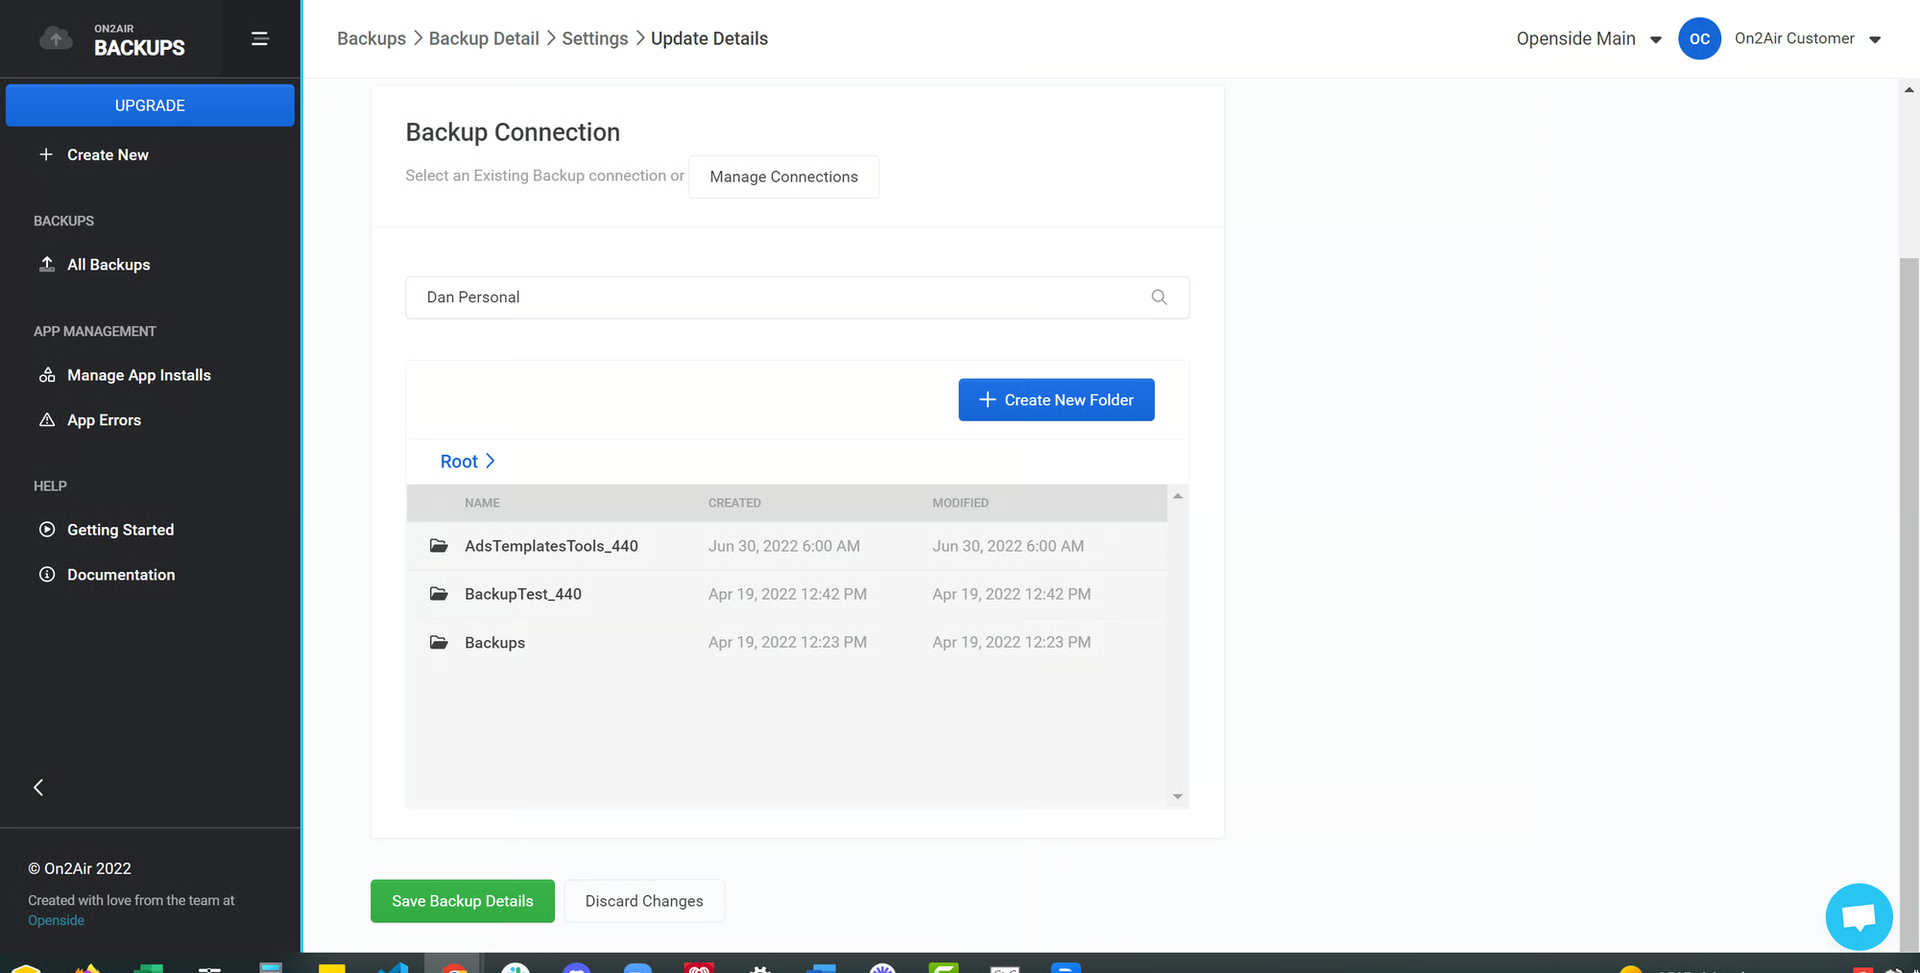
-
Click Save Backup Details
-
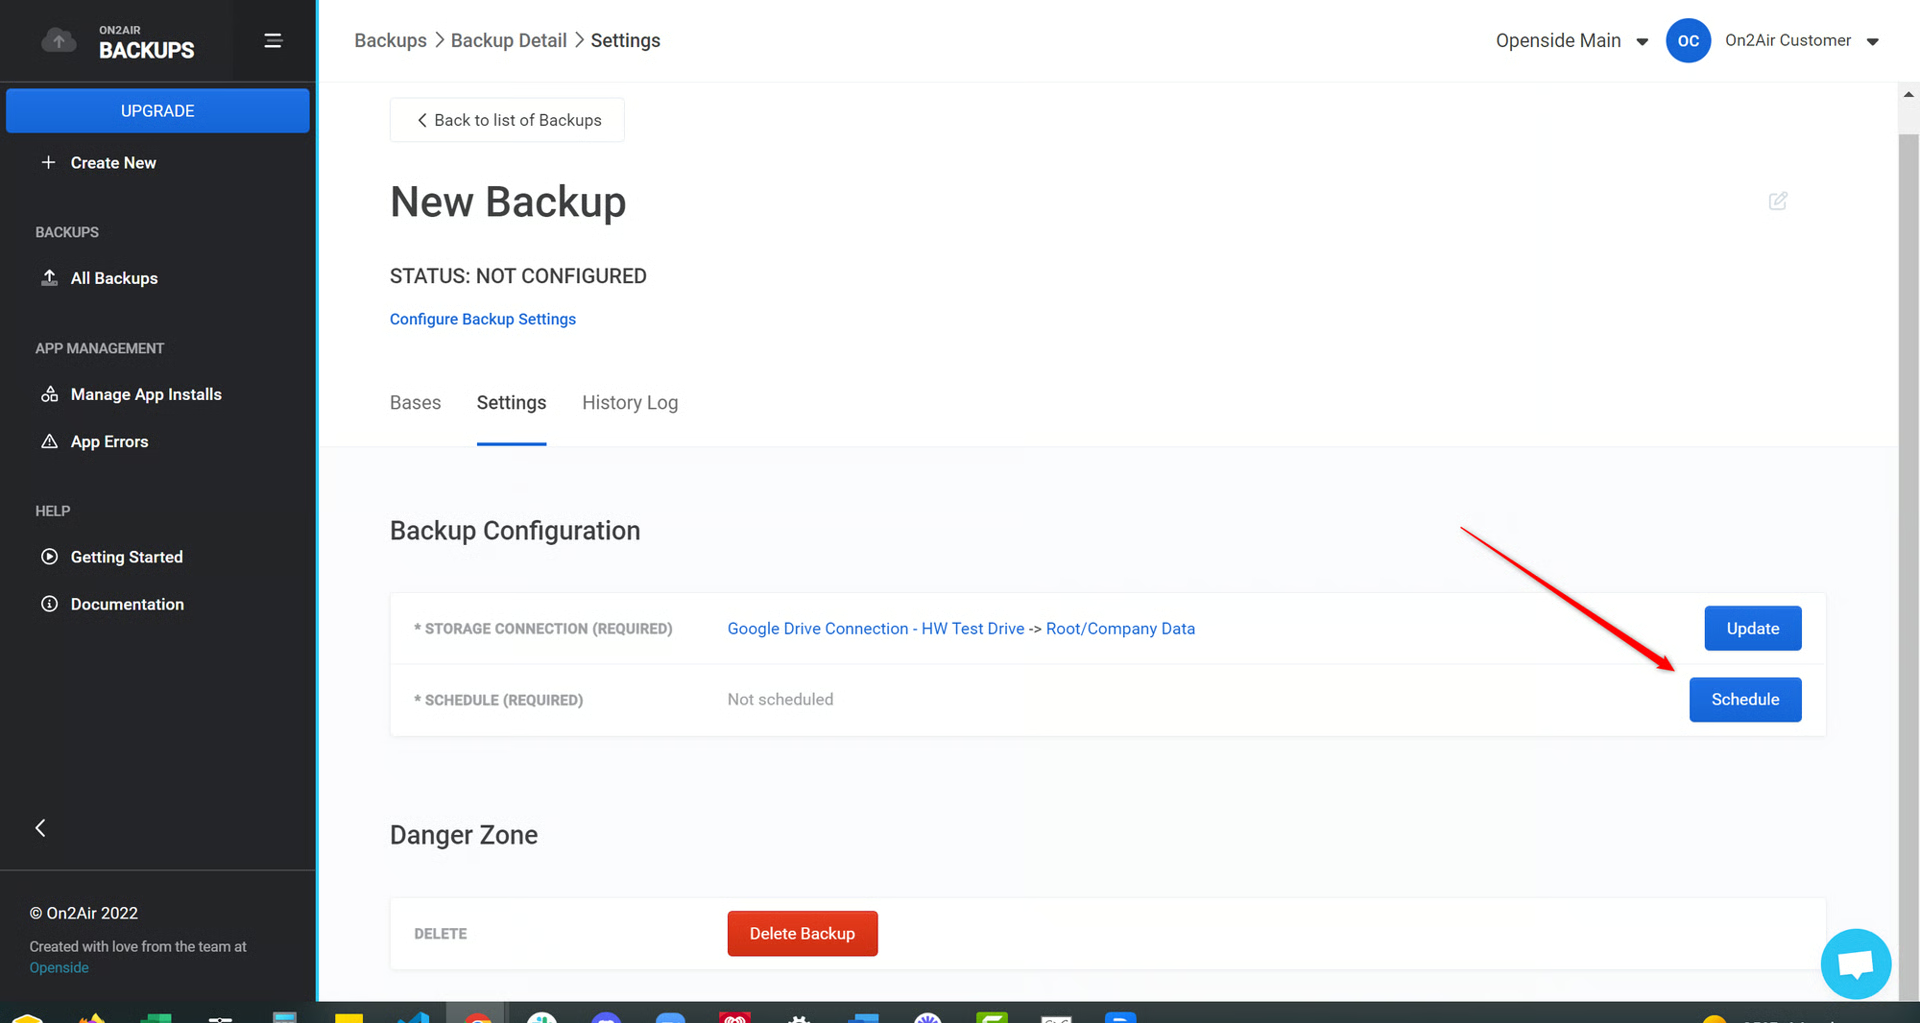
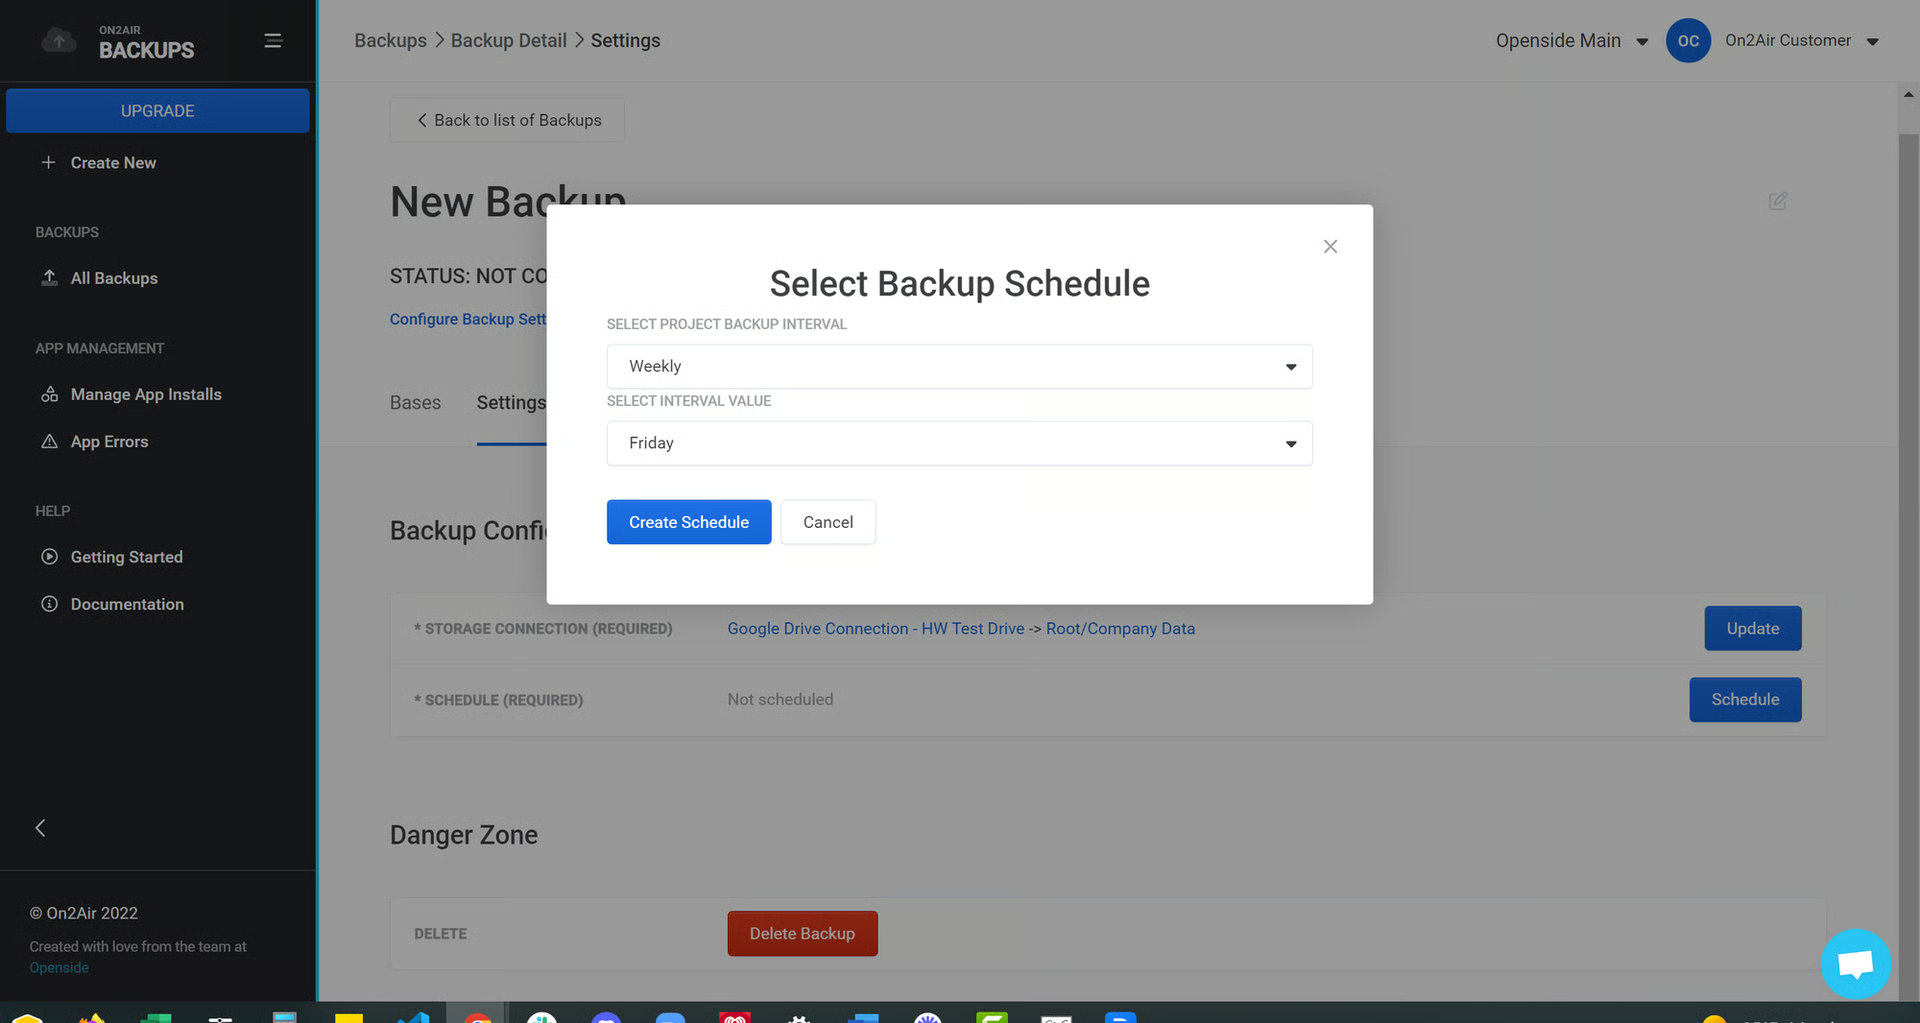
Click Schedule to set up your Backup Schedule and choose your Interval
Depending on your plan, you will have monthly, weekly, daily, or hourly options.
- Now, that you have your Backup Project created, continue to the next steps to add additional Airtable Bases to the Backup Project
Add Additional Airtable Bases to a Current Backup Project
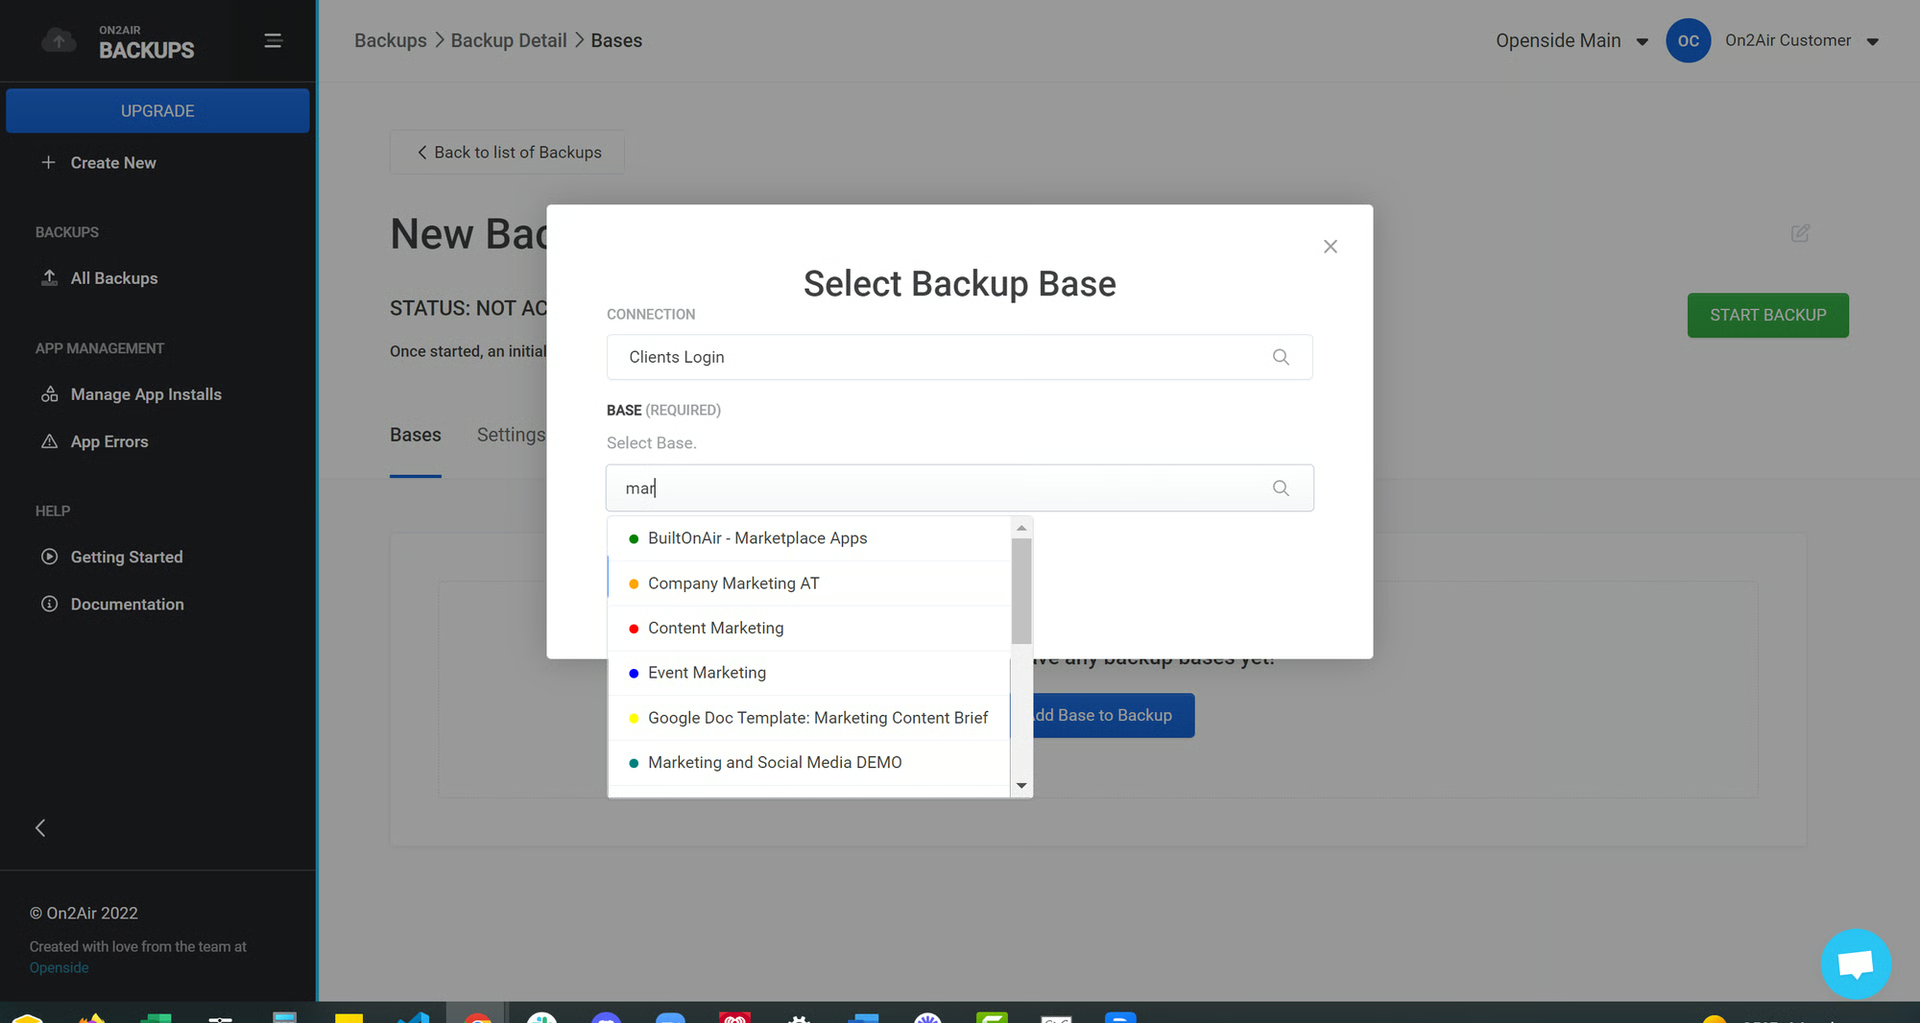
Section titled “Add Additional Airtable Bases to a Current Backup Project”- Choose the Bases tab and click Add Base to Backup

- Choose your Airtable connection and then choose a base you want to add to the Project
- Click Add New Backup Base
- To add more Airtable bases to your Backup Project, click Add Base to Backup

- You’ll choose your Airtable connection and the next Airtable base you want to add to the Project
You can do this as many times as you need depending on your Backups plan
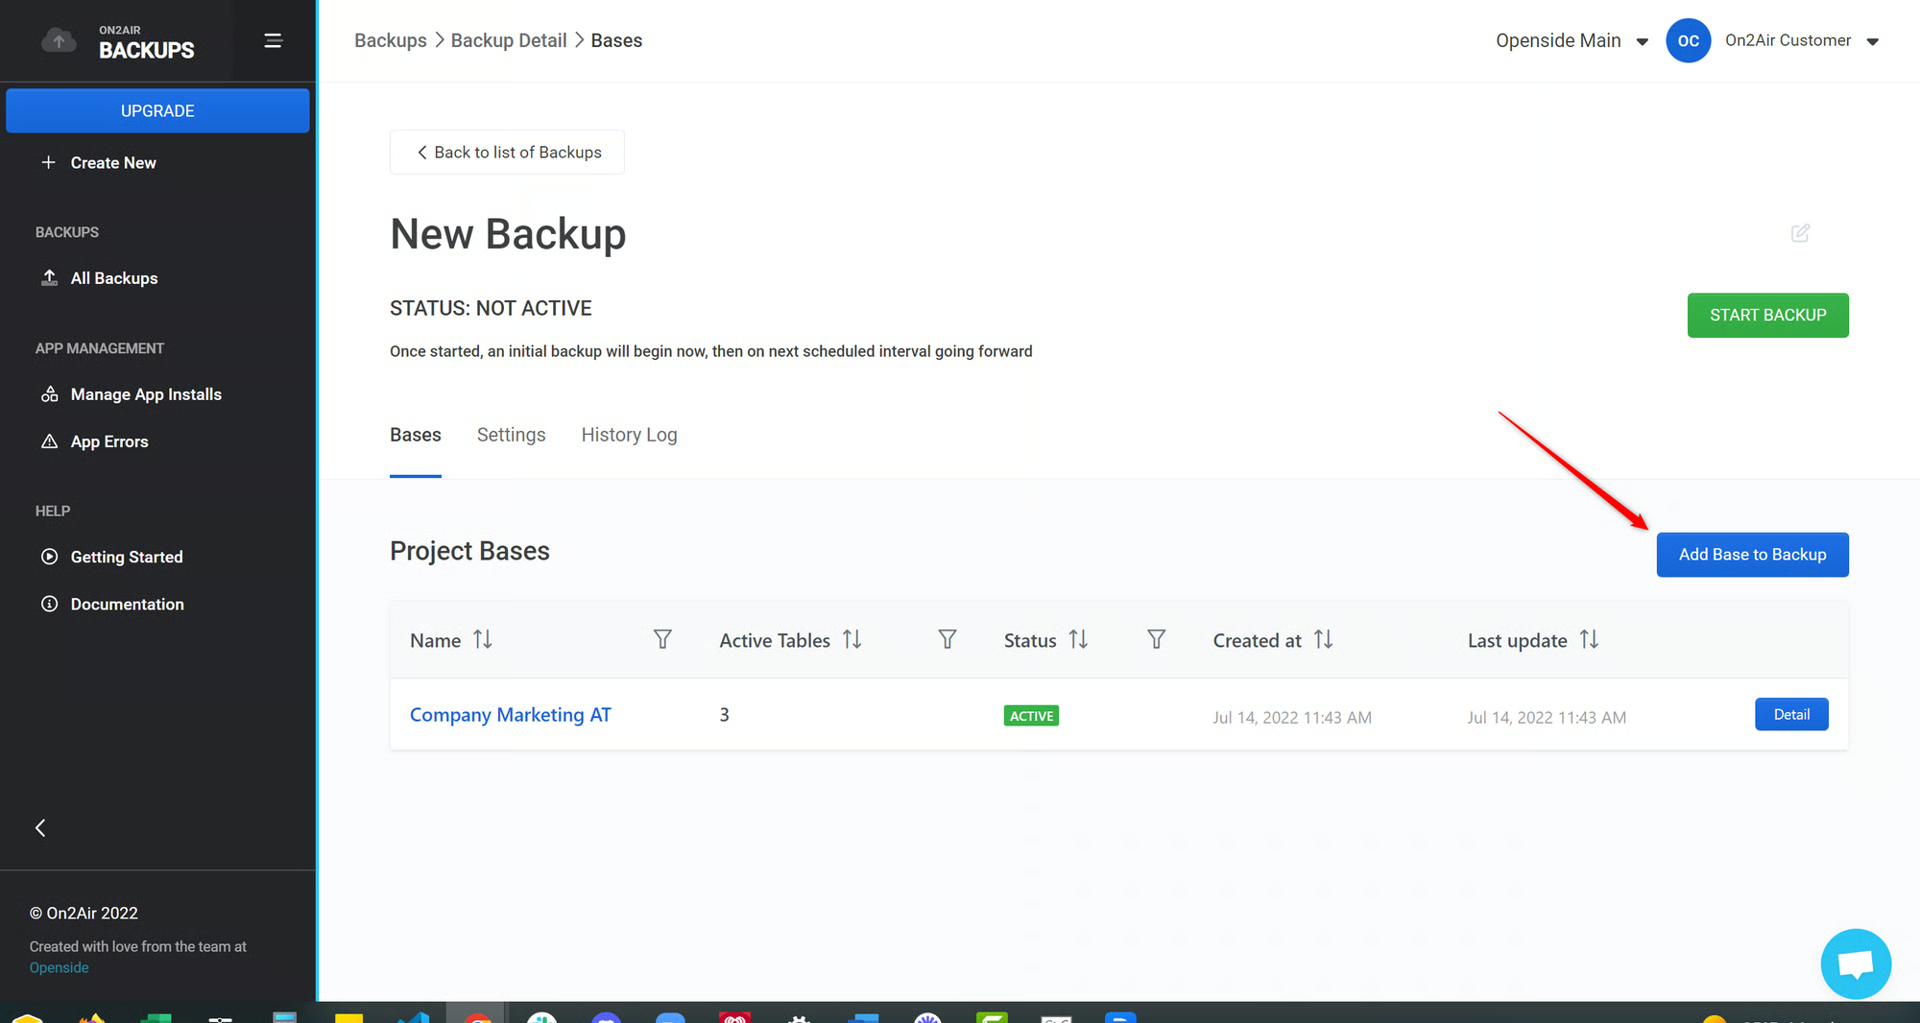
- Click Start Backup to start backing up all your Airtable bases in the Backup Project

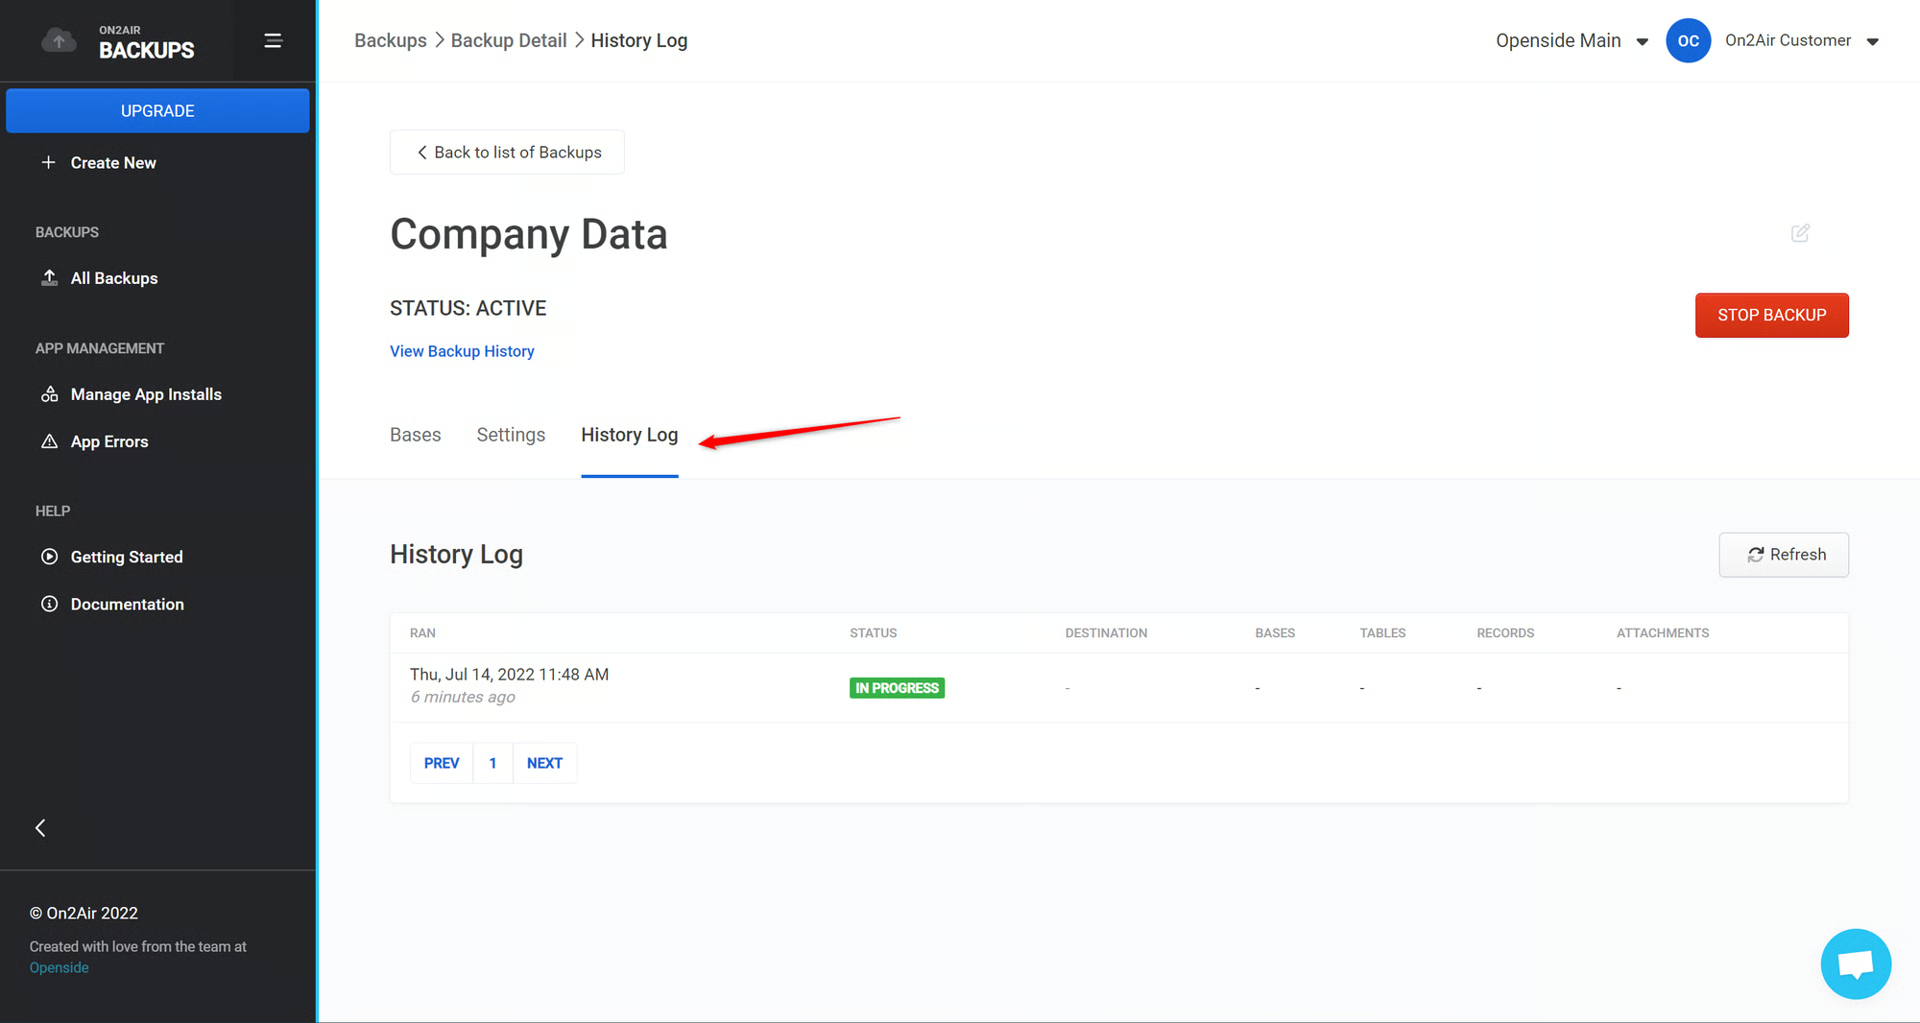
- You can click the History Log tab to see your backup status