Destinations - Send Data Back to Airtable
🔴 On2Air Forms - JotForm has been shutdown to focus on our On2Air Backups Airtable app Learn more about automated Airtable backups - on2air.com
⭐
We now have a brand new  On2Air Forms app for Airtable that doesn’t require JotForm! It connects directly to Airtable. You can sign up for free access at On2Air Forms Signup Learn more here - On2Air Forms
Destinations in On2Air Forms - JotForm are used to send your completed form data to either Airtable or to other locations using a webhook. You can update current Airtable records or create new records with Destinations. Additionally, you can send form data to other tools you use through webhooks.
You can even send data to both Airtable and webhooks at the same time. Destinations allow you to use your submitted form data and send it wherever you need it.
-
Create a Destination
-
Webhook Destination
-
Output Destination
-
Field Links
-
Destination Output In Airtable - Example
-
Destination Settings
Create a Destination
Section titled “Create a Destination”Set up a Destination to lookup the corresponding Airtable data to either create new records or update existing records.
To set up Destinations, go directly to Destinations from your On2Air: Forms setup
You can also search and select On2Air Forms in the JotForm Integrations directory, then click the Destinations link. This will take you to the On2Air: Forms Destinations dashboard.
- Click New Destination
- Select Webhook or Output
Webhook - Used to post data to a webhook URL
Output - Used to send data directly to Airtable
Webhook Destination
Section titled “Webhook Destination”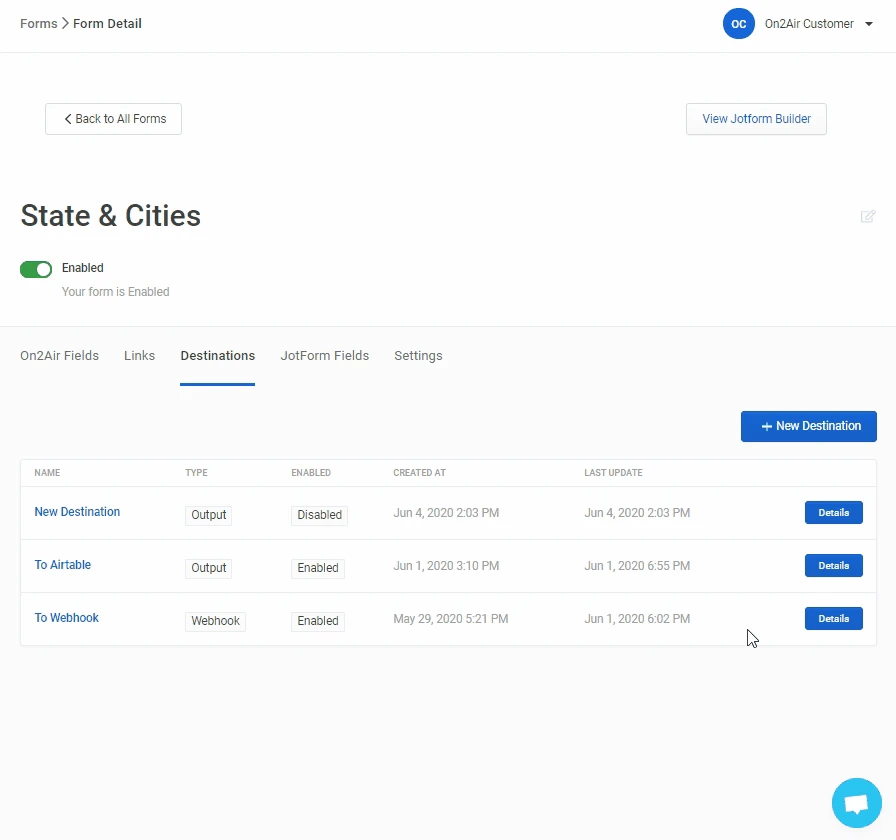
- Click Update Details
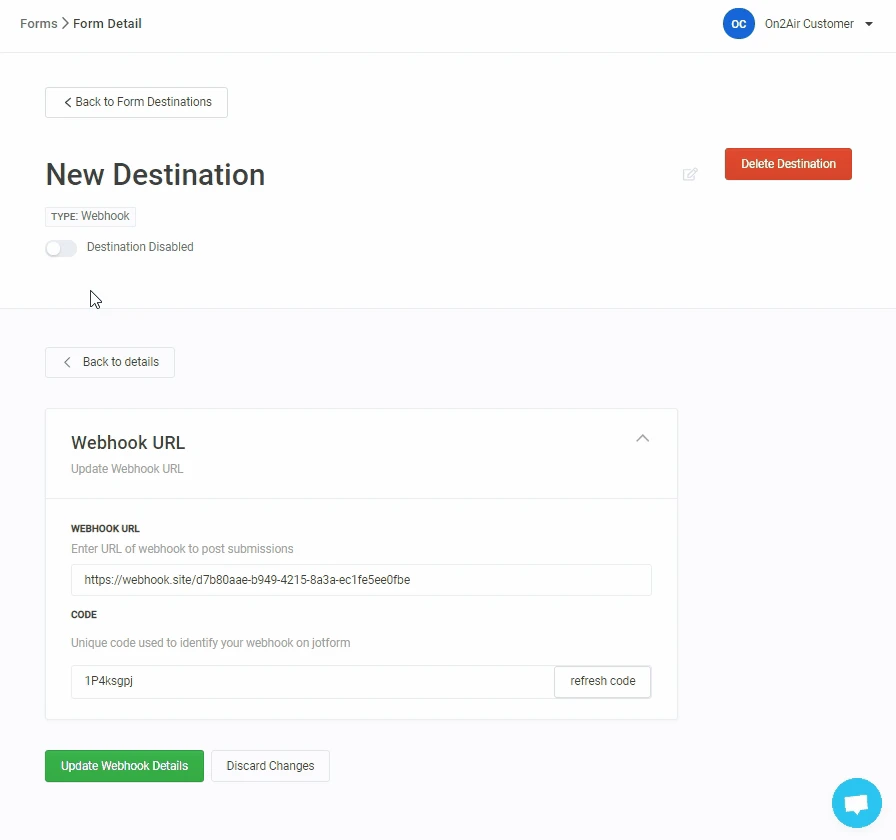
- Paste your Webhook URL
- Click Update Webhook Details
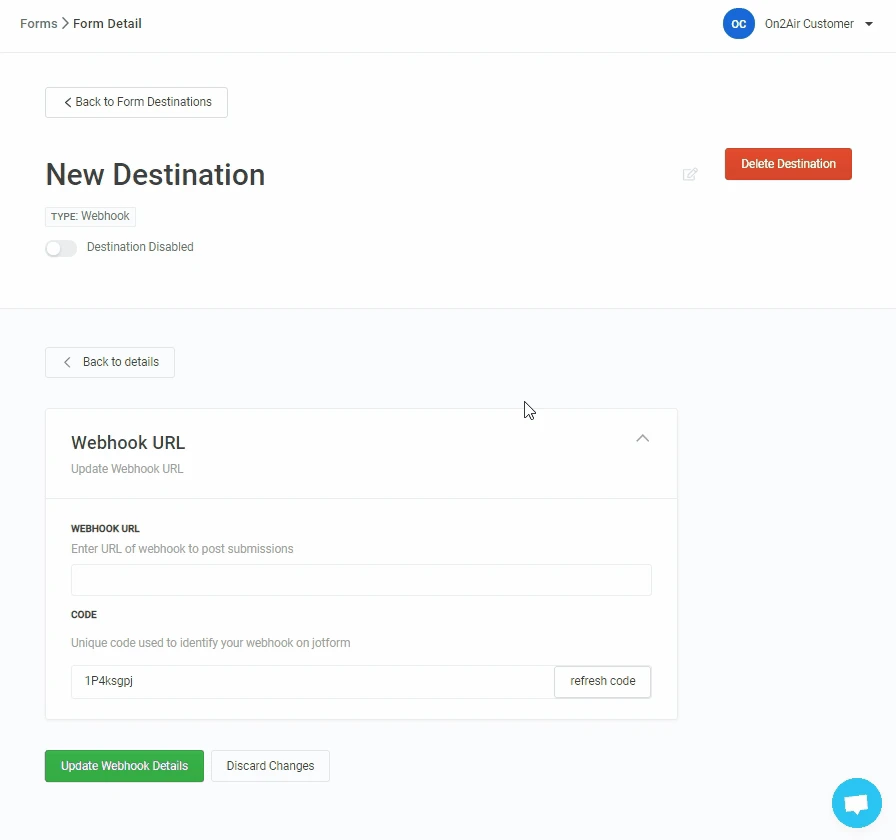
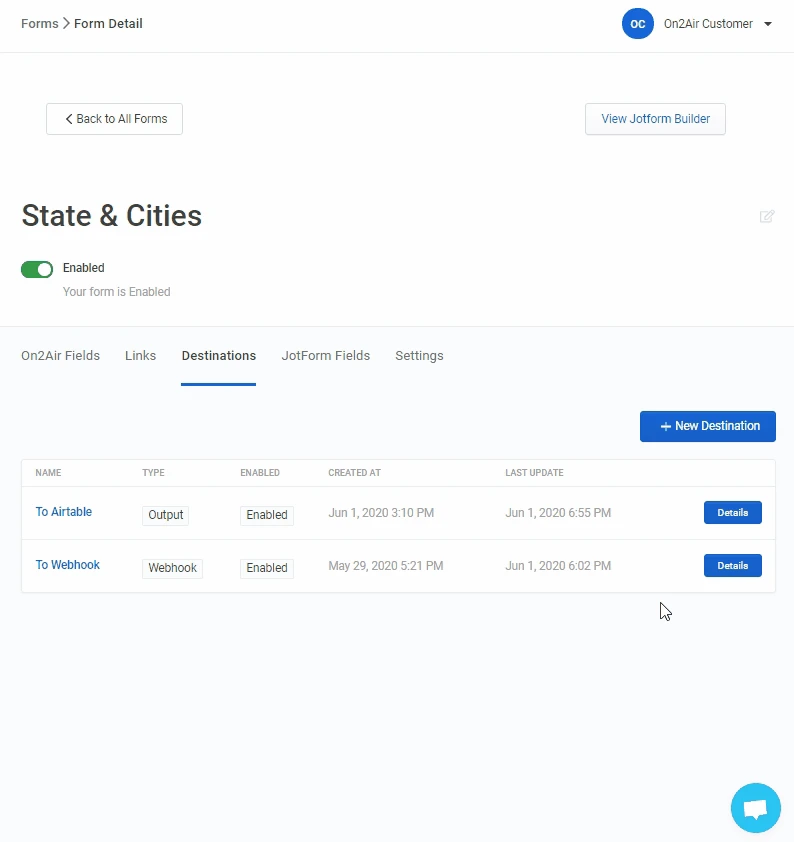
Your Webhook should be automatically Enabled
- If not, switch the toggle to green to enable your Webhook
Output Destination
Section titled “Output Destination”- In Destinations, click New Destination
- Select Output
- Click Update Details
- In the Destinations section, click New
- Add your Destination Name
- Select your Airtable Connection
- Select your Airtable Base
- Select your Airtable Table
- Select your Airtable Destination Mode
Create - Used to create new Airtable records Update - Used to update existing Airtable records
-
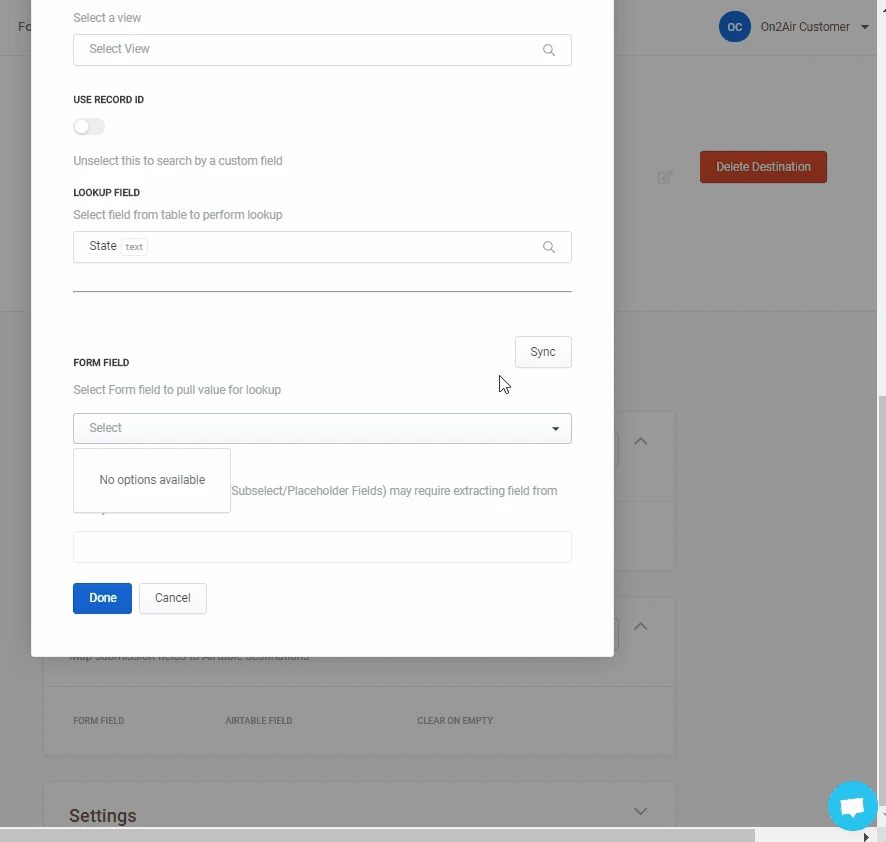
Select your Airtable View (Optional) (Displays when Update is chosen) All records are used as the default
-
Use Record ID - Update your Airtable records using the Record ID (Displays when Update is chosen) (On/Green by Default)
Record ID is available for On2Air: Forms Select and Sub-Select fieldsIf using Record ID, add the text ‘recordid’ in the Field Key below to match and identify the fieldRecord IDs are useful for Linked Record fields and for uniquely identifying the field
 How to View Record IDs in Airtable
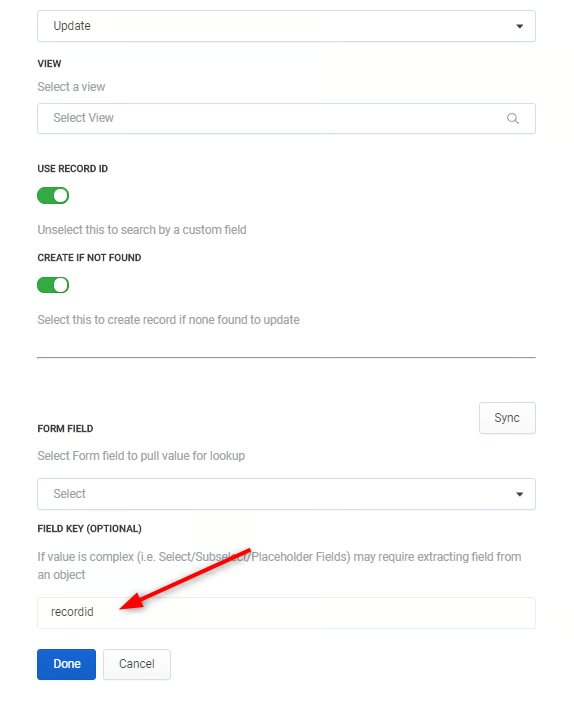
Create If Not Found - If no matching record is found when trying, this will create a new record with your information (Displays when Update is chosen)

Form Field - Choose a field from Airtable to use as the lookup field (Displays when Update is chosen)This is the field we want JotForm to lookup
Form Field - This is the JotForm field where we are gathering the data from to send back to Airtable (Displays when Update is chosen)
- Click Sync to populate your form fields
Field Key (Optional) - Specify the field in Airtable where your form data should be sent
Field Keys are only needed if using any of the On2Air form fields of Select, Sub-Select, or Placeholder.The Field Key needs to be recordid if Record ID is selected for updatingIf not using Record ID, you need to type in a text value that matches a Field you chose in Display Configuration in the initial setup of your form
_ Currently, this does not automatically detect the Value field so you will need to type in the name_
__
- Click Done
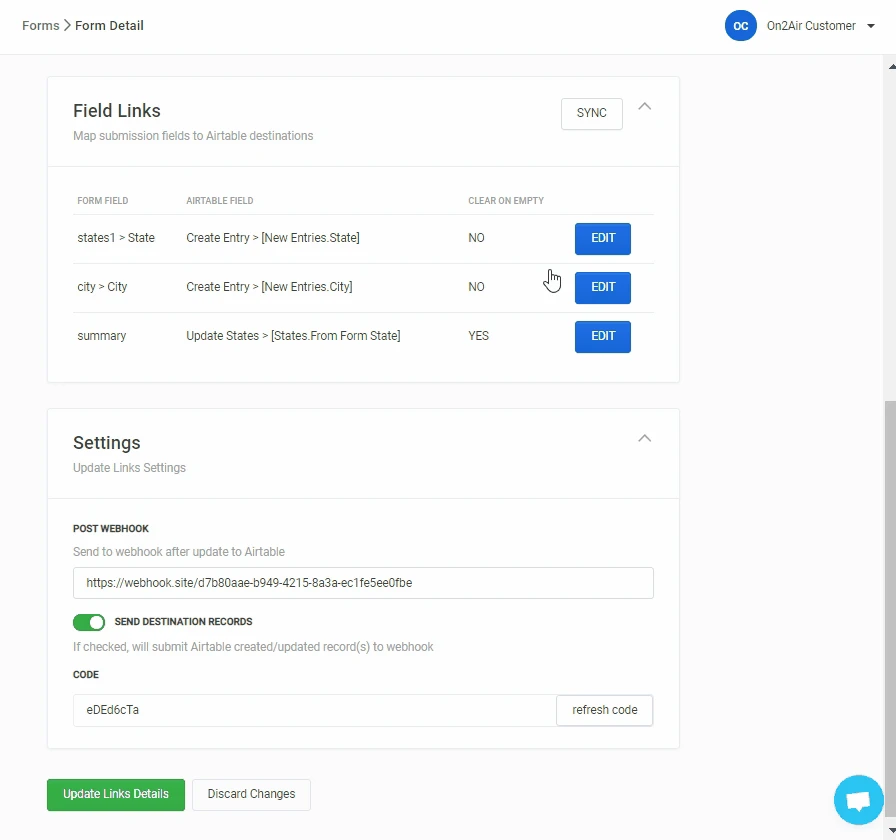
Field Links
Section titled “Field Links”Field Links are used to map the data from your JotForm fields to your Airtable fields and send the data back to Airtable.
- Repeat the following steps for each field in your form
Connecting to Your Form Fields with Field Links
If you choose Update in the initial Destination setup, then clicked Sync in Form Fields, your Field Links should have already populated.
- If not, click Sync to populate the fields from your form or to refresh for any new fields in your form.
Once Field Links are synced, you will see columns containing
Copy
**Form Field** - Displays the name of your field in JotForm connected to your field in Airtable **Airtable Field** - The Destination Mode and Airtable field **Clear on Empty** - If Yes, the field will be cleared if nothing is specified in form submission. If No, the field will maintain the value already present in the Airtable base. _(Displayed for Updates)_- Click Edit to connect your form field to your Airtable field
- Select your Destination
- You will see the Destination Mode (Create or Update), Base Name, and the Table name being used for the Update
- Select your Destination Field
- This is the Airtable field you want to connect to a specific JotForm field to be created or updated
Field Key (Optional) - Specify the field in Airtable where your form data should be sent
Type in a text value that matches the field in your base you want to update or create
Field Keys are only needed if using any of the On2Air form fields of Select, Sub-Select, or Placeholder
Currently, there is no way to have it automatically populate your Initial Field
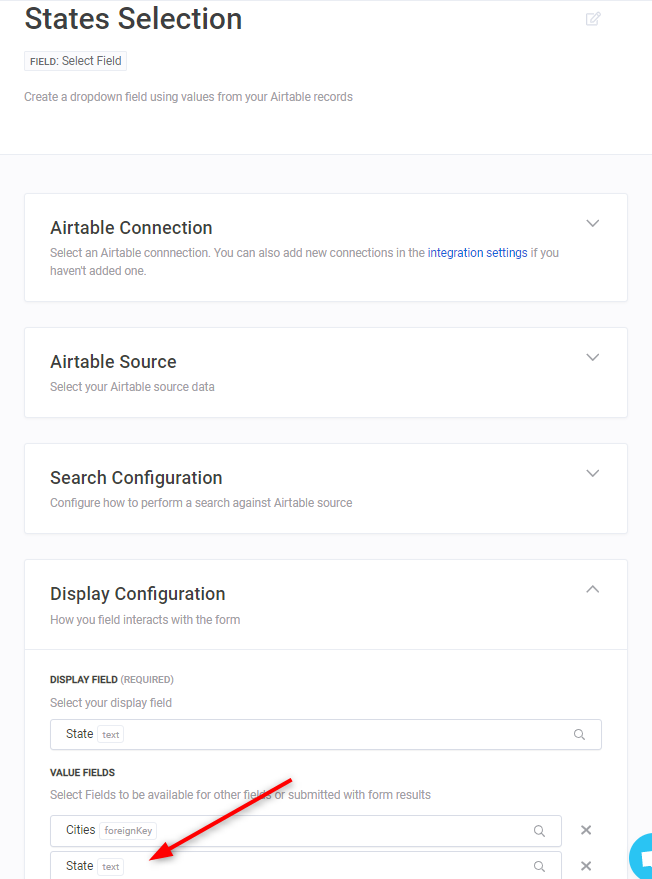
_Example: _A Select field in my form is from my States table and the Initial Field is State. The Airtable Field in Field Links also needs to be State.
Destination Output In Airtable - Example
Section titled “Destination Output In Airtable - Example”
Destination Settings
Section titled “Destination Settings”Post Webhook - After your Output Destination sends the new or updated data to Airtable, you can send the new or updated data to a Webhook
- Paste your Webhook URL
- Enable Send Destination Records (Green)
Code - A unique ID for your Destination To create a new ID, click Refresh Code