Google File (Docs, Sheets, Slides, Drive Folders)
🔴 On2Air Forms has been shutdown to focus on our On2Air Backups Airtable app Learn more about automated Airtable backups - on2air.com
➡️
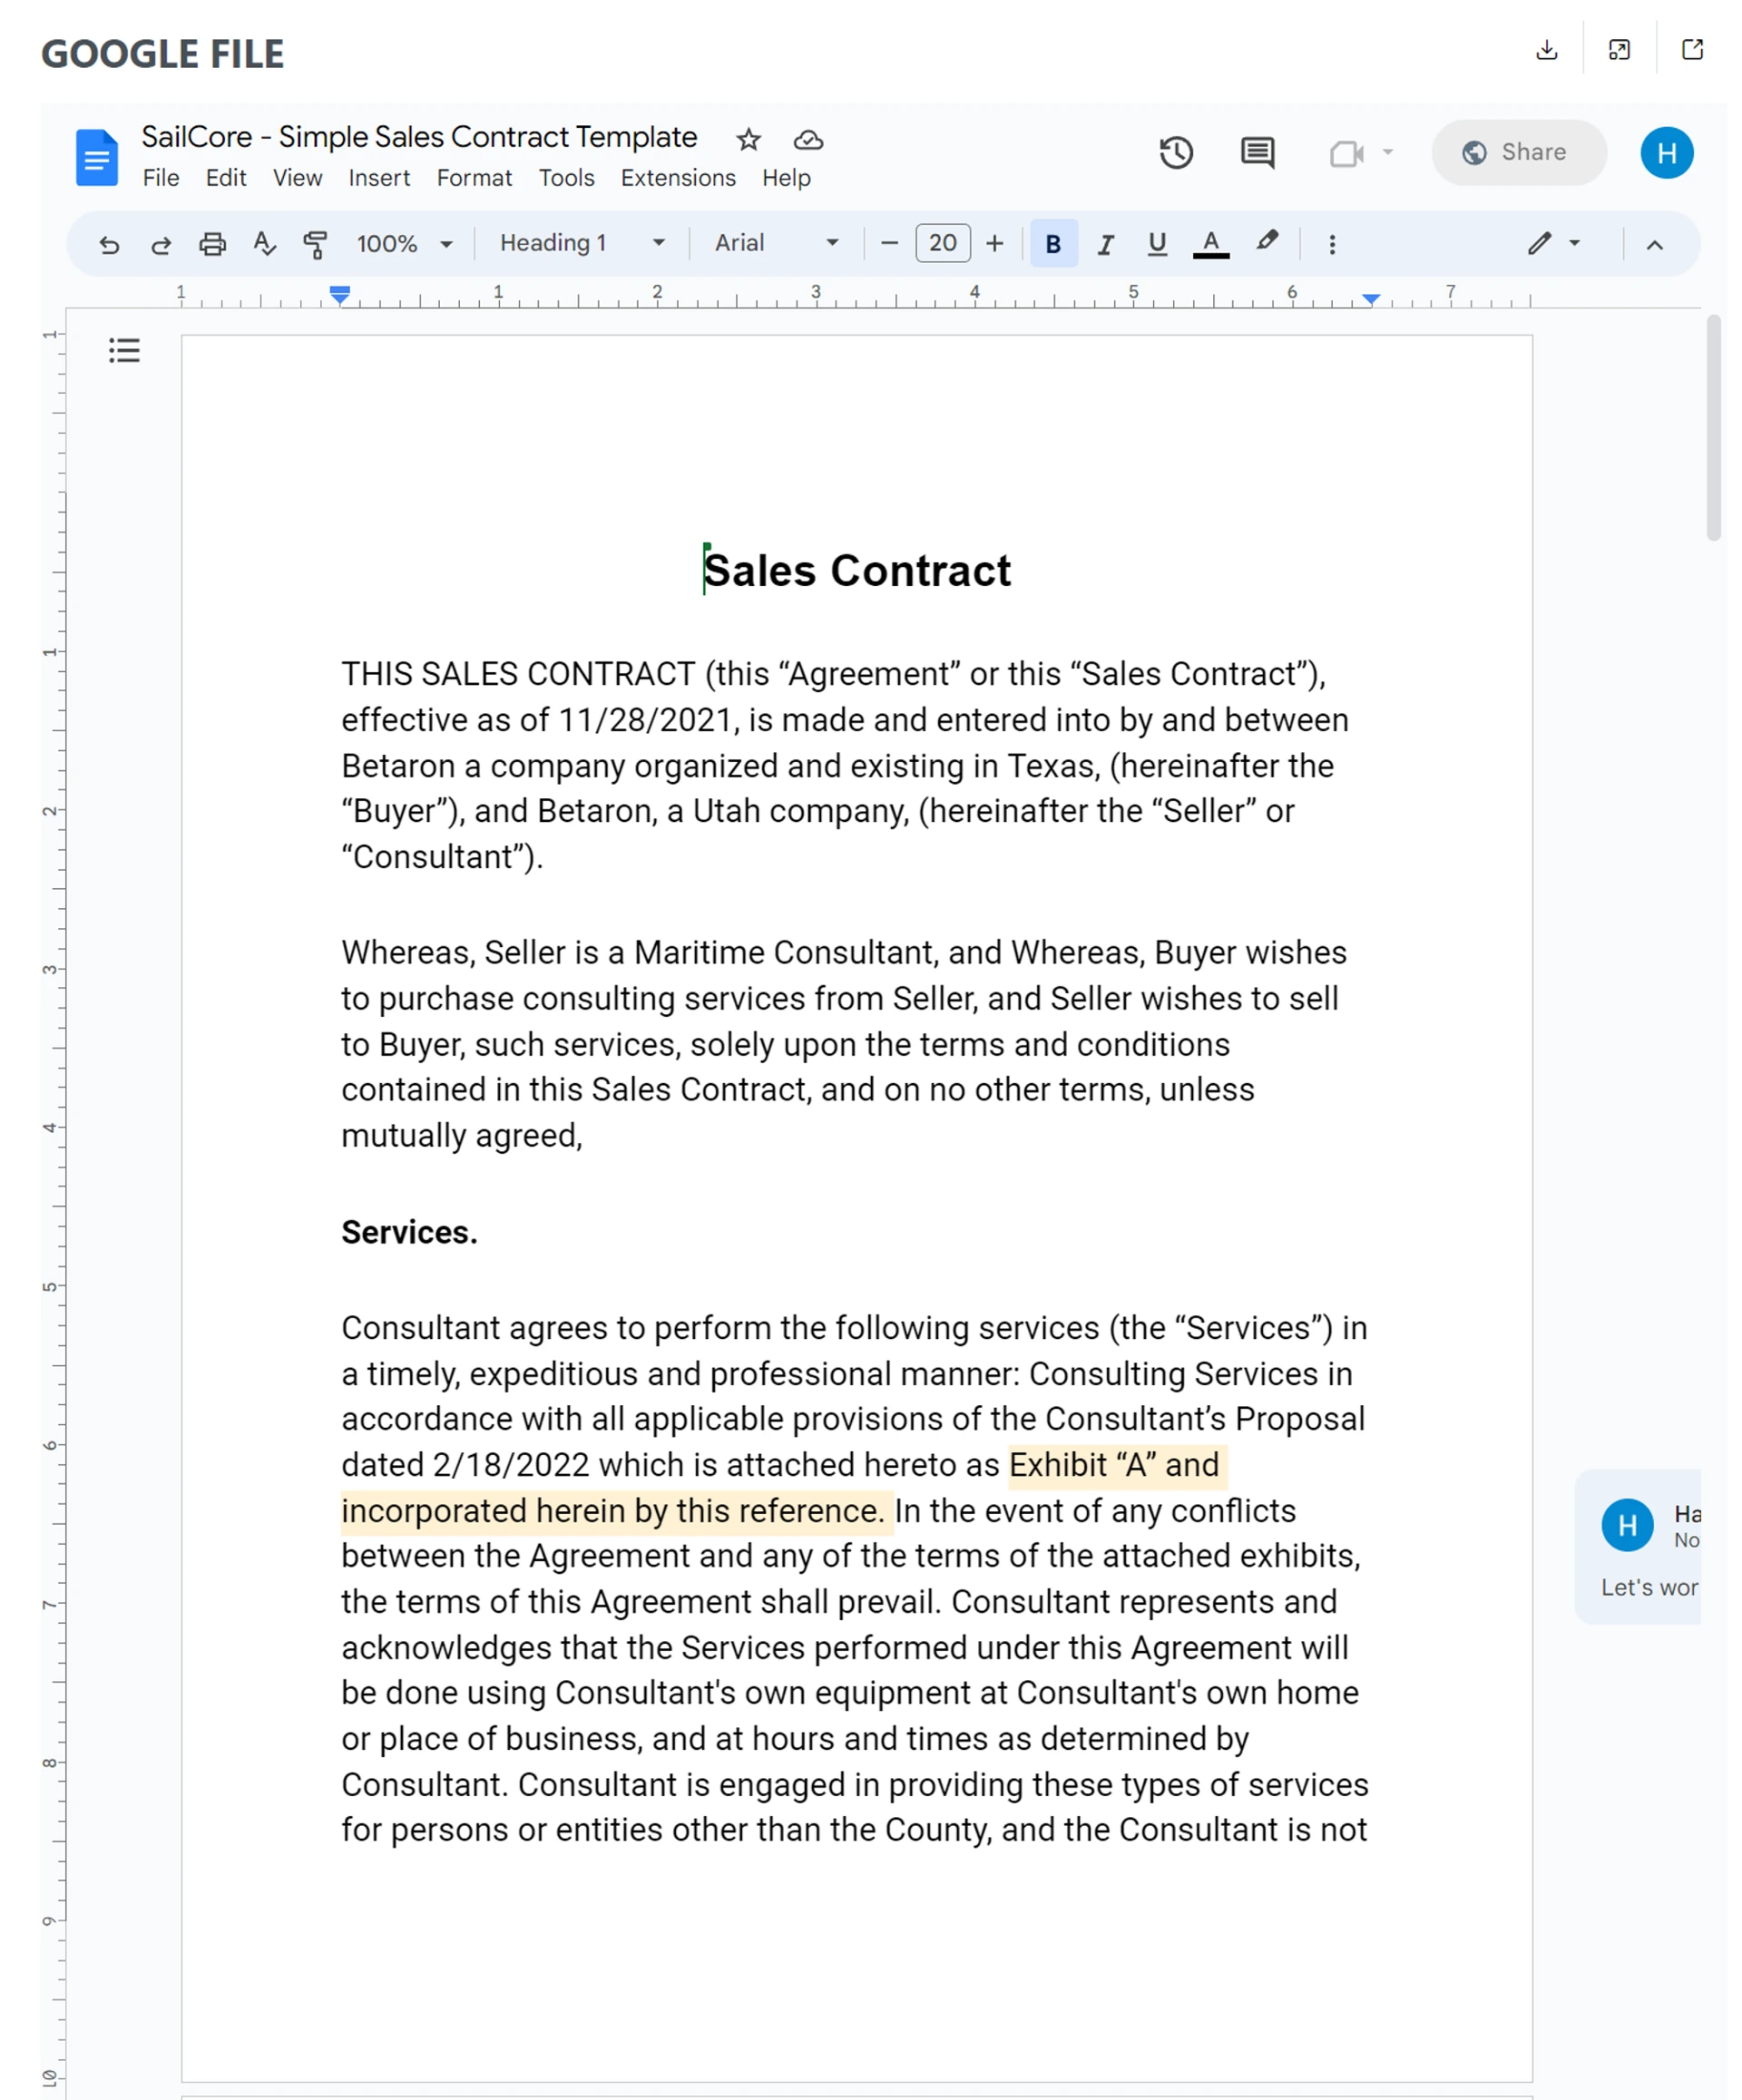
The Google File field in On2Air Forms allows you to edit and view Google Docs, Google Sheets, Google Slides files or Google Drive folders on your form connected to Airtable. You can use an URL saved in Airtable or a static URL. You can also save the file back to Airtable in an  Attachments field or download the file. Can be used for both Private and Publicly Shared Files
See more Field Types in the Form Field Reference
-
How to Add a Field to Your Form
-
Field Configuration
-
Field Labels
-
Field Status - Display Mode
-
Field Defaults
-
Google File or Folder Configuration (Set Google Field or Static URL)
-
File Source
-
Downloading
-
Viewing Options
-
Airtable Storage (Airtable Field for Saving Downloaded File)
-
Google Settings (for Files Saved Back to Airtable)
-
URL Prefill Settings
-
URL Prefill Key
-
Disable Prefills for Field
-
Extra Options (Advanced)
-
Danger Zone - Delete Field from Form
How to Add a Field to Your Form
Section titled “How to Add a Field to Your Form”Here’s how to add Airtable Fields or On2Air Custom Fields to your Form
➡️
 How to Add Airtable Fields and On2Air Custom Fields to Your Form
Field Configuration
Section titled “Field Configuration”Field Labels
Section titled “Field Labels”Example:
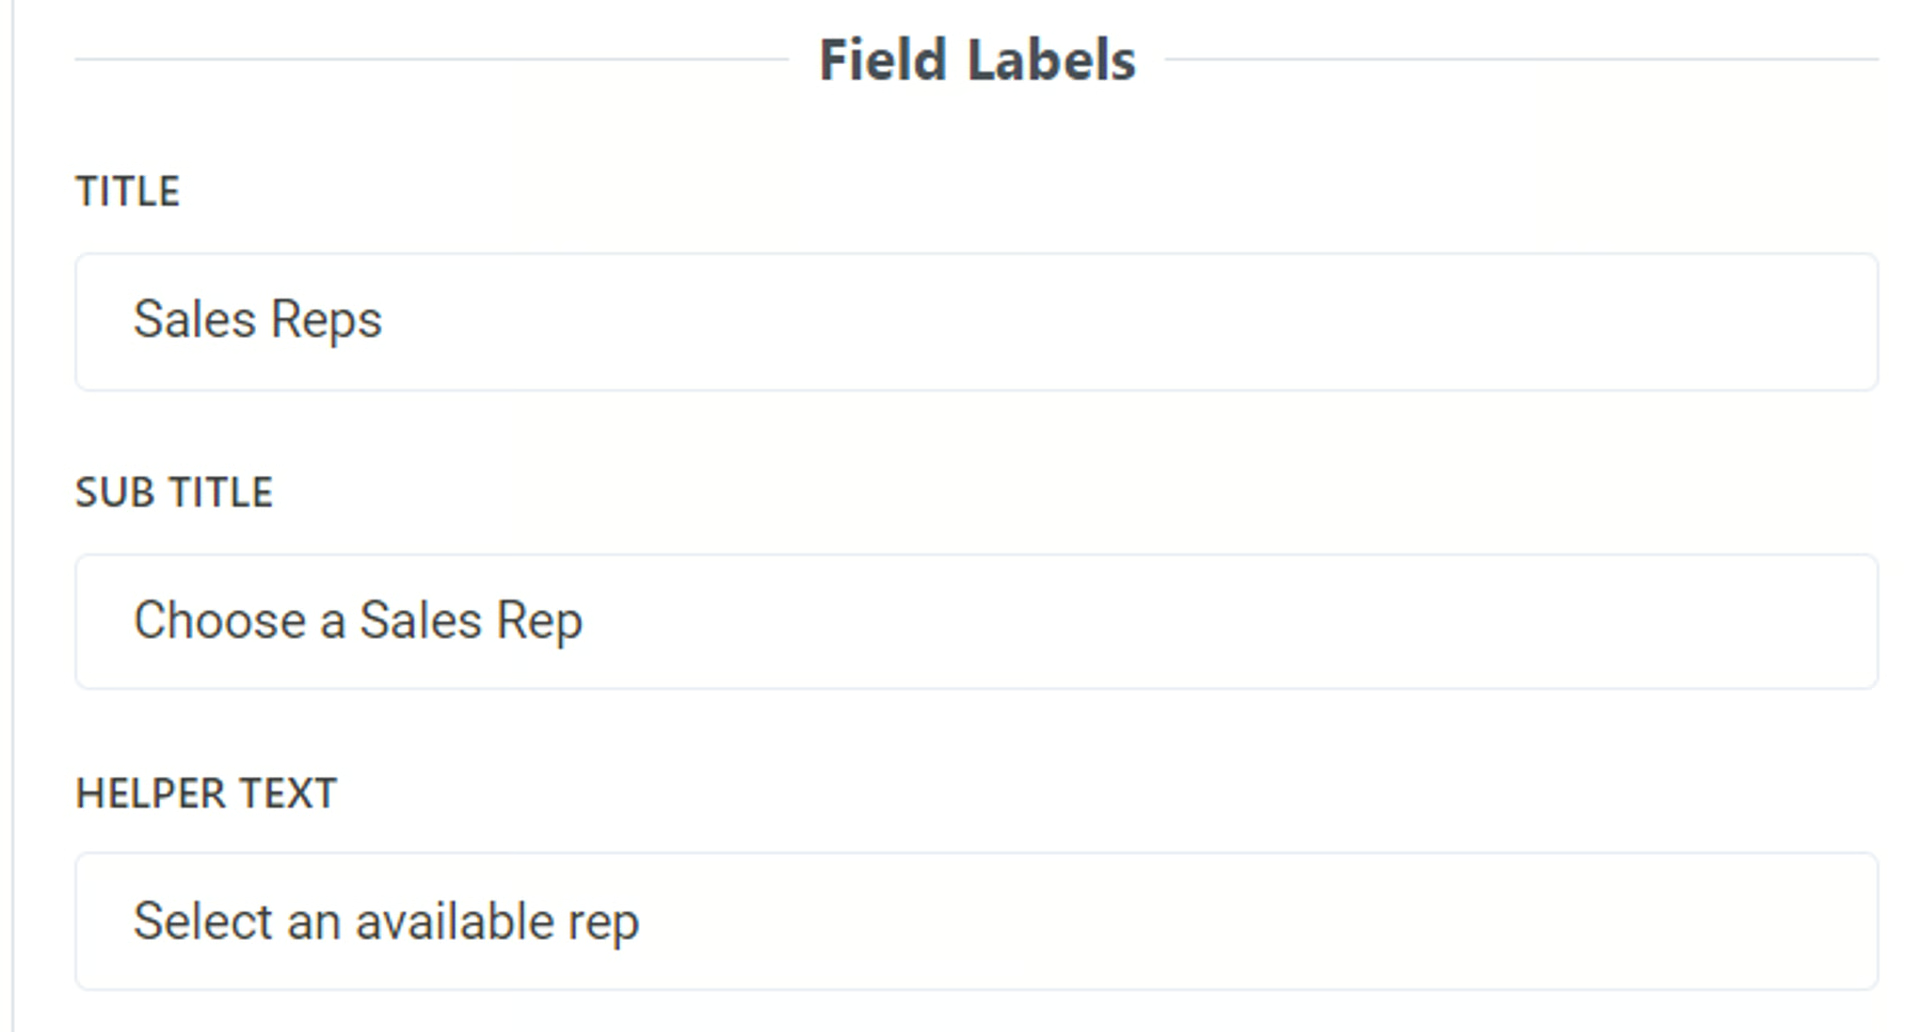
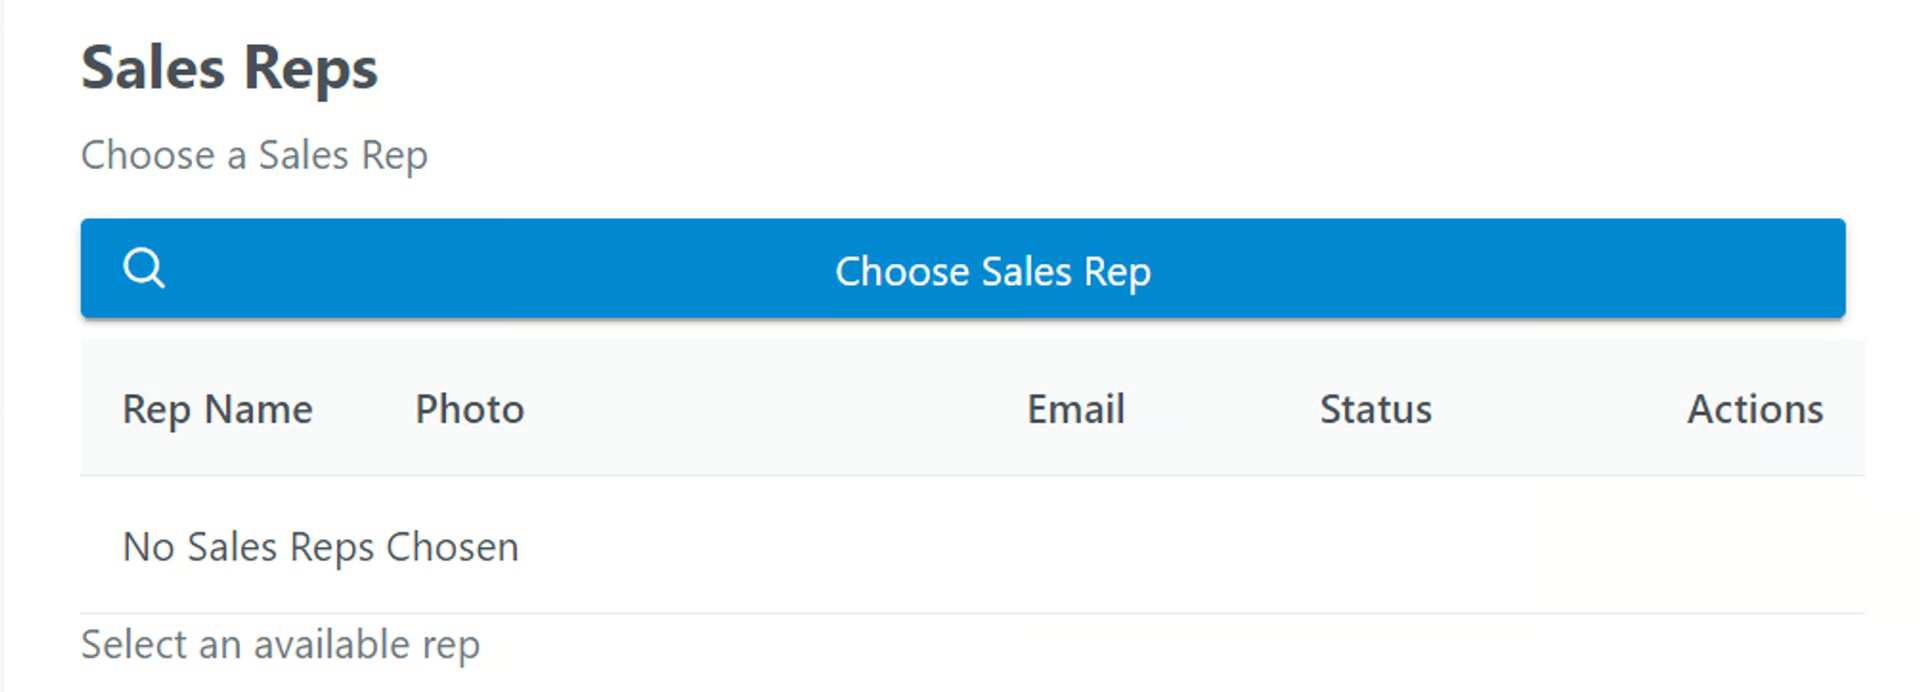
Title
- Add a title to be displayed above the field as the main name. To leave blank, add a single space
By default, this is the name of your field in Airtable. You can use a different field name than your base and it will not affect the field name in your base.
Sub Title
- Add a subtitle to be displayed above the field. To leave blank, add a single space
You can use basic text in this field or you can use Markdown to increase text size, bold, or italics
Related:  Use Markdown with On2Air Forms
Helper Text
- Add helper text to be displayed below the field. To leave blank, add a single space
You can use basic text in this field or you can use Markdown to increase text size, bold, or italics
Related: Use Markdown with On2Air Forms
Field Status - Display Mode
Section titled “Field Status - Display Mode”Select Display Mode
- Choose how you want this field displayed on the form
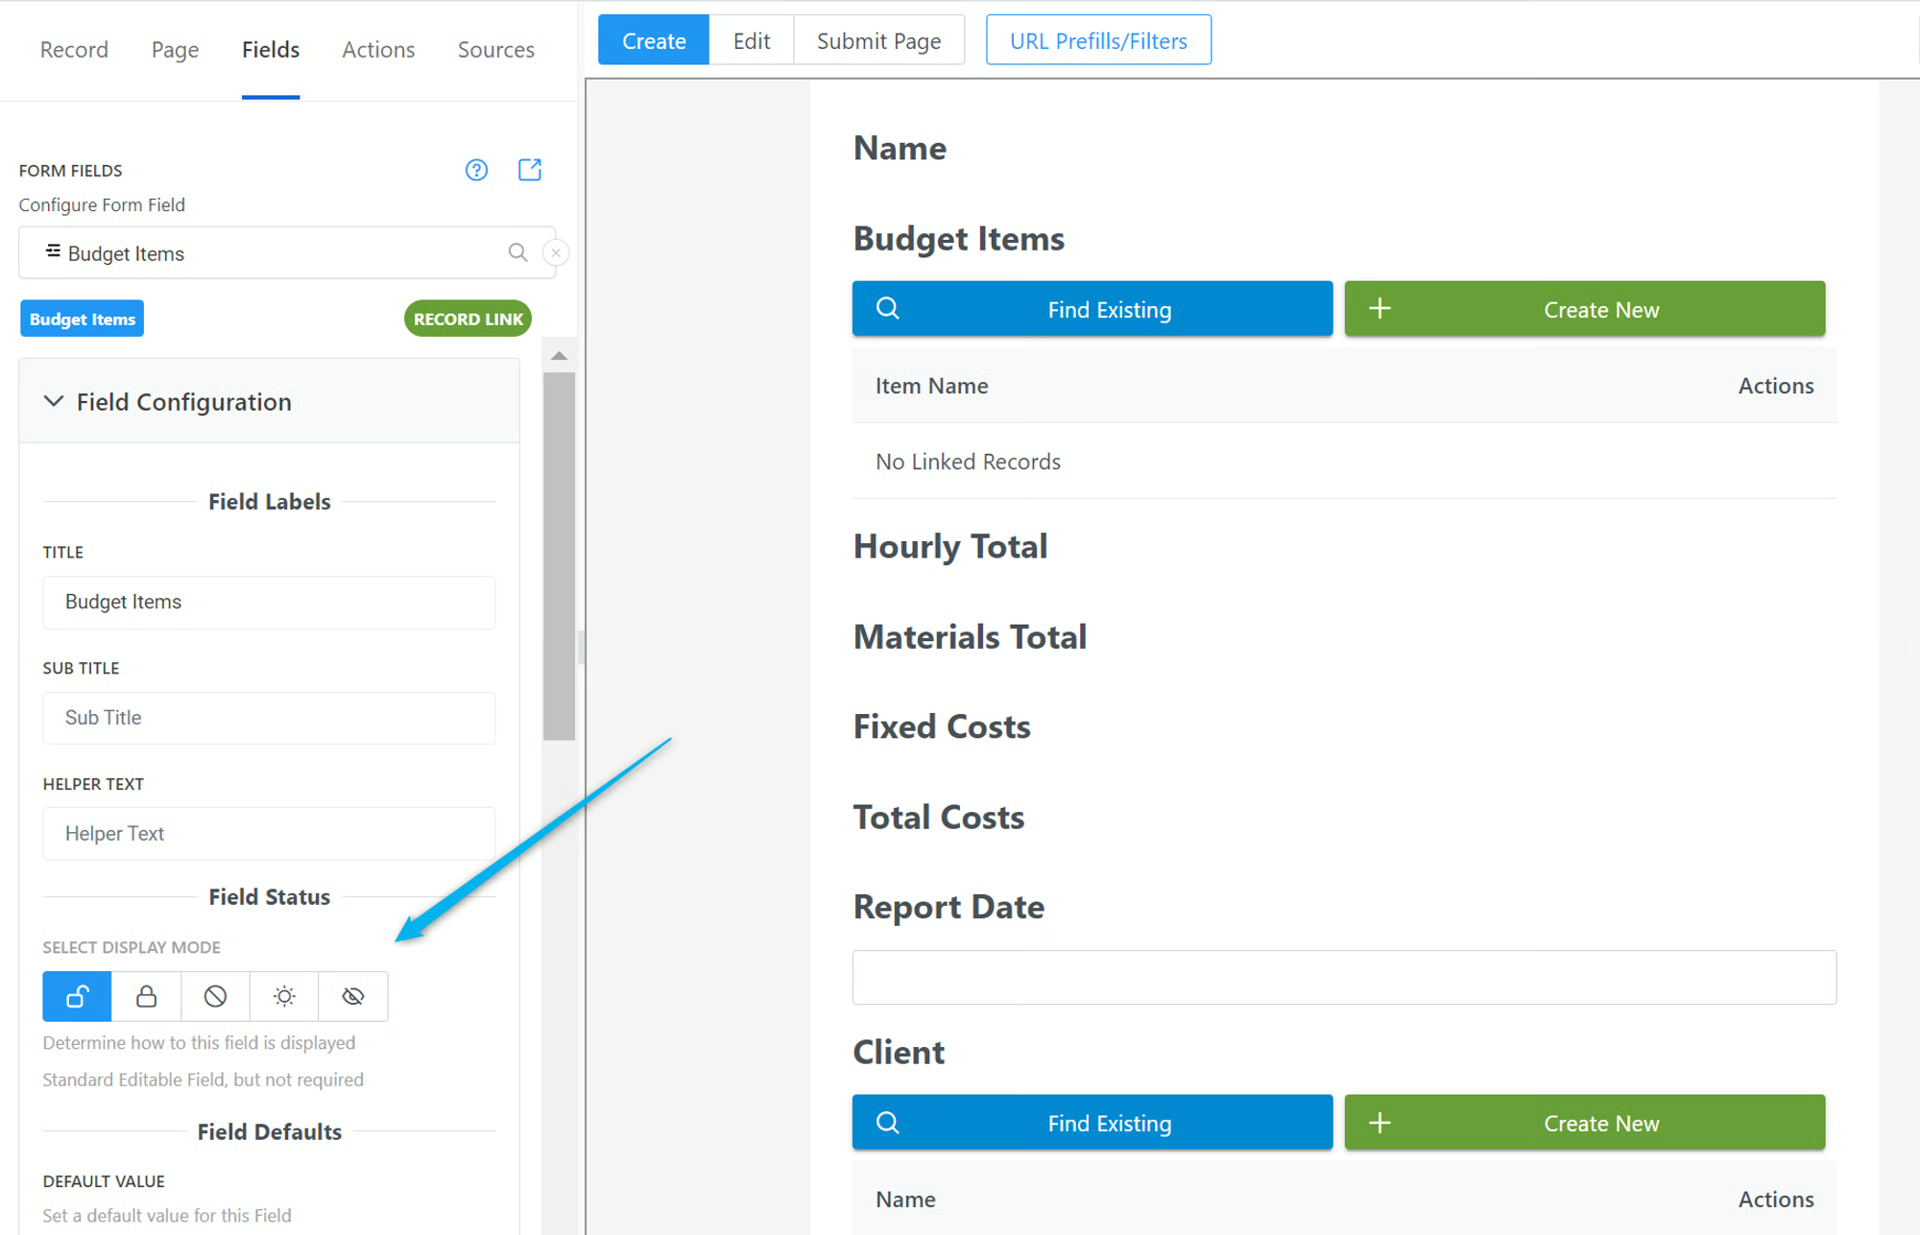
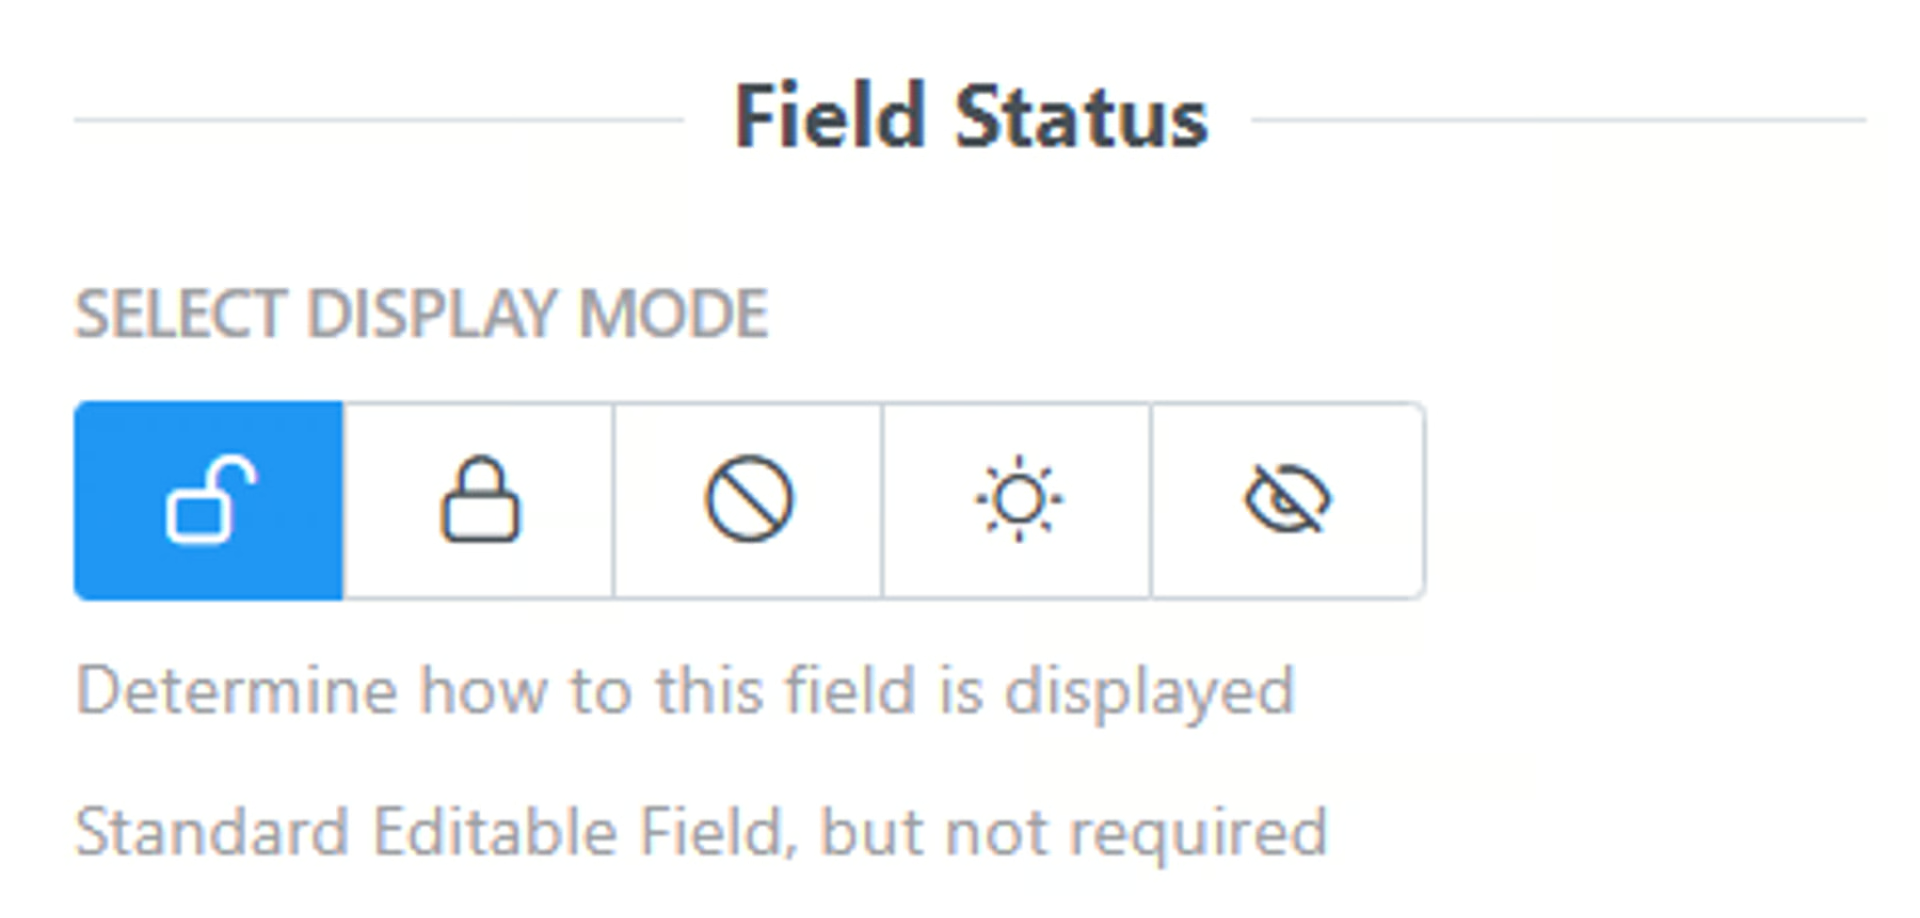
Options:
- Optional Field - Standard, editable field - Form user can complete this field, but it is not required
- Required Field - Standard, editable field - Form user is required to complete this field
- Disabled Field - Standard, non-editable field - Form user can view, but not edit
- Display Field - Display the field as Text or other format
- Hidden Field - This field will not be displayed for the form user, only internally
Field Defaults
Section titled “Field Defaults”Default Value - Add a default value to this field that will be added to every form submission
Use Default on Edit if Empty - Enable if you want to use the default value on Record Edits if the field has no value when the form is submitted
➡️
Related:  How to Add Default Values to Your Form
Google File or Folder Configuration (Set Google Field or Static URL)
Section titled “Google File or Folder Configuration (Set Google Field or Static URL)”Fields with Google File or Google Folder URLs can be Text, URL, Linked Records, or Formula fields
⚙
IMPORTANT To use the Google File or Folder field with a URL that’s stored in Airtable, you need to first add the Airtable field with the Google URL to your On2Air Form, then you can hide it in the Display mode settings of that field.
If you’re using the Static URL option, you don’t have to add any additional fields.
💡
Setup for Private or Publicly Shared Files To edit or view Private Google files where you have access, you must be logged into your Google account in another browser tab so Google can ‘authenticate’ you’re the one viewing and editing the file. If the file is Publicly Shared, you do not need to be logged in to Google.
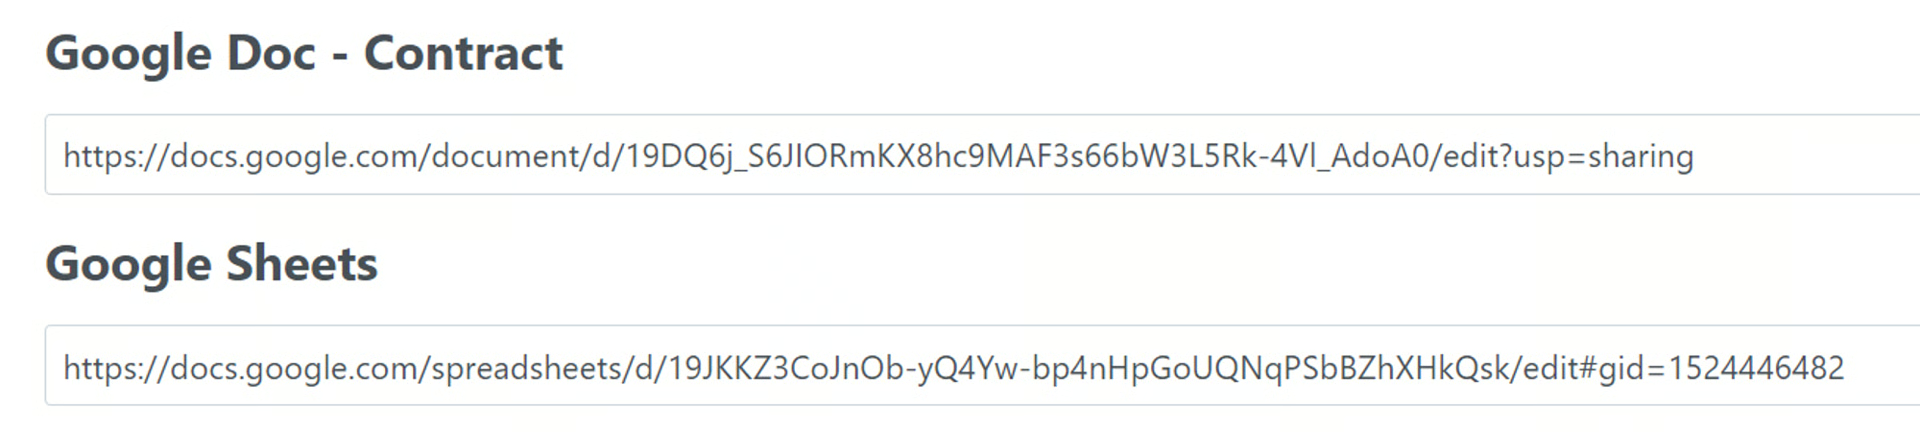
File Source
Section titled “File Source”- Choose if your Google File URL source is in an Airtable Field or a Static URL you manually add in the form settings

Field - Google File URL is located in a field in your Airtable base
Static - Manually add a Google File URL in the On2Air Google File settings
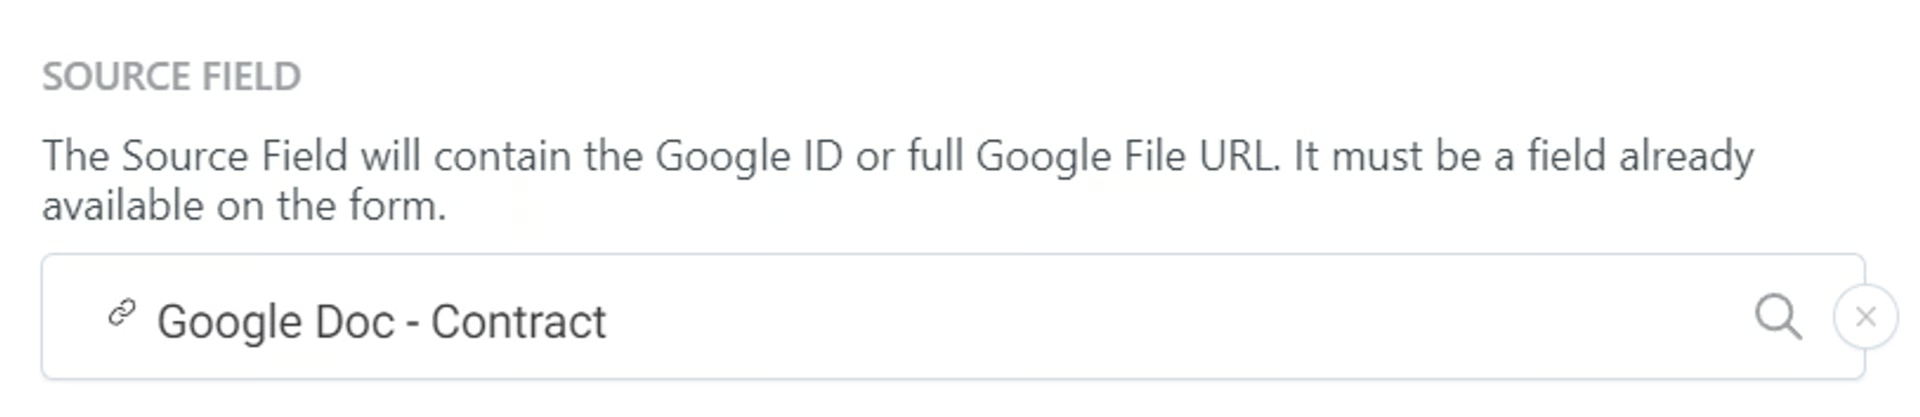
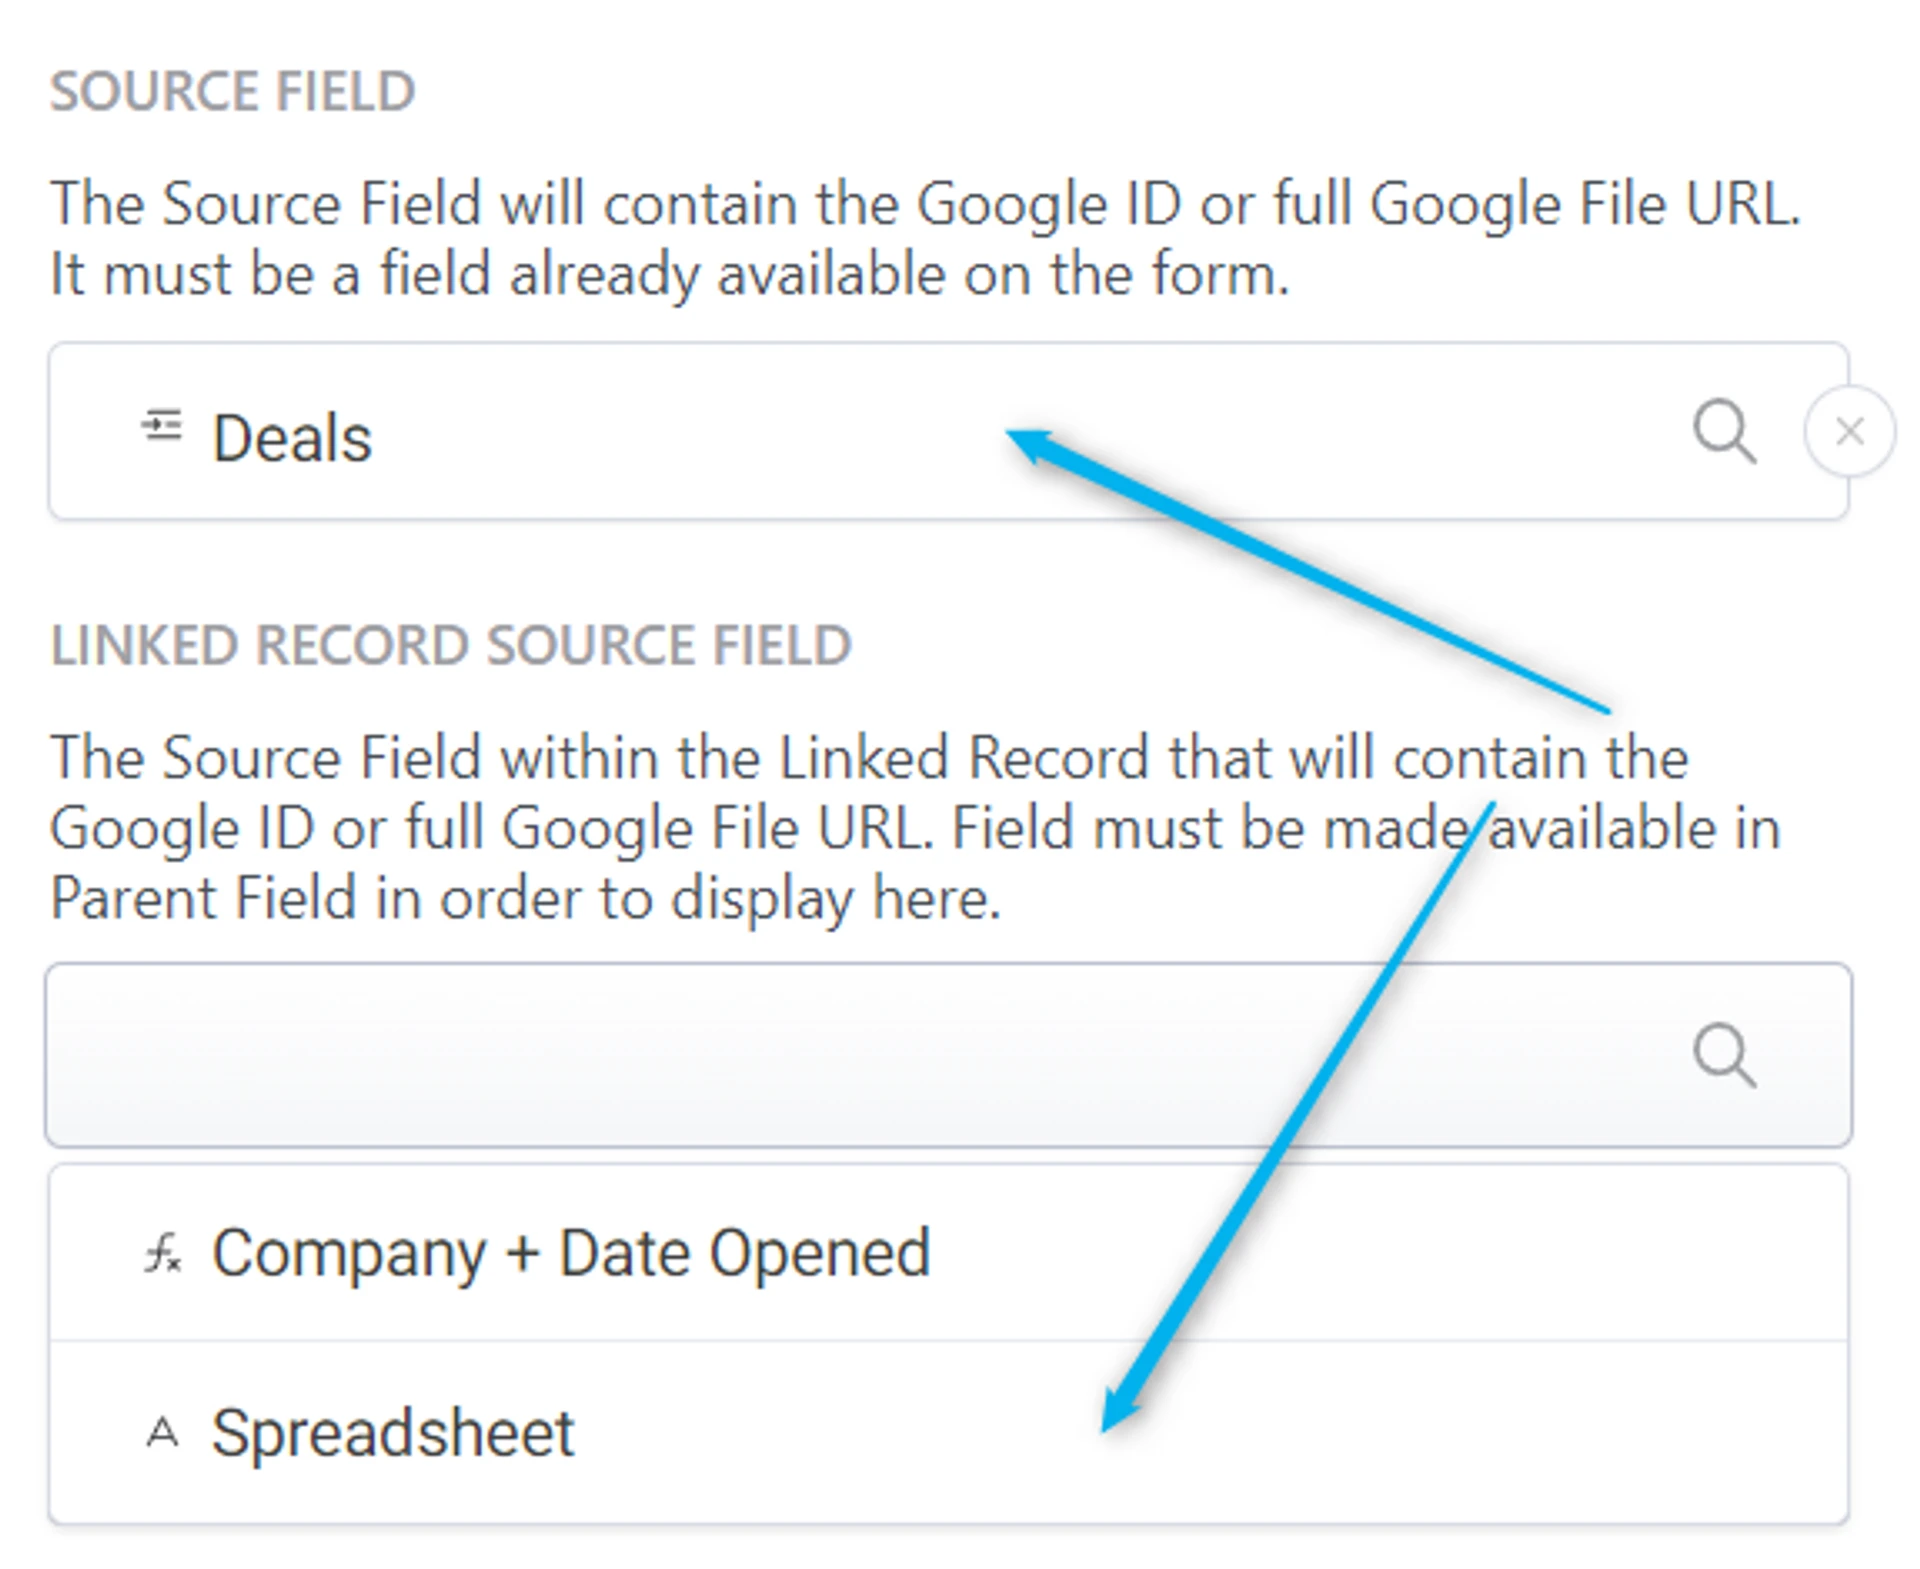
SOURCE FIELD (for Airtable Field Source)
The Source Field will contain the Google ID or full Google File URL.
STATIC FIELD (if Static File Source)
Enter your Google File URL in the Static URL field settings

LINKED RECORD SOURCE FIELD (If Linked Record contains Field Source)
If you chose a Linked Record as your Source field, choose the field from the Linked record table that contains your Google File URL
💡
The File URL Field from Linked Record table must be made available as a Display Field in the Linked Record Field settings in order to display here.

Linked Record Display settings
Google File field from Linked Record
GOOGLE FILE TYPE
Choose the Google File Type

File Type Options:
- Google Docs
- Google Sheets
- Google Slides
- Google Drive Folder
EMPTY MESSAGE
Message to display if no URL link is found - can use basic text/numerals
To make it stay empty or ‘blank’, add several spaces in the box

DOCUMENT HEIGHT
Specify a numeric height (in pixels) for the document frame
Example: 1500 will make the height 1500 pixels

💡
If you need to resize the width, resize the width of the entire form in  Change the Layout of Your Form - Width and Multi-Column
FOLDER VIEW MODE
If you’re viewing or editing a Google Drive Folder, you can choose the view mode as List or Grid
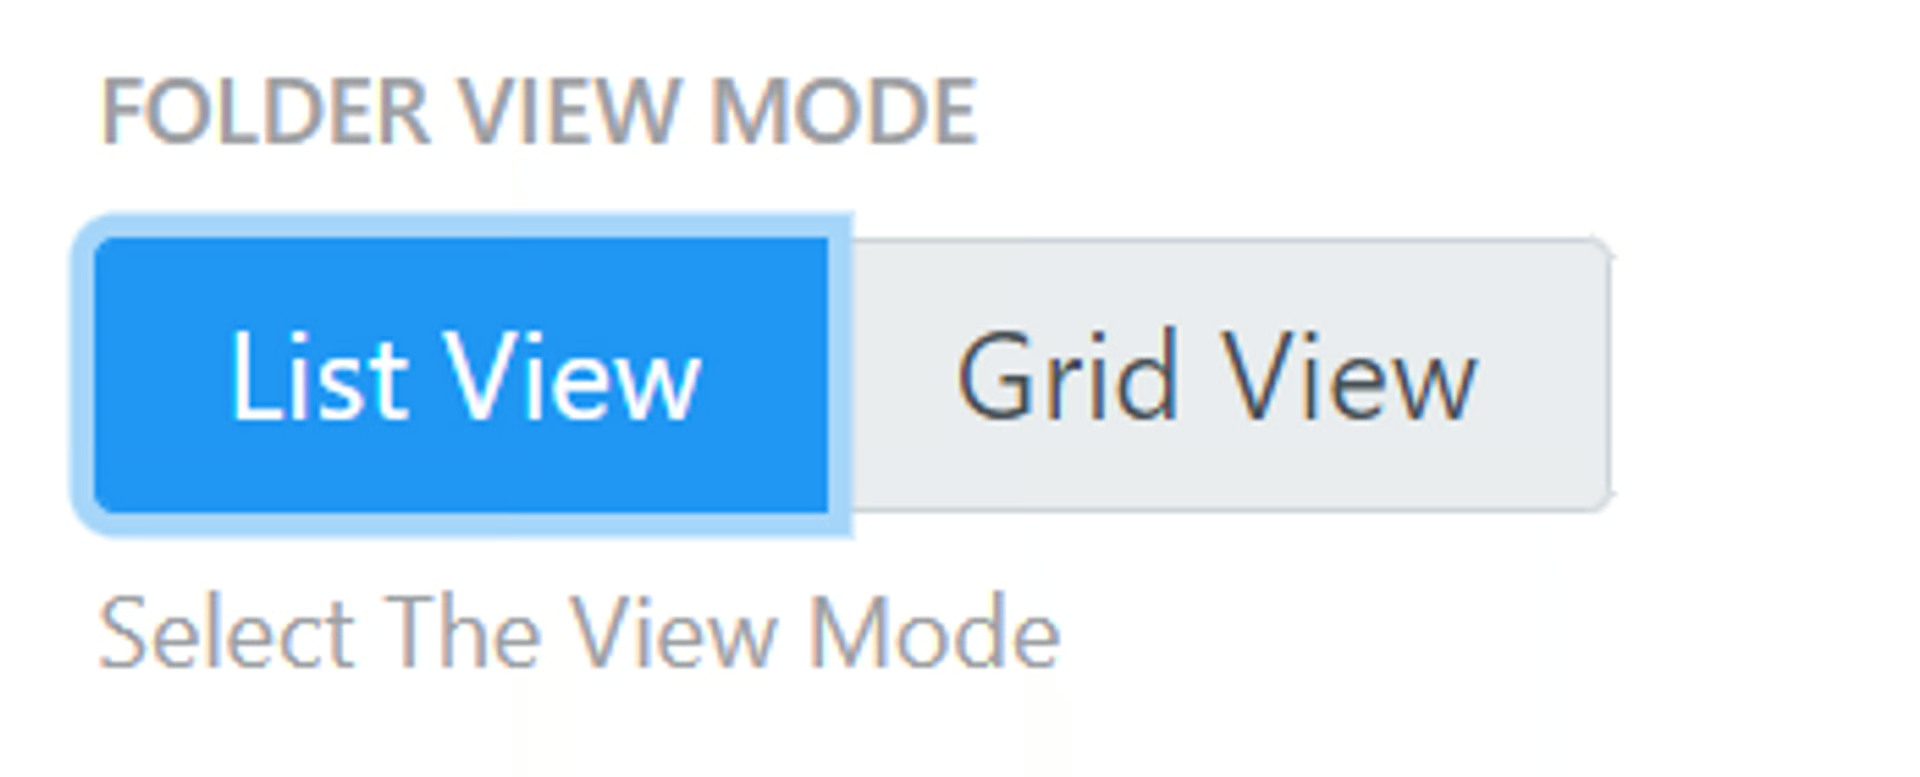
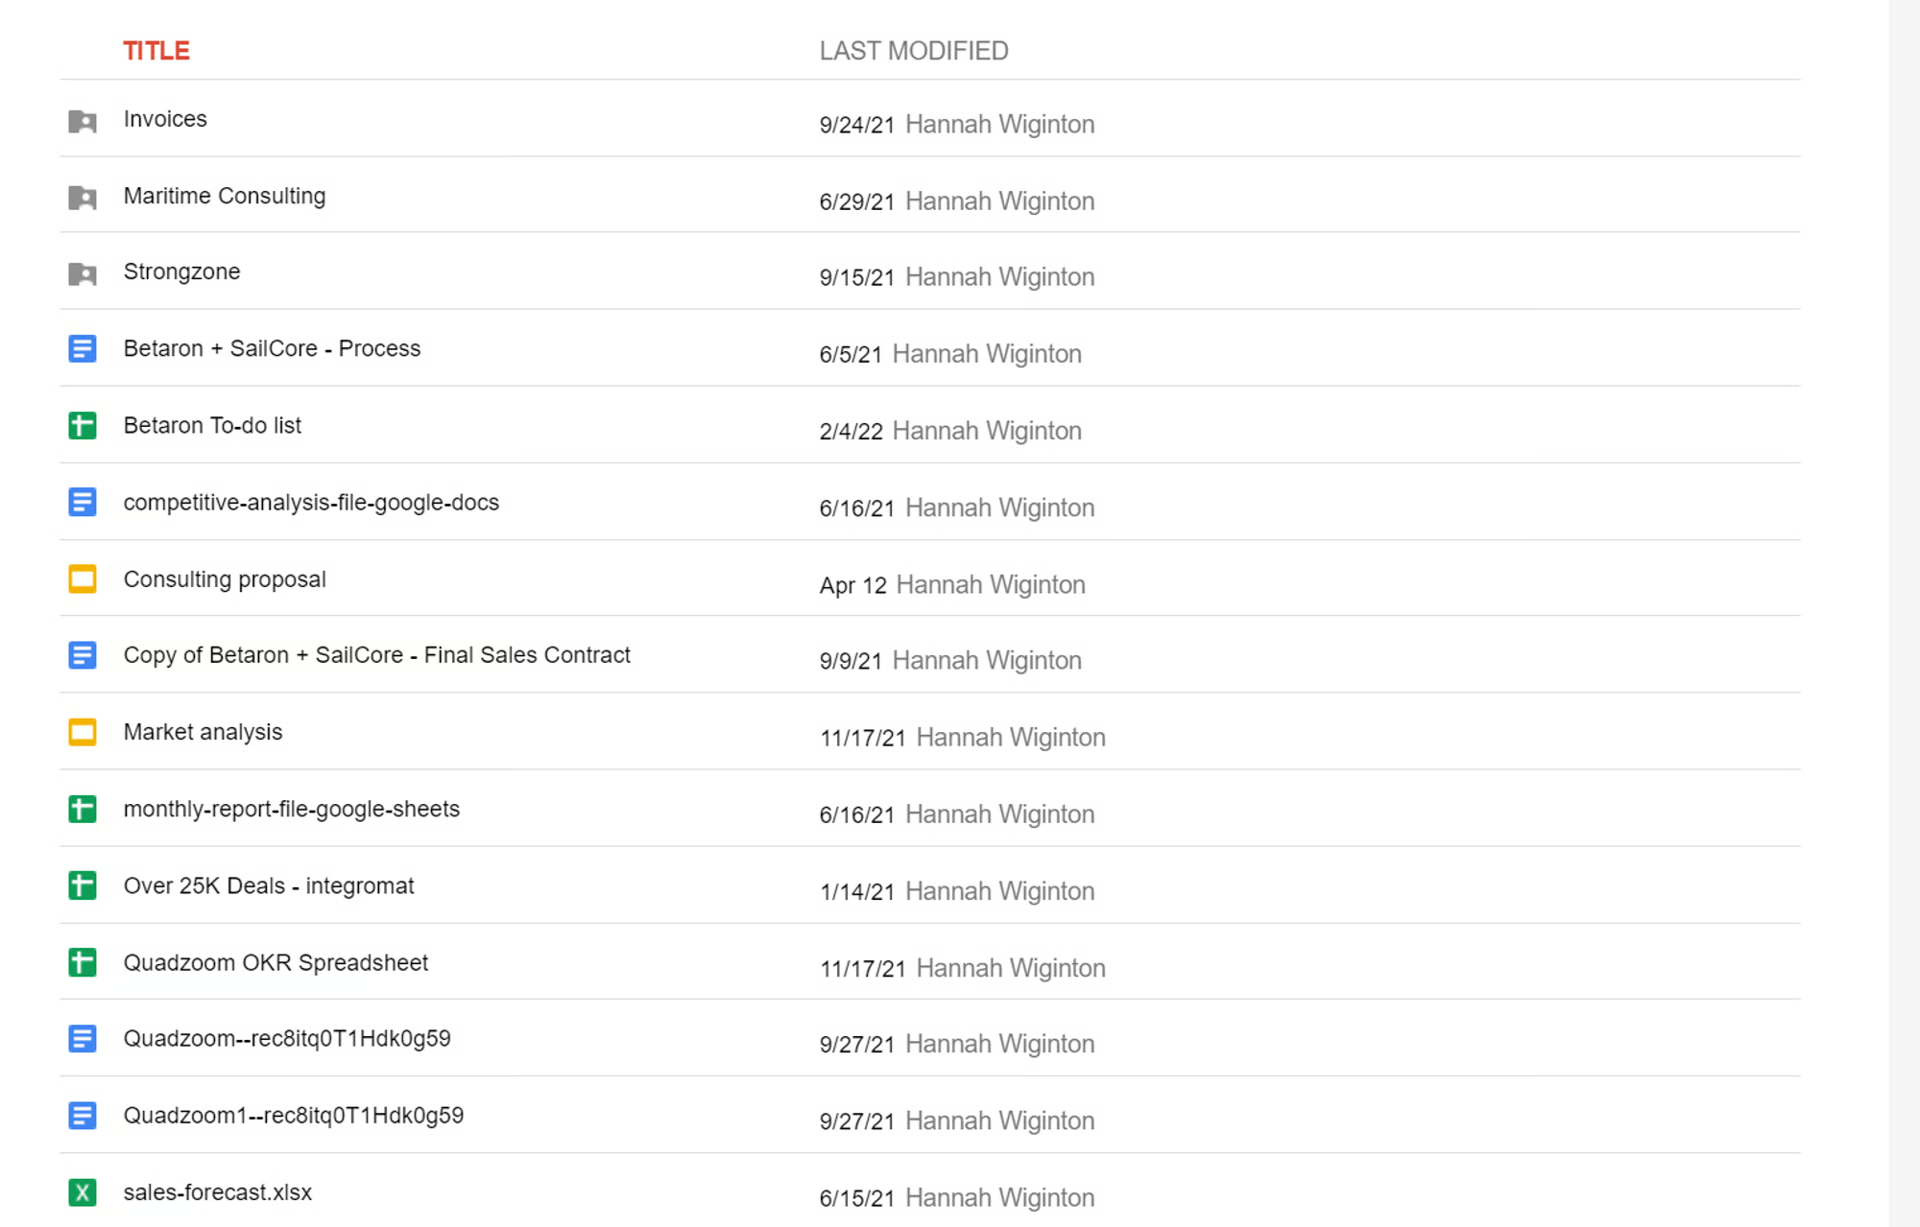
List View
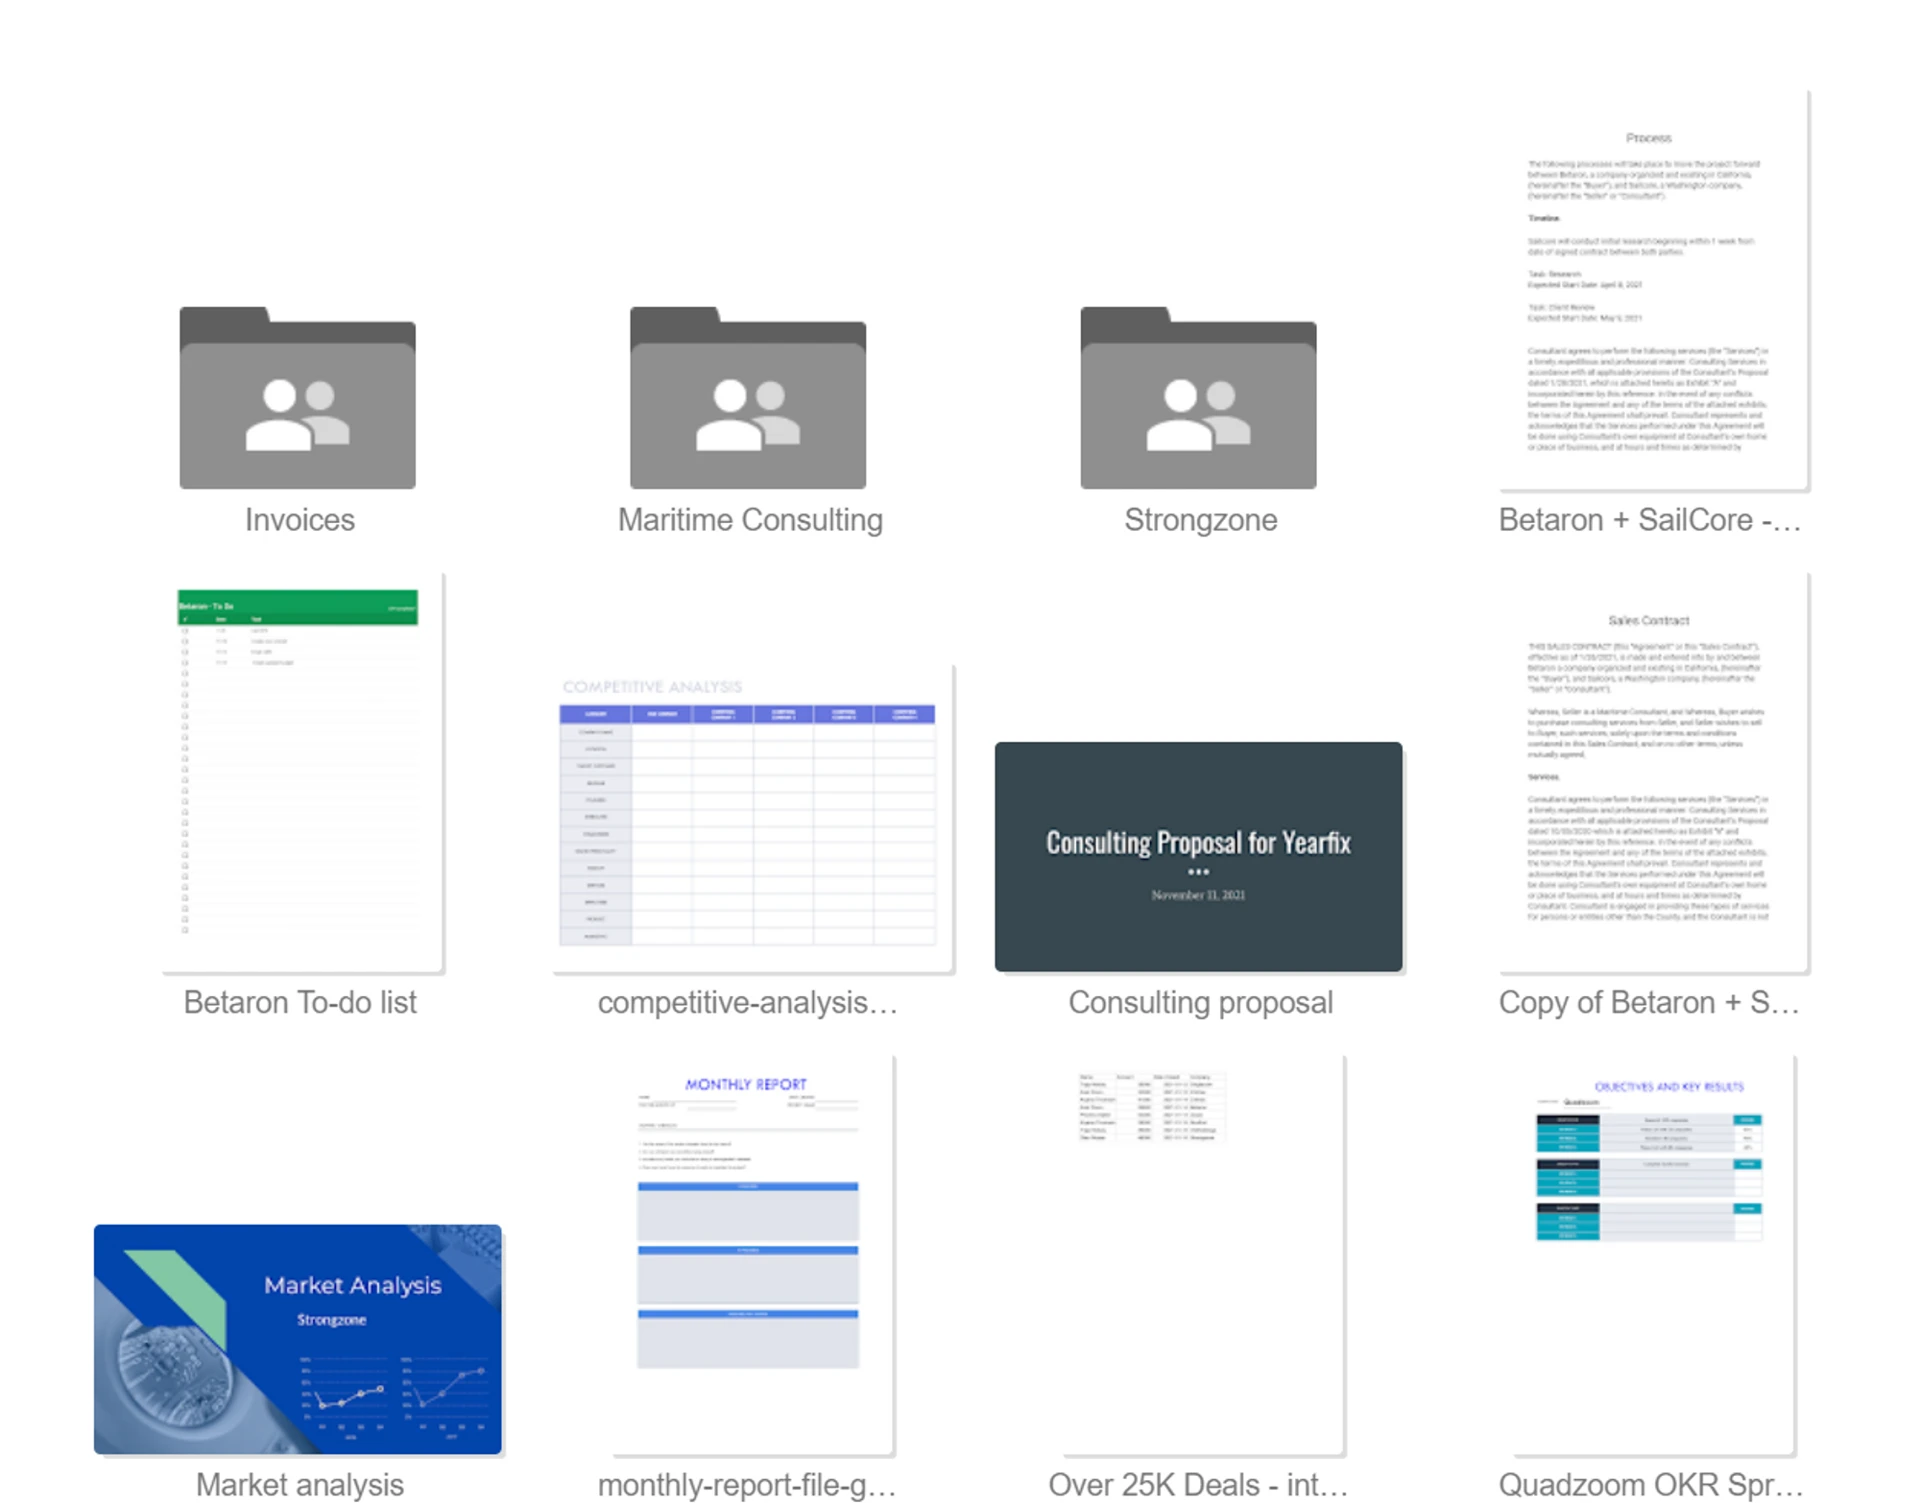
Grid View
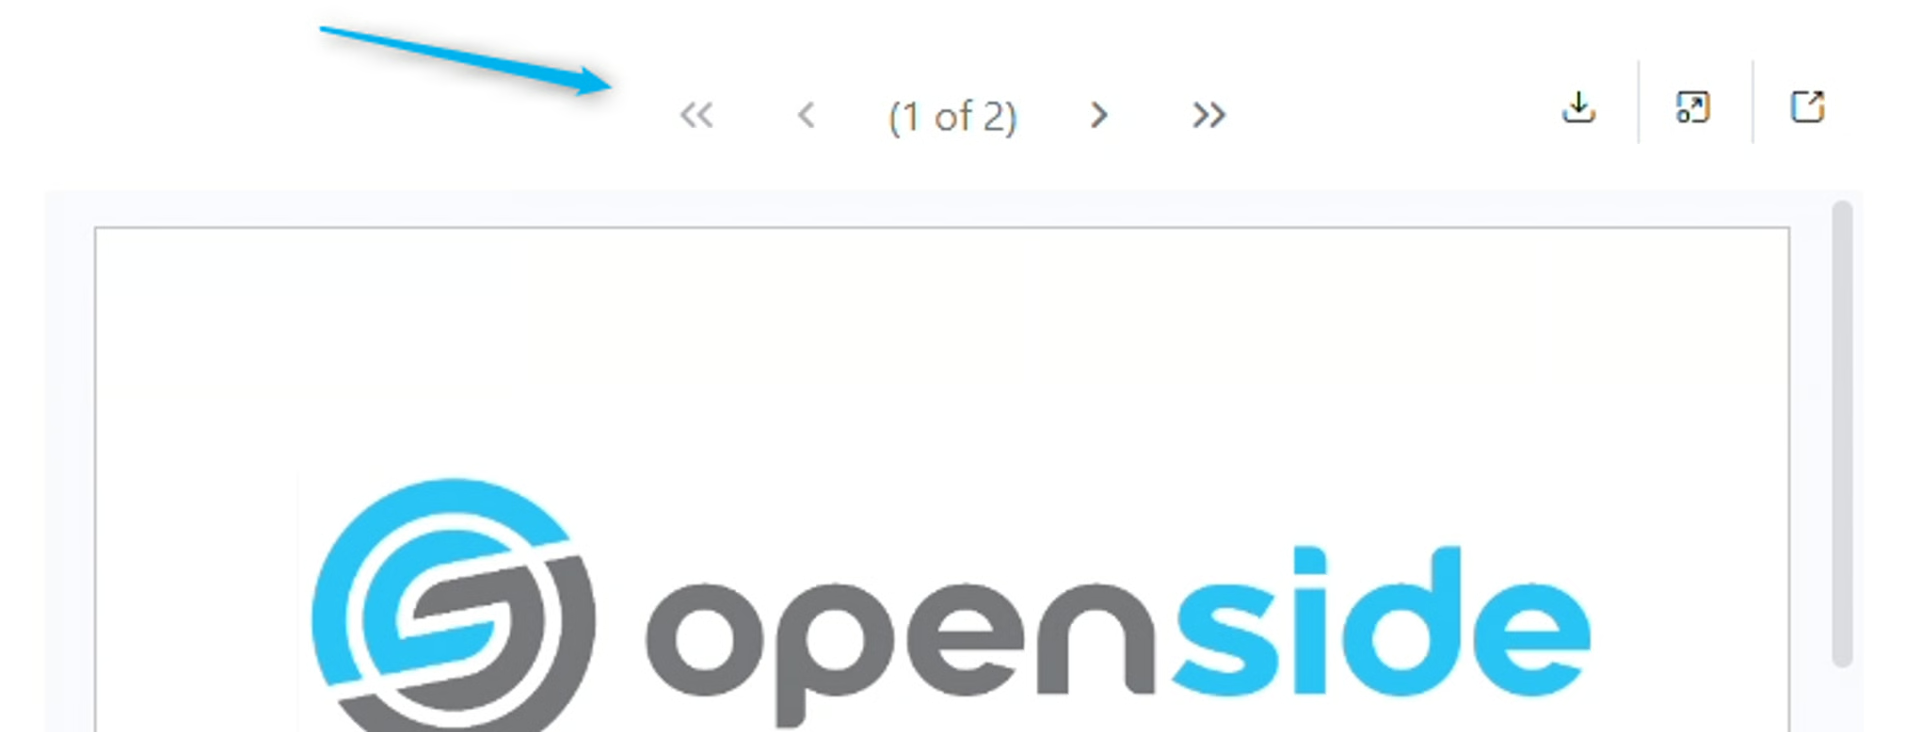
MULTIPLE FILES
If there are multiple URLs with multiple files in the Field, it will automatically enable pagination at the top of the frame so you can scroll through files.
Downloading
Section titled “Downloading”Allow Download - Enable to allow the form user to download the Google File
- Disabled by Default
Not an option with Google Drive Folders

💡
Please note that this downloads the Google file as it is or as you’ve edited it. It does not prefill or auto-generate with your Airtable data. If you need auto-generated documents from your Airtable data, check out our On2Air Docs app.
SELECT AVAILABLE FORMATS TO DOWNLOAD AS (Allow Download must be enabled)
- Choose the formats available for download
- If none selected, will allow all types
- If only one selected, will auto download when download button is clicked

Download As Options:
- HTML
- MS Word
- Text
Viewing Options
Section titled “Viewing Options”Choose option to allow how the user can interact with the file
Not available with Google Drive Folders
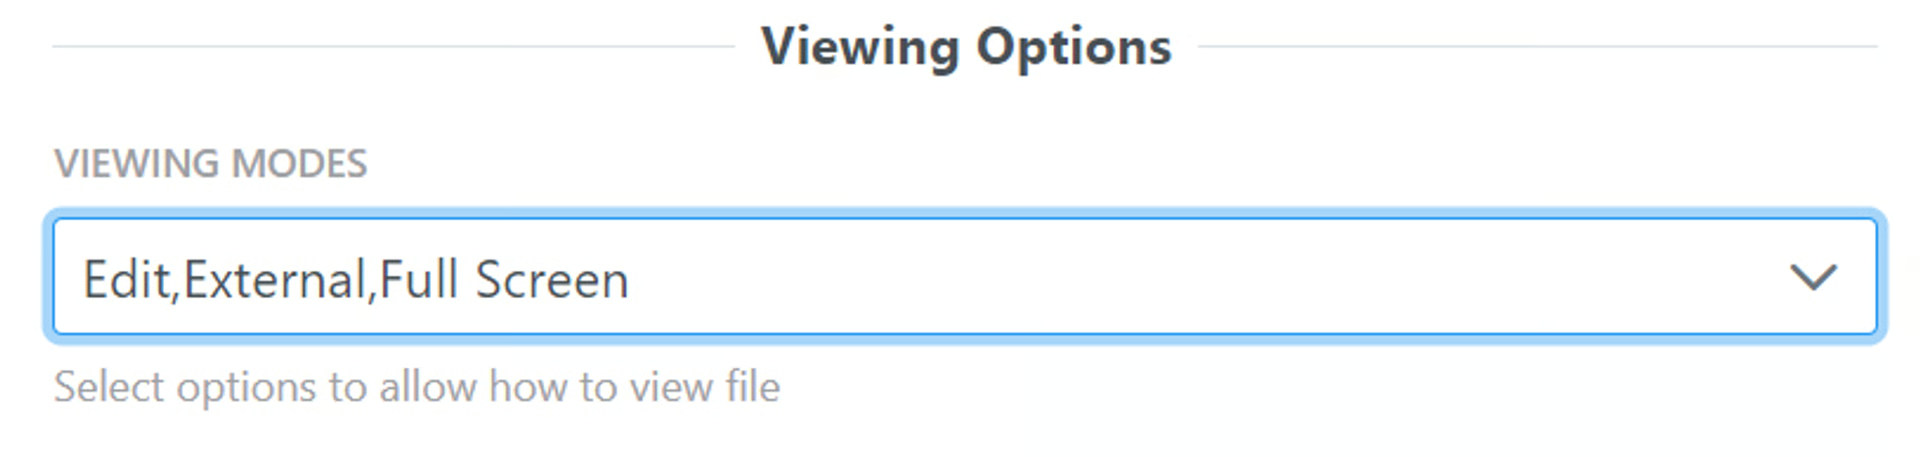
Options:
- Edit - Edit the file - If Edit is enabled, it will be the Default setting
- Preview - Preview the file - if Editing is not selected, Preview will make the file Read-Only
- Full Screen - make full screen
- External - Open in an external tab
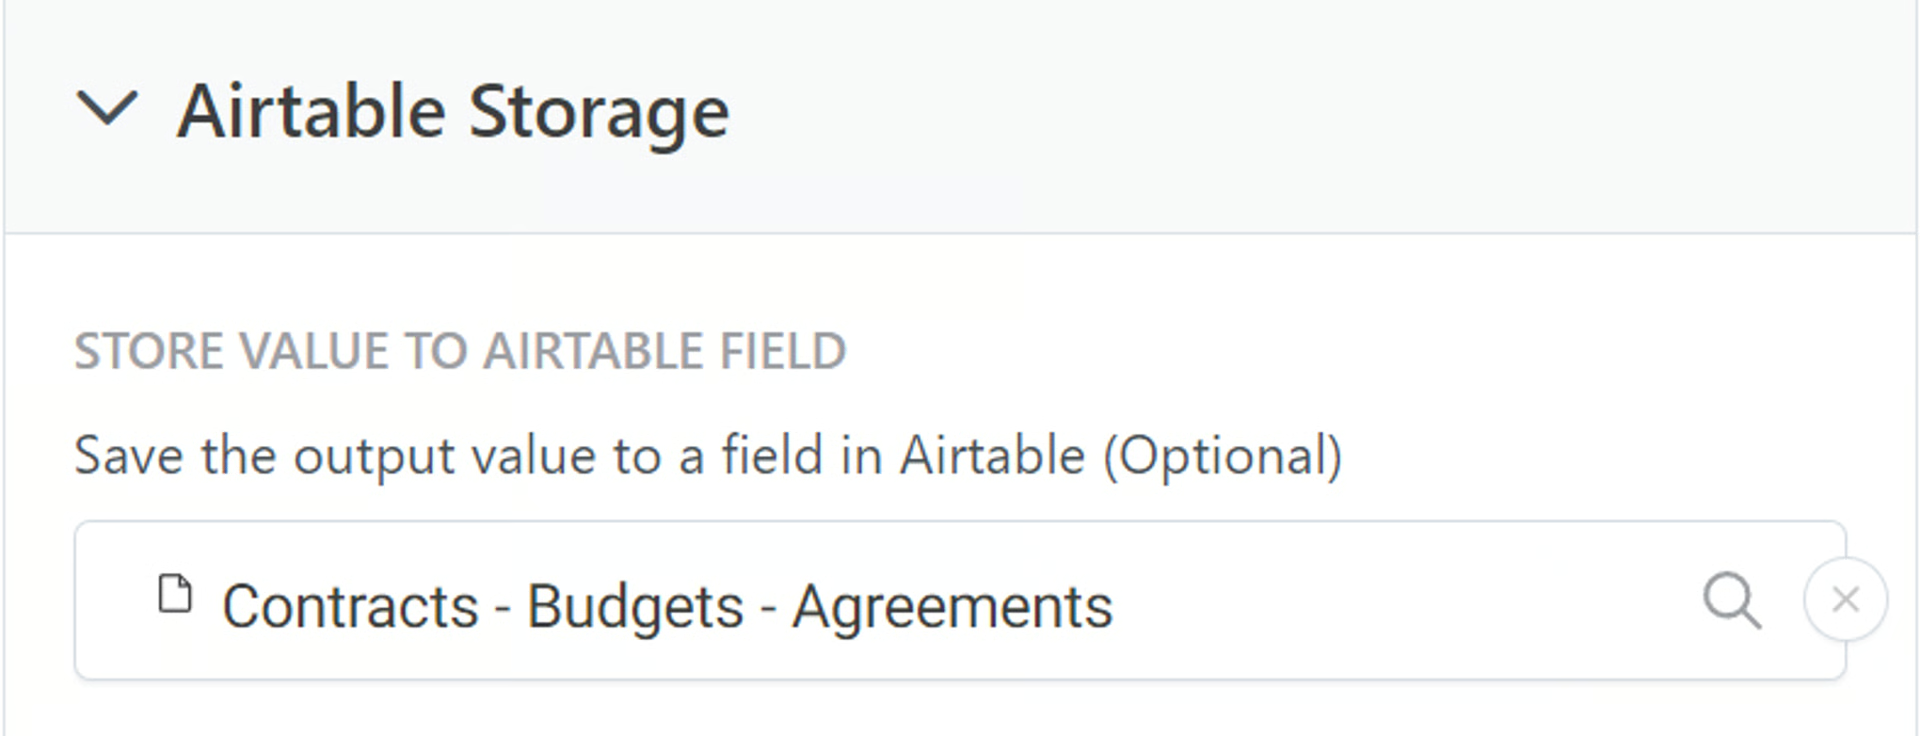
Airtable Storage (Airtable Field for Saving Downloaded File)
Section titled “Airtable Storage (Airtable Field for Saving Downloaded File)”You can choose to save your Google Doc as a PDF back into an Attachments field. Once the Airtable Storage configuration is set up, the file will be uploaded when the Form is submitted.
Store Value to Airtable Field - Choose the field in Airtable where you want the file saved
Google Settings (for Files Saved Back to Airtable)
Section titled “Google Settings (for Files Saved Back to Airtable)”You need to choose whether the Google File is Publicly Shared or Private
Google File Permissions - Choose your Google File Permissions
URL Prefill Settings
Section titled “URL Prefill Settings”URL Prefill Key
Section titled “URL Prefill Key”The Key used to set this field value from the URL (i.e. ?key=value). (i.e. www.yoururl.com?key=value)
Example: Your URL is www.yoururl.com?shoes=red
- The Key is shoes and the value is red. When your form user uses this URL, the shoes field will automatically be entered as red without the user having to enter it in.
➡️
Related:  What is a URL Prefill (Pre-Populated Fields) and How to Use Them in On2Air Forms
Disable Prefills for Field
Section titled “Disable Prefills for Field”- To completely disable URL Prefills from this field, delete the key
Extra Options (Advanced)
Section titled “Extra Options (Advanced)”None available at this time
Danger Zone - Delete Field from Form
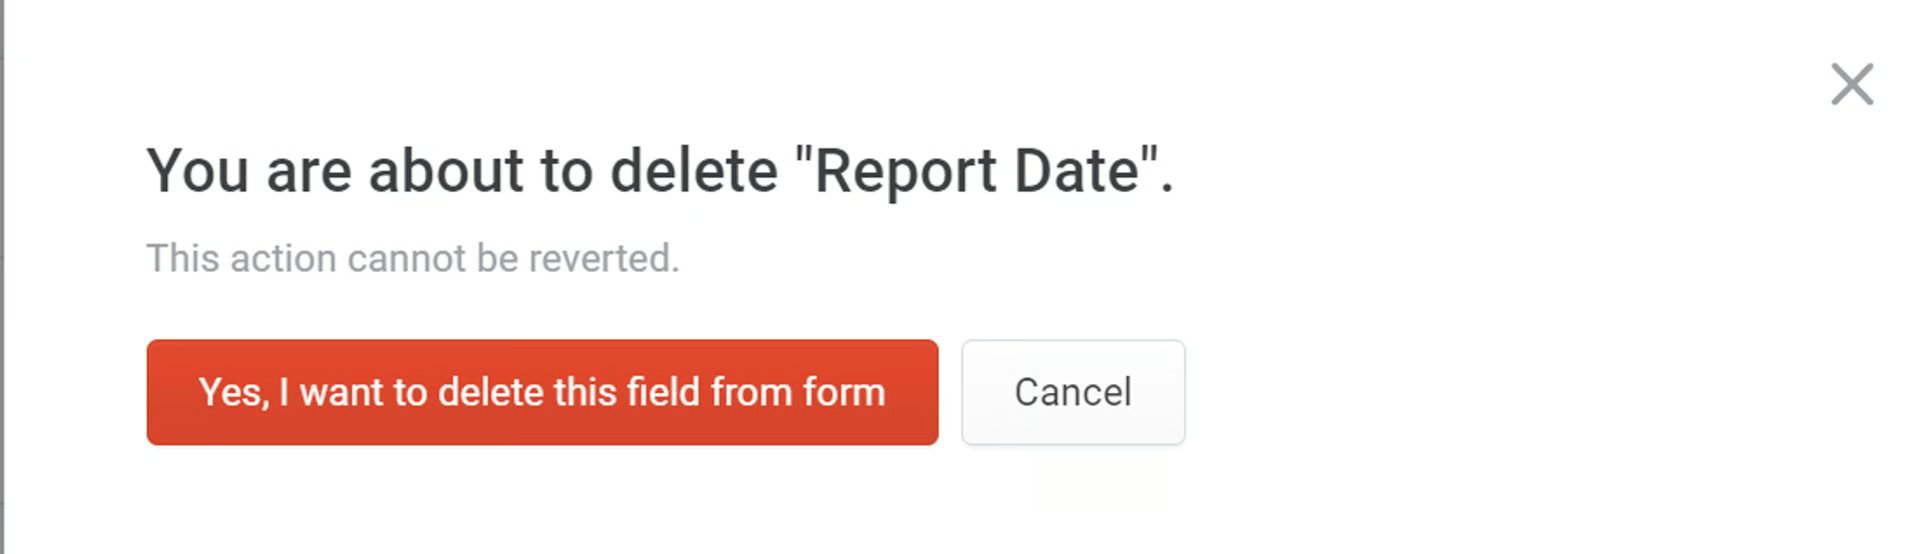
Section titled “Danger Zone - Delete Field from Form”- Delete your field from the form
- Click Remove
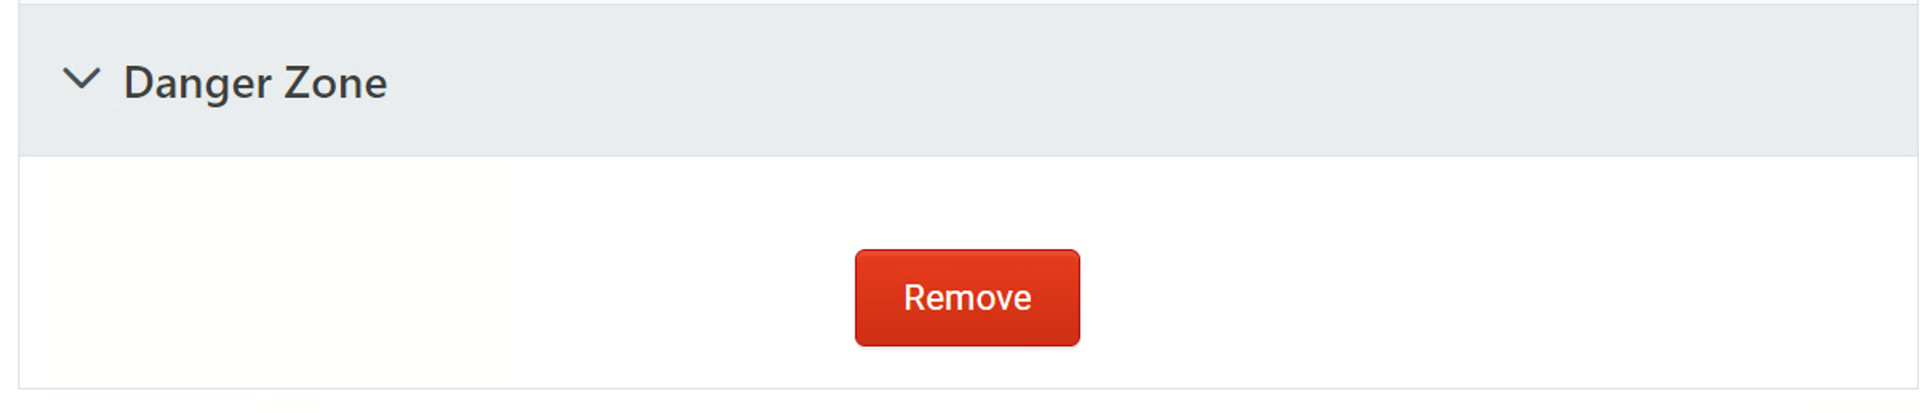
- Click Yes, I want to delete this field from the form