Payments
🔴 On2Air Forms has been shutdown to focus on our On2Air Backups Airtable app Learn more about automated Airtable backups - on2air.com
We don’t currently support direct integrations to any payment processors, but it is on our roadmap for the future. In the meantime, there are some options you can use as a workaround.
These options are most likely best for use-cases where there is not a large amount of products/services being sold. This workaround will allow you to display specific payment URLs based on what your customer chooses.
It will not, however, ensure a customer makes a payment. They will need to click the URL and you will need to set up an automation in Zapier, Make, or other automation platform to display a payment from your payment processor into Airtable.
➡️
Related:  How to Live Calculate Data on Your On2Air Form (Estimates, Quotes, and more)
In this article
-
Stripe
-
PayPal
-
Shopify
-
How to Set Up Your Airtable Base for Payments
Stripe
Section titled “Stripe”- In your Stripe account, you can create Stripe Payment Links
- Create Payment Links for each Product or Service in Stripe with the amount of each product/service
- Follow the steps for How to Set Up Your Airtable Base for Payments
- On the Submission page, they can then click the link and pay via Stripe.
PayPal
Section titled “PayPal”- In your PayPal account, you can create Shareable Links
- Create Payment Links for each Product or Service in Stripe with the amount of each product/service
- Follow the steps for How to Set Up Your Airtable Base for Payments
- On the Submission page, they can then click the link and pay via Stripe.
Shopify
Section titled “Shopify”- In your Shopify store, you can create Checkout Links
- Create Checkout Links for each Product or Service
- Follow the steps for How to Set Up Your Airtable Base for Payments
- On the Submission page, they can then click the link and pay via Shopify.
Tip: Here’s a list of ways you can customize your Shopify links even further - How to Create Custom Checkout Links With Prefilled Data on Shopify
How to Set Up Your Airtable Base for Payments
Section titled “How to Set Up Your Airtable Base for Payments”-
First, set up a Product/Service Page in your Payment Processor system for each product with a unique URL. If you only need to use a single payment URL, go to to the next step.
-
In your Airtable base in your Product/Services table, create a URL field for the Product/Service URL of each Product/Service.
-
Enter the corresponding Product/Service URL in each record. Be sure to use https:// at the beginning of the URL.
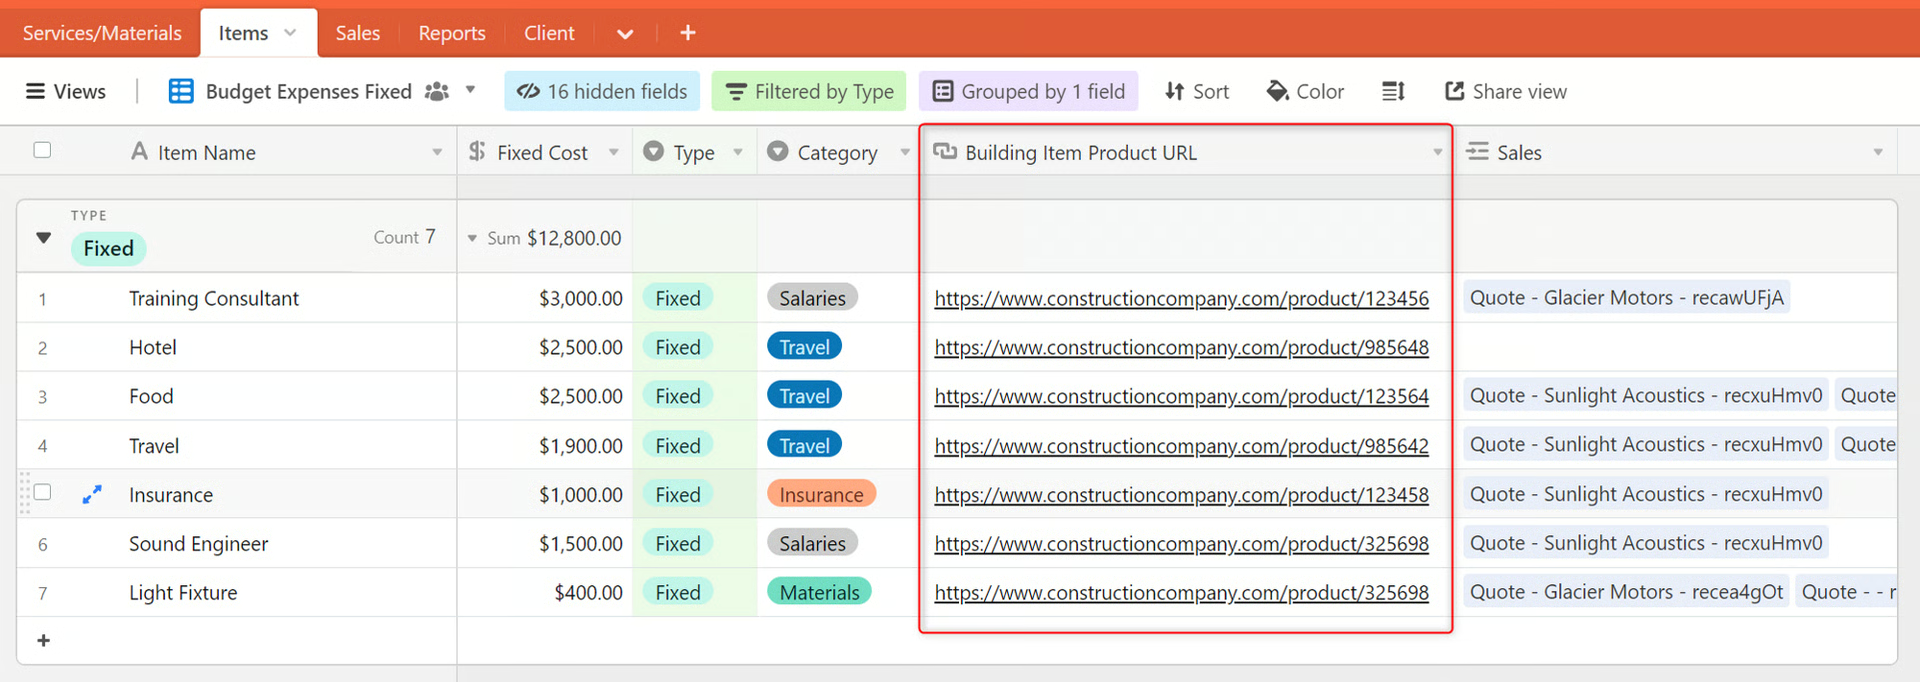
- In your Sales table that you’re using as your On2Air Form Source, add a Rollup or Lookup field from the Product/Services table that displays the Product/Service URL once the Product/Service is chosen.
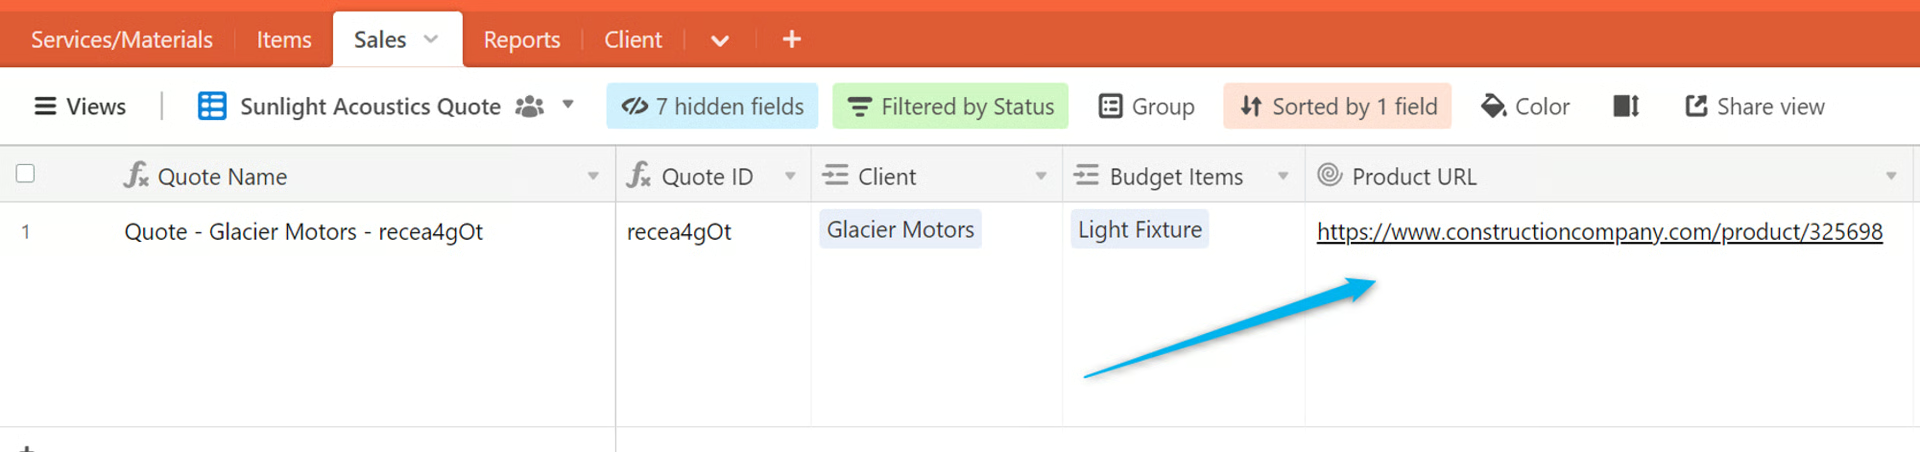
➡️
Tip: If you need to display multiple URLs, use a Rollup field with the following Rollup formula so the URLs are on separate lines.
Copy
ARRAYJOIN(ARRAYUNIQUE(ARRAYCOMPACT(values)), "\n")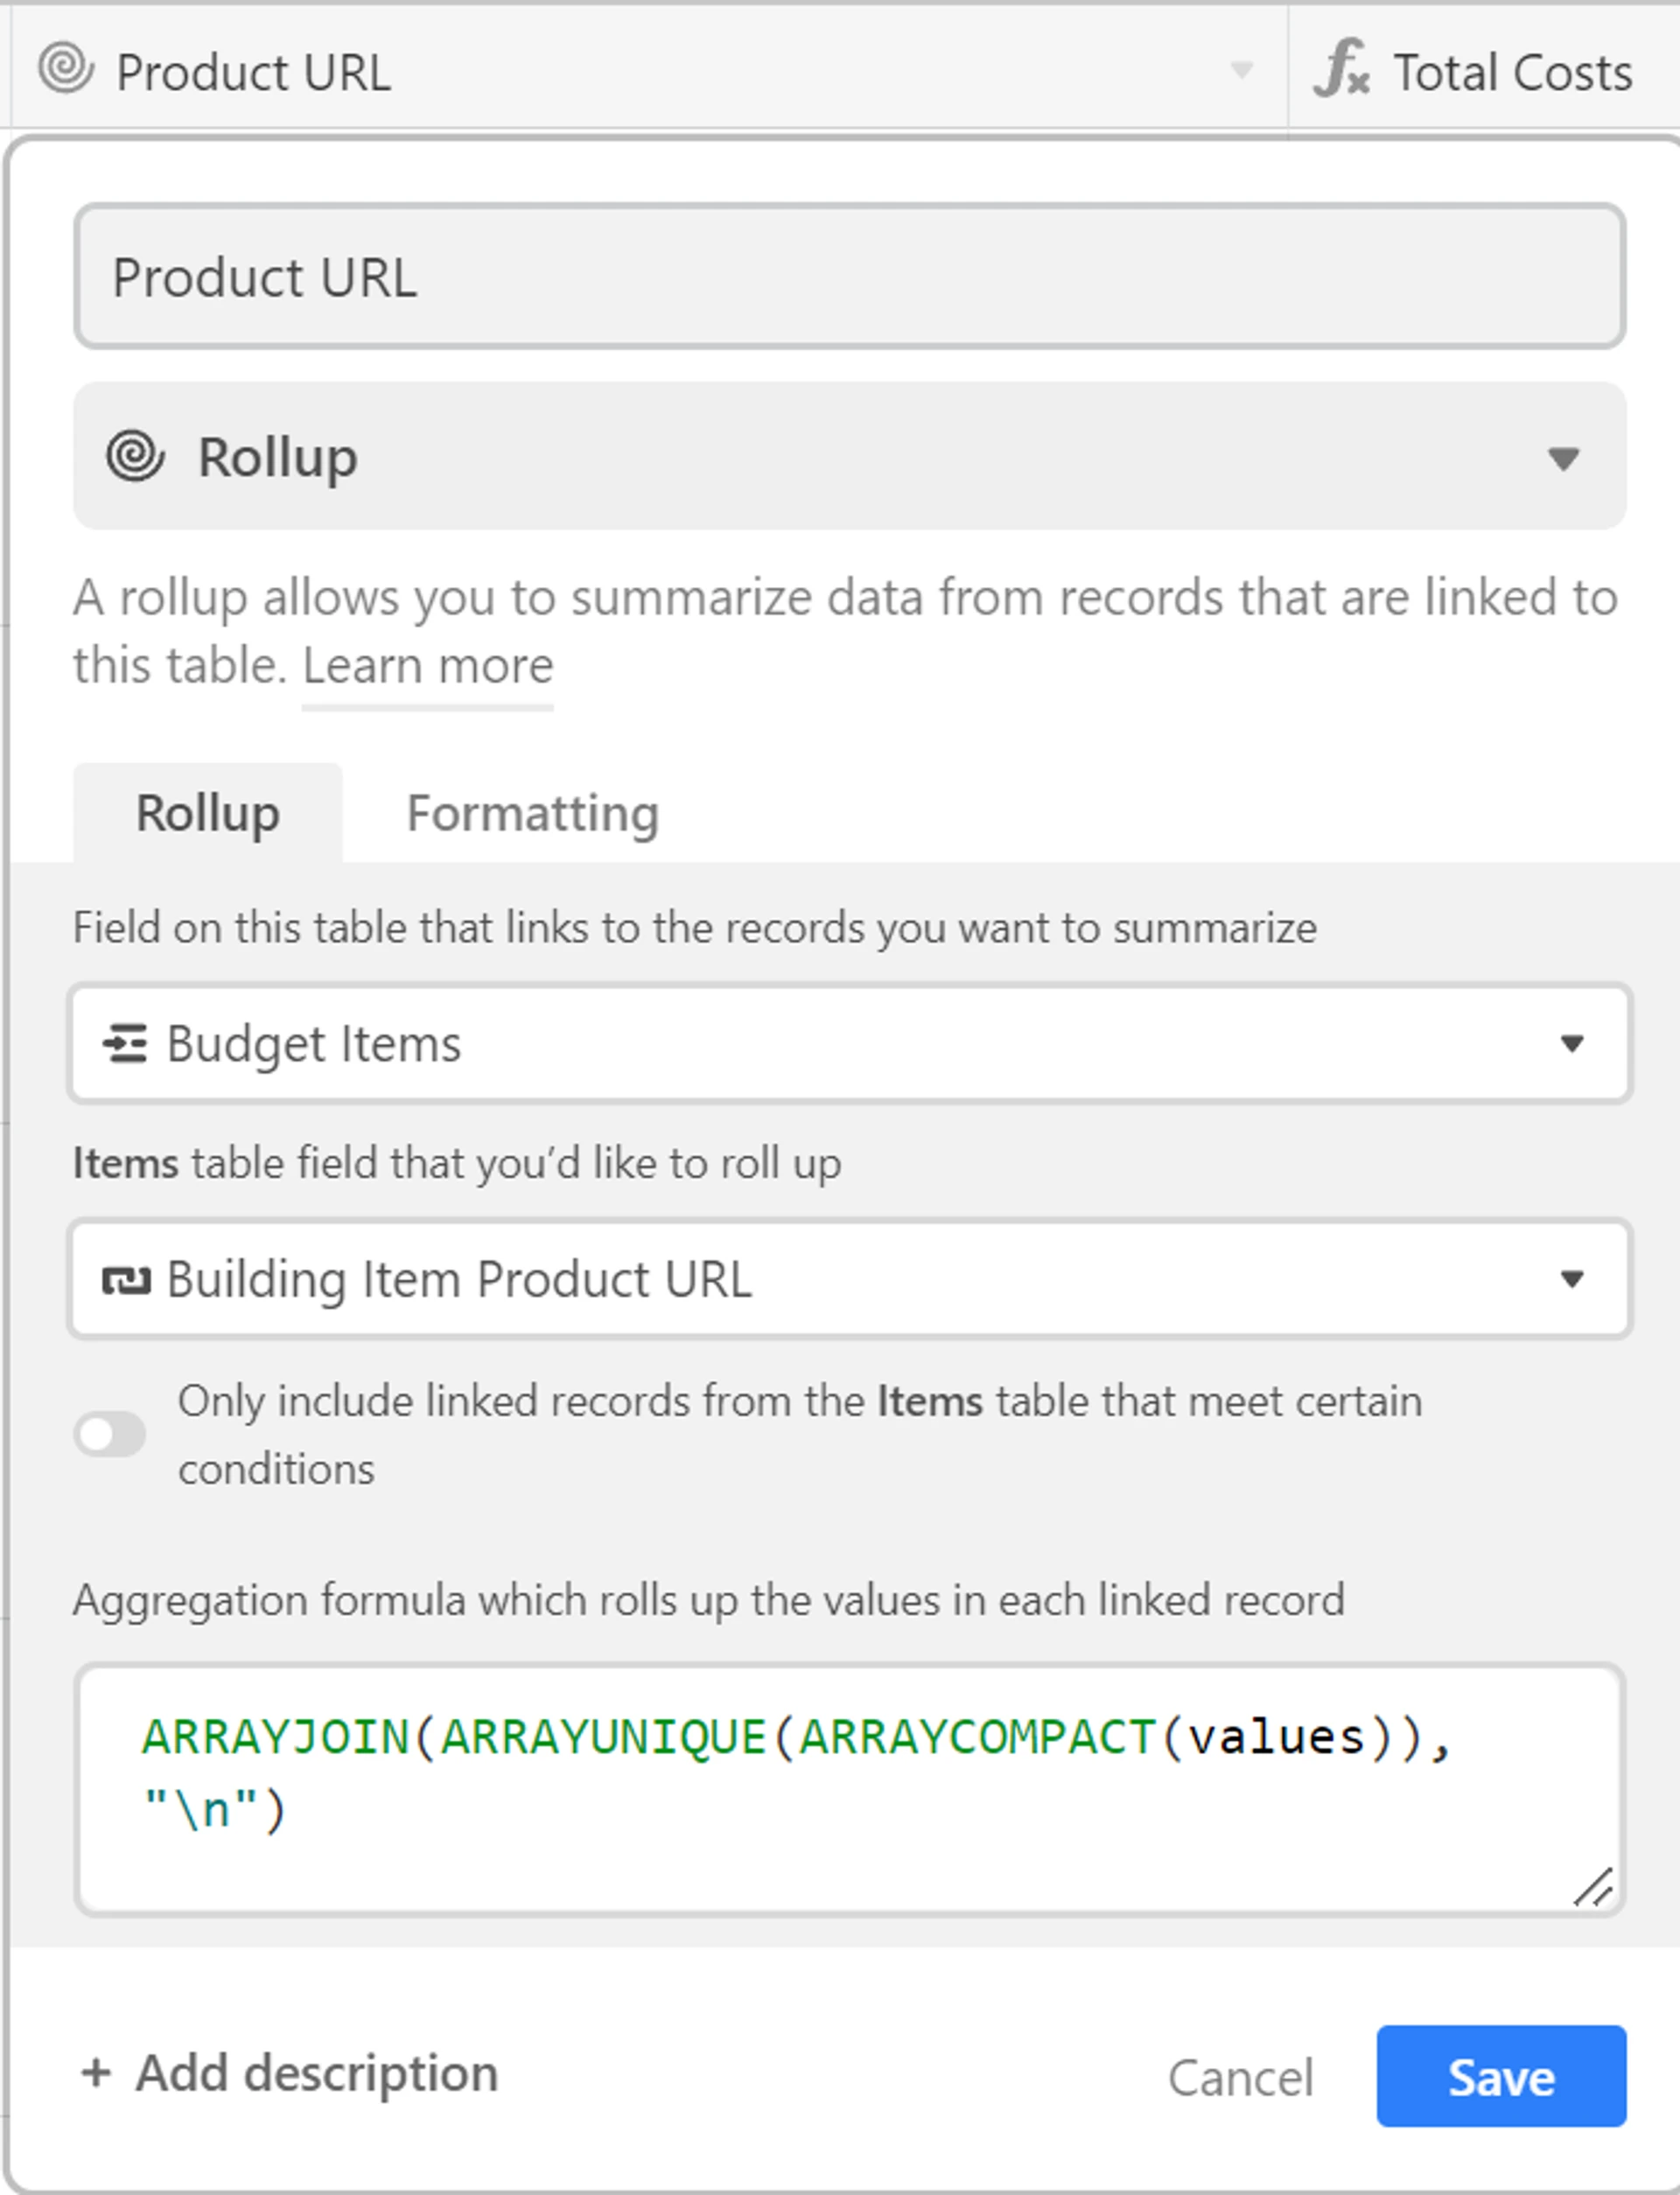
Rollup field formula example
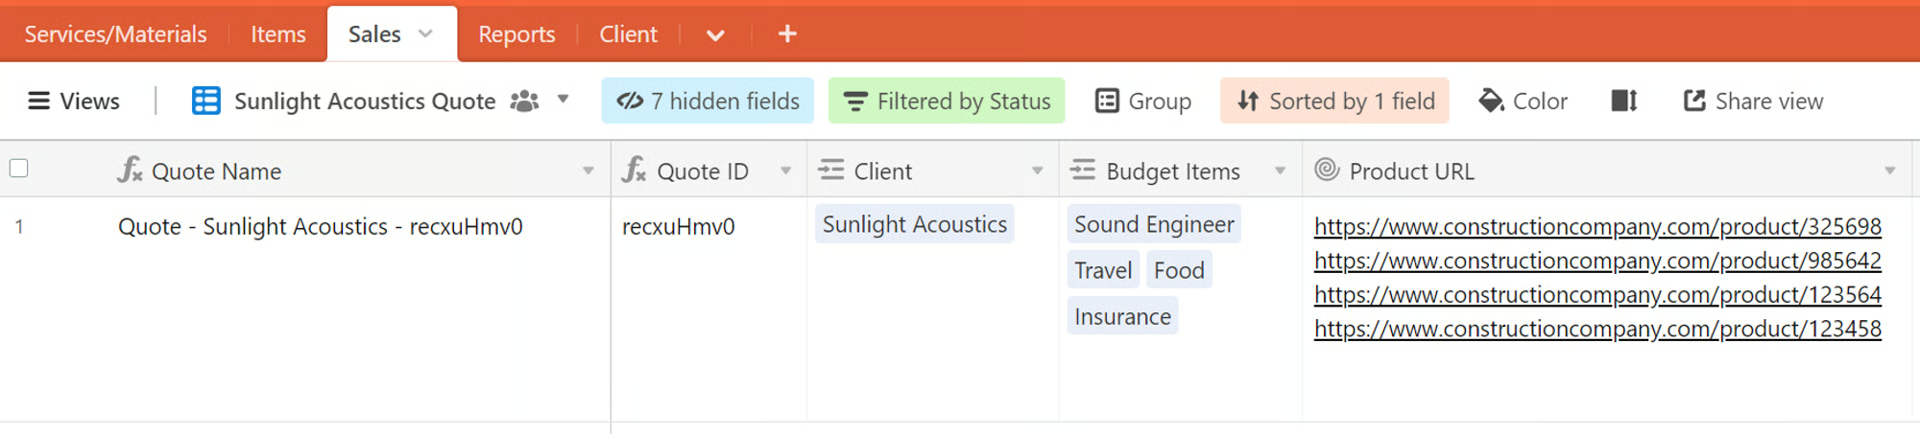
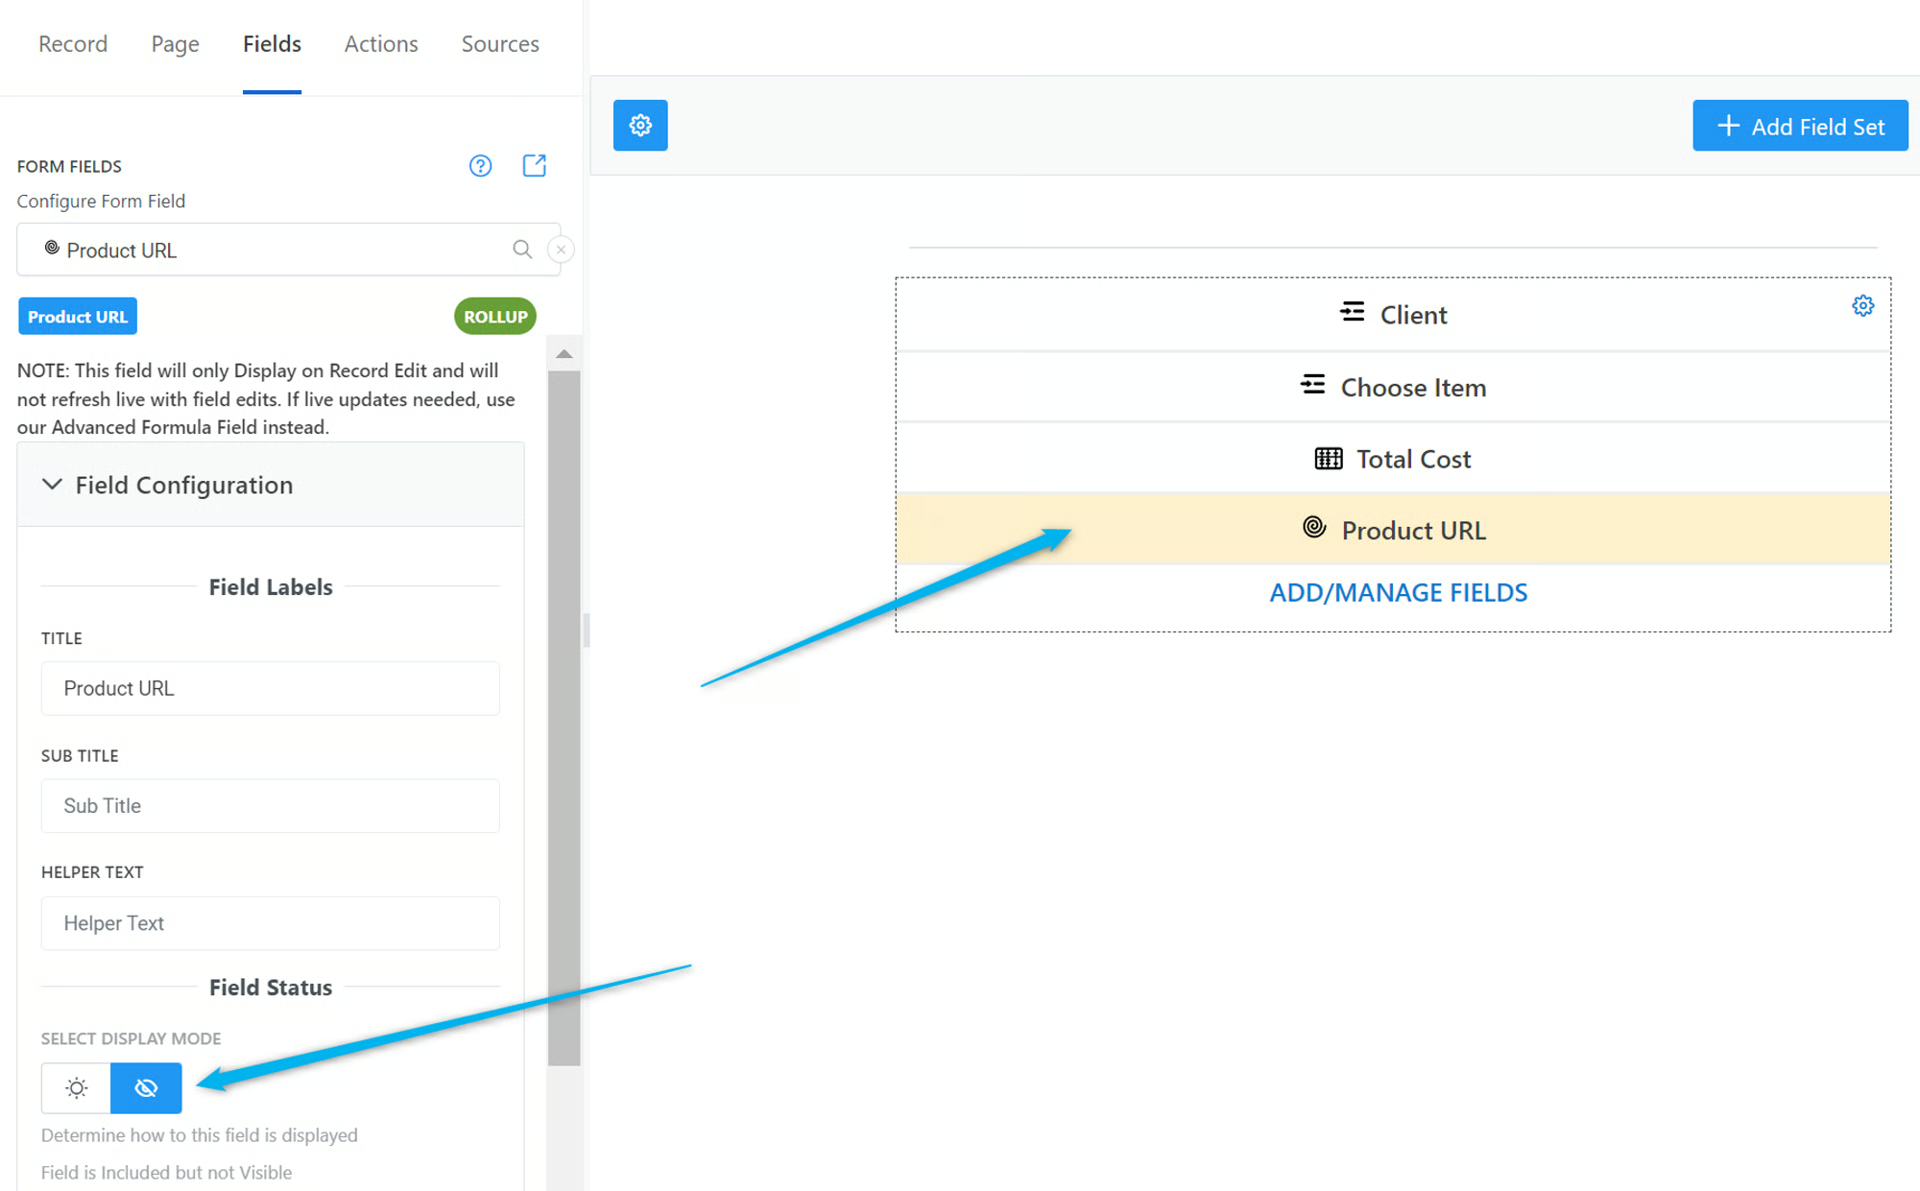
- Add the Product/Service field and the Product Payment Link URL field on your On2Air Form. You can make the Product/Service URL field a Hidden field on the form itself.
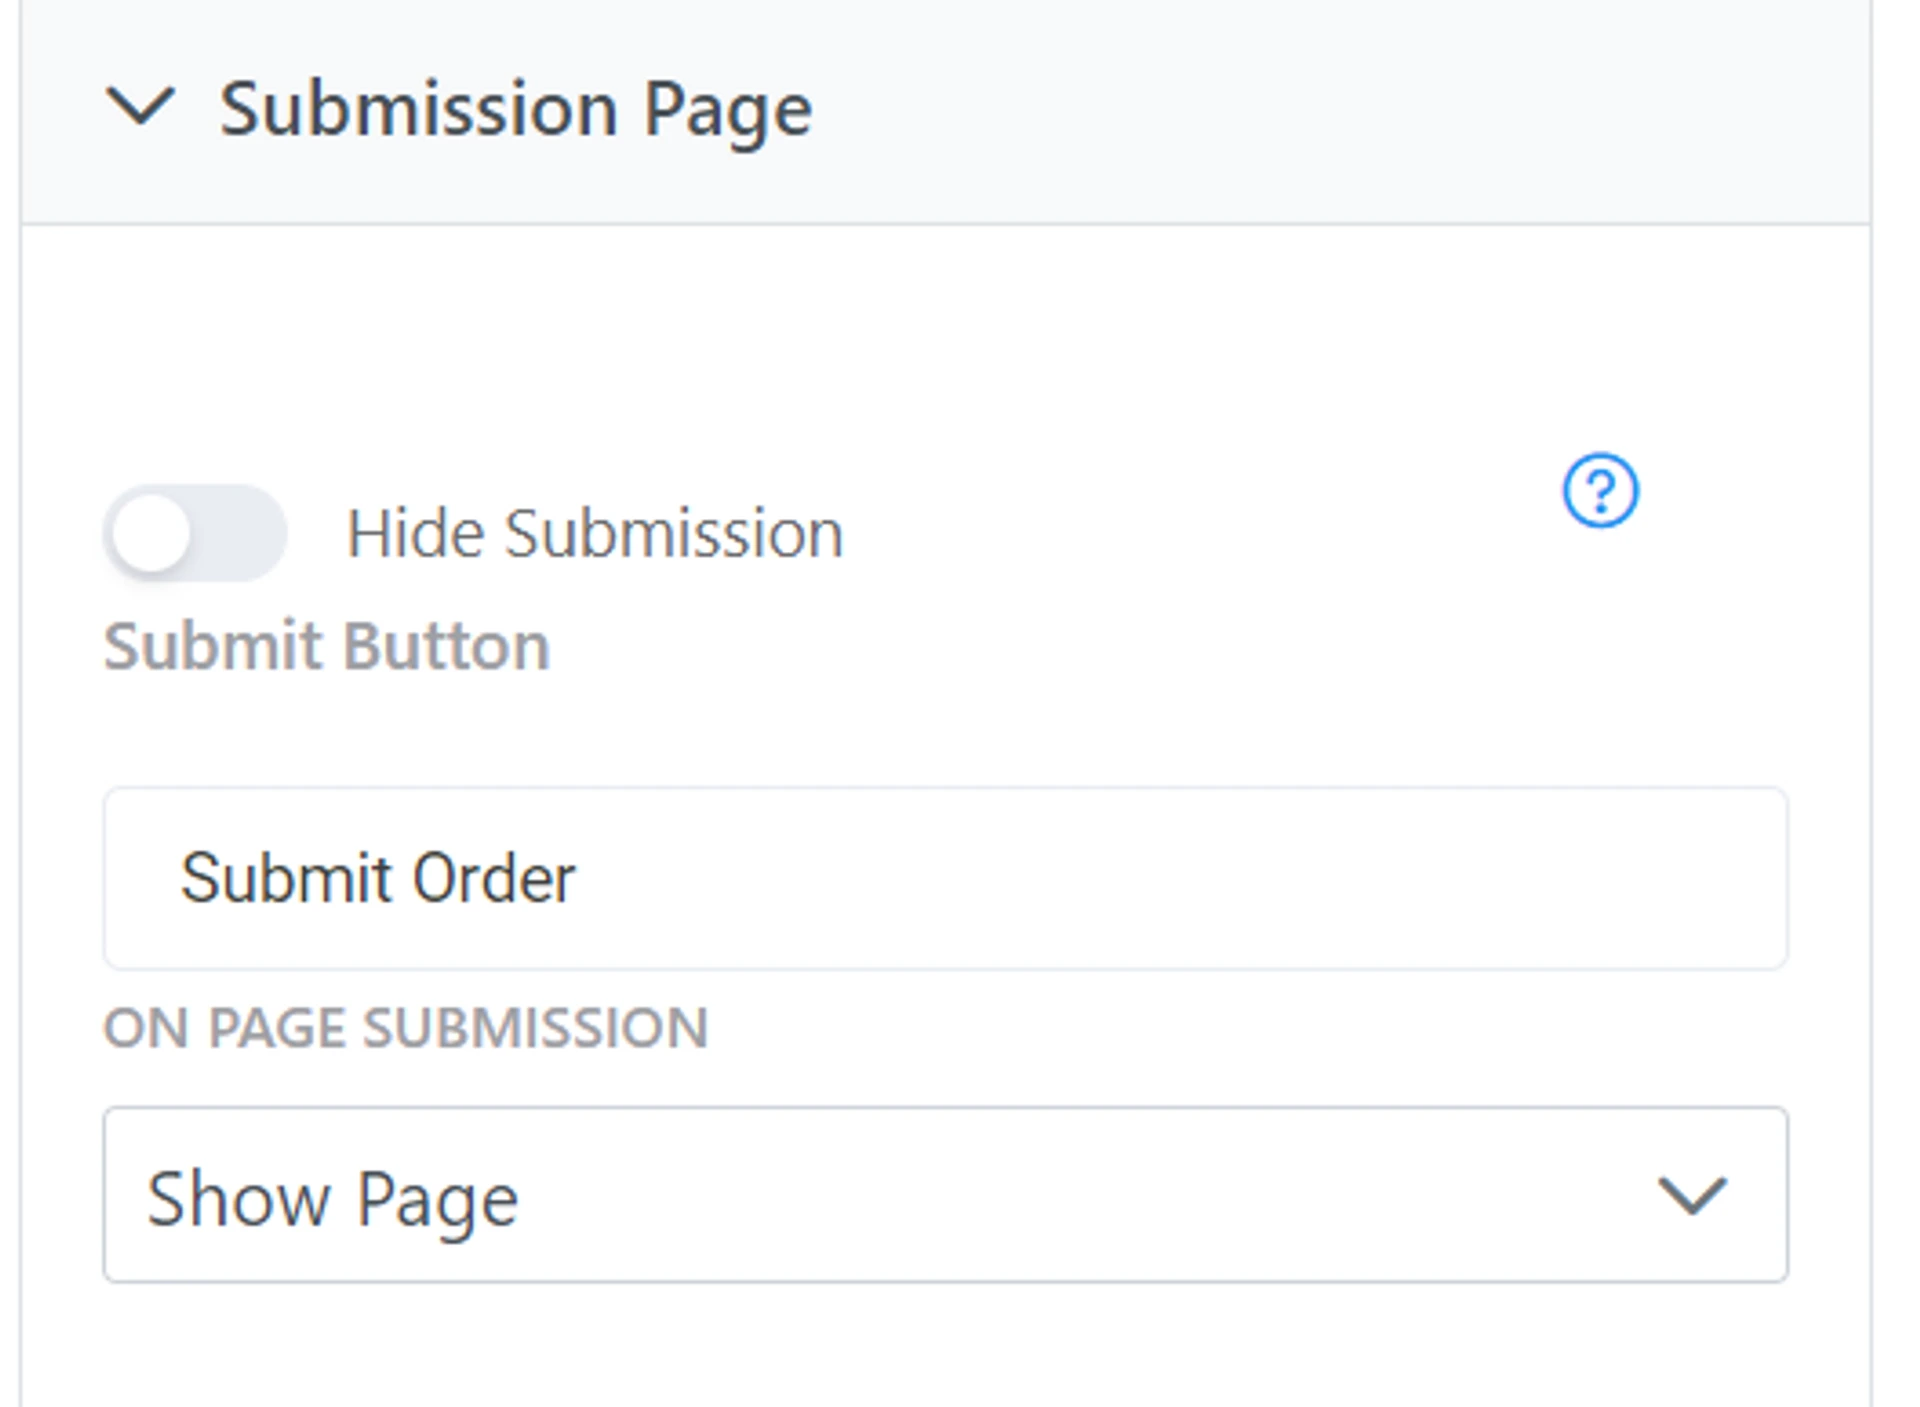
- Go to the Submission page, choose Show Page as the On Page Submission option
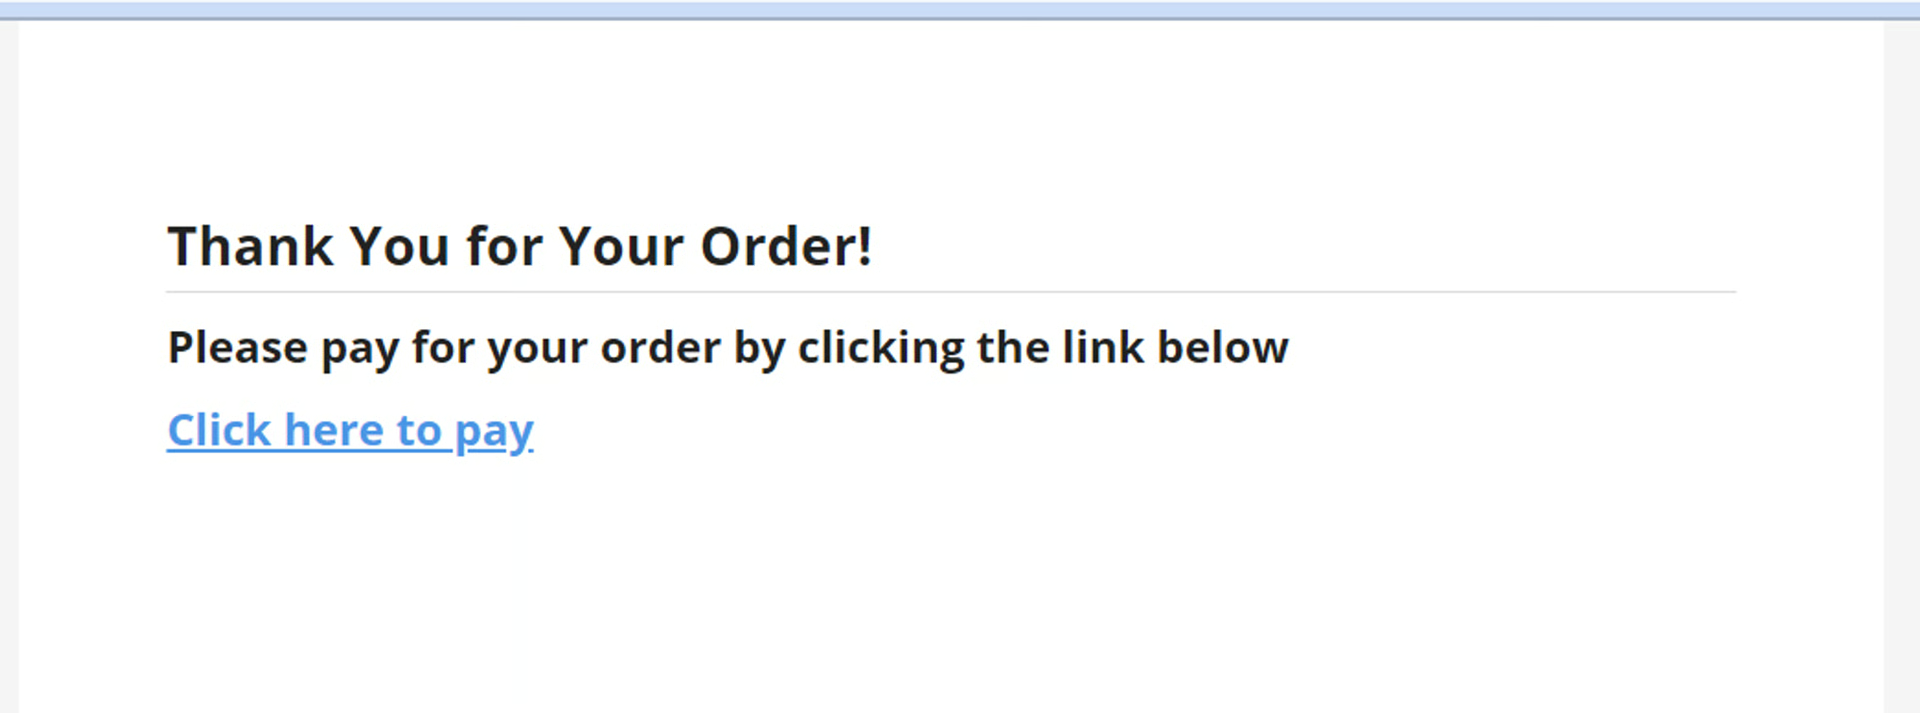
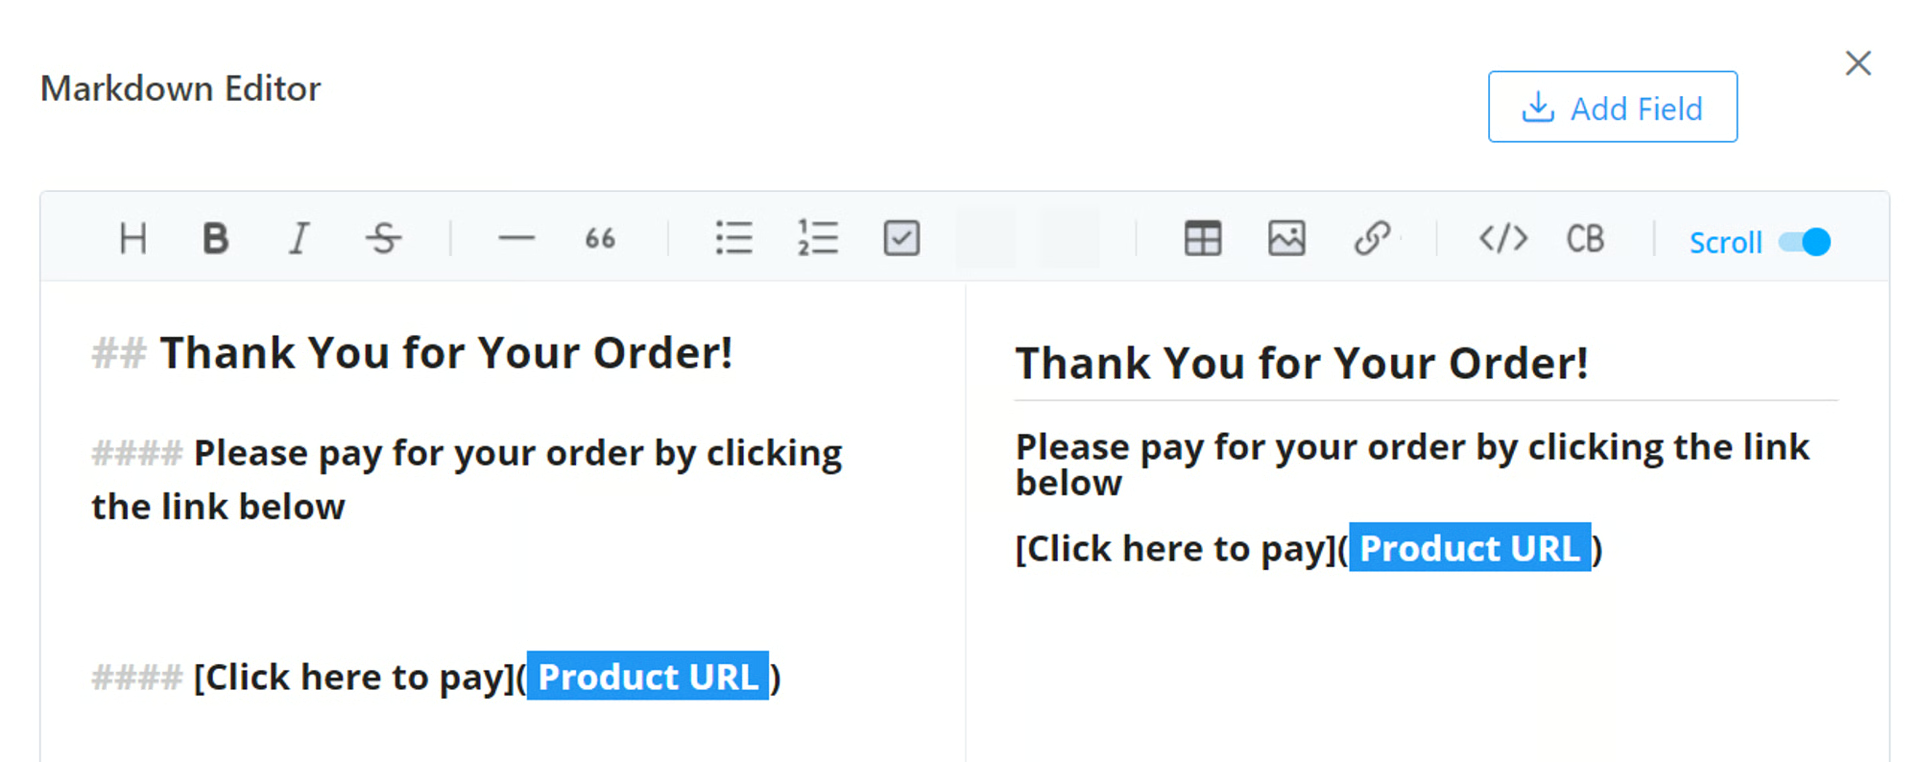
- Open the Submission Page Message Editor and add any text you want to add, such as Thank You for Your Order

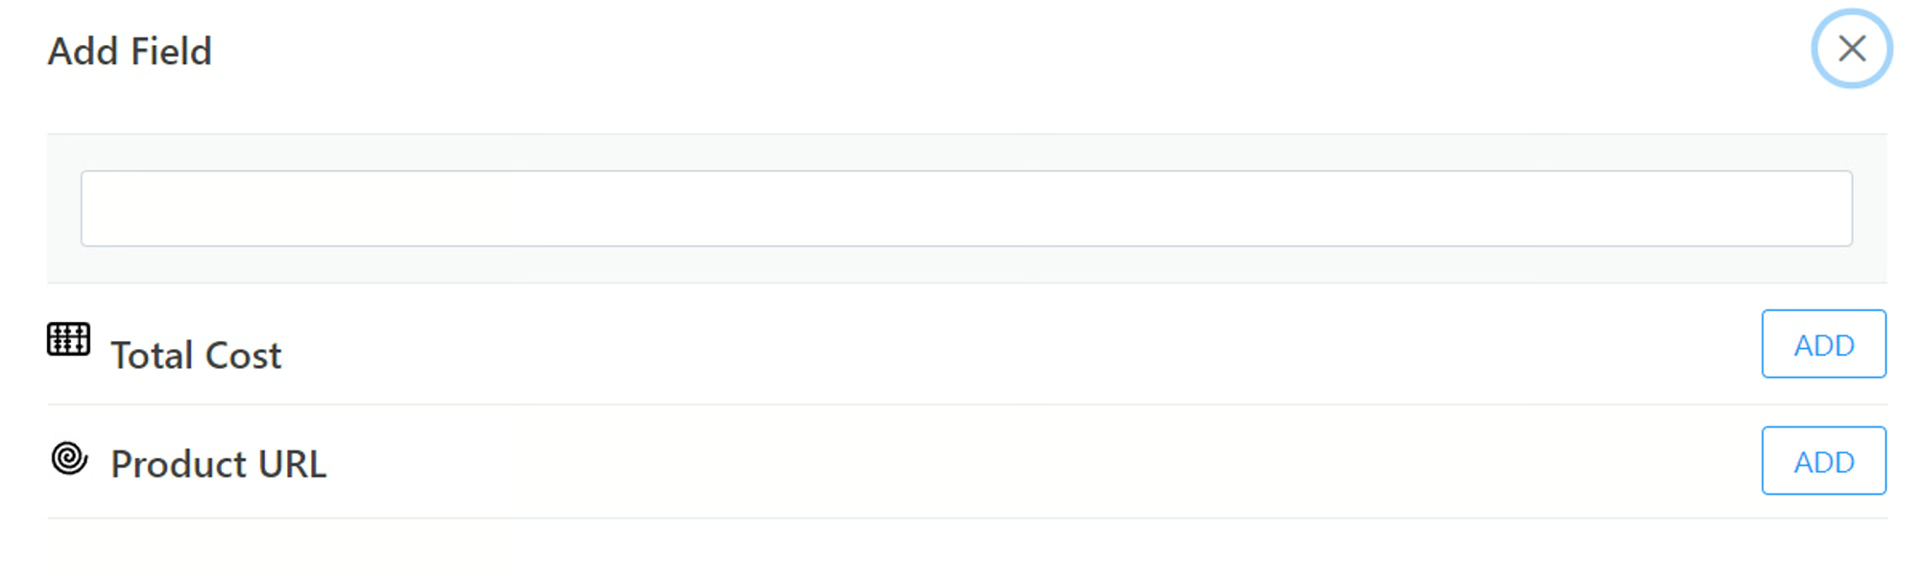
- Next, click Add Field and then click Add next to Product URL to add it to your Submission page
On the Form Submission page, you can now add the Product URL Airtable field that is tied to the Item they chose when they submitted the form.
To make your URL a clickable link on the Submission page, use the following format wrapping the text you want to use in brackets and the Product URL Airtable field in parentheses
Copy
[Click Here to Pay](PRODUCT URL)- Once your customer submits the form, the page will display the link to the Product/Service URL related to the Item they chose on the form