How to Create a Form with Airtable and On2Air Forms
🔴 On2Air Forms has been shutdown to focus on our On2Air Backups Airtable app Learn more about automated Airtable backups - on2air.com
How to Create a Form in On2Air Forms for Airtable
-
🎥 How to Build a Form - Video
-
Instructions
-
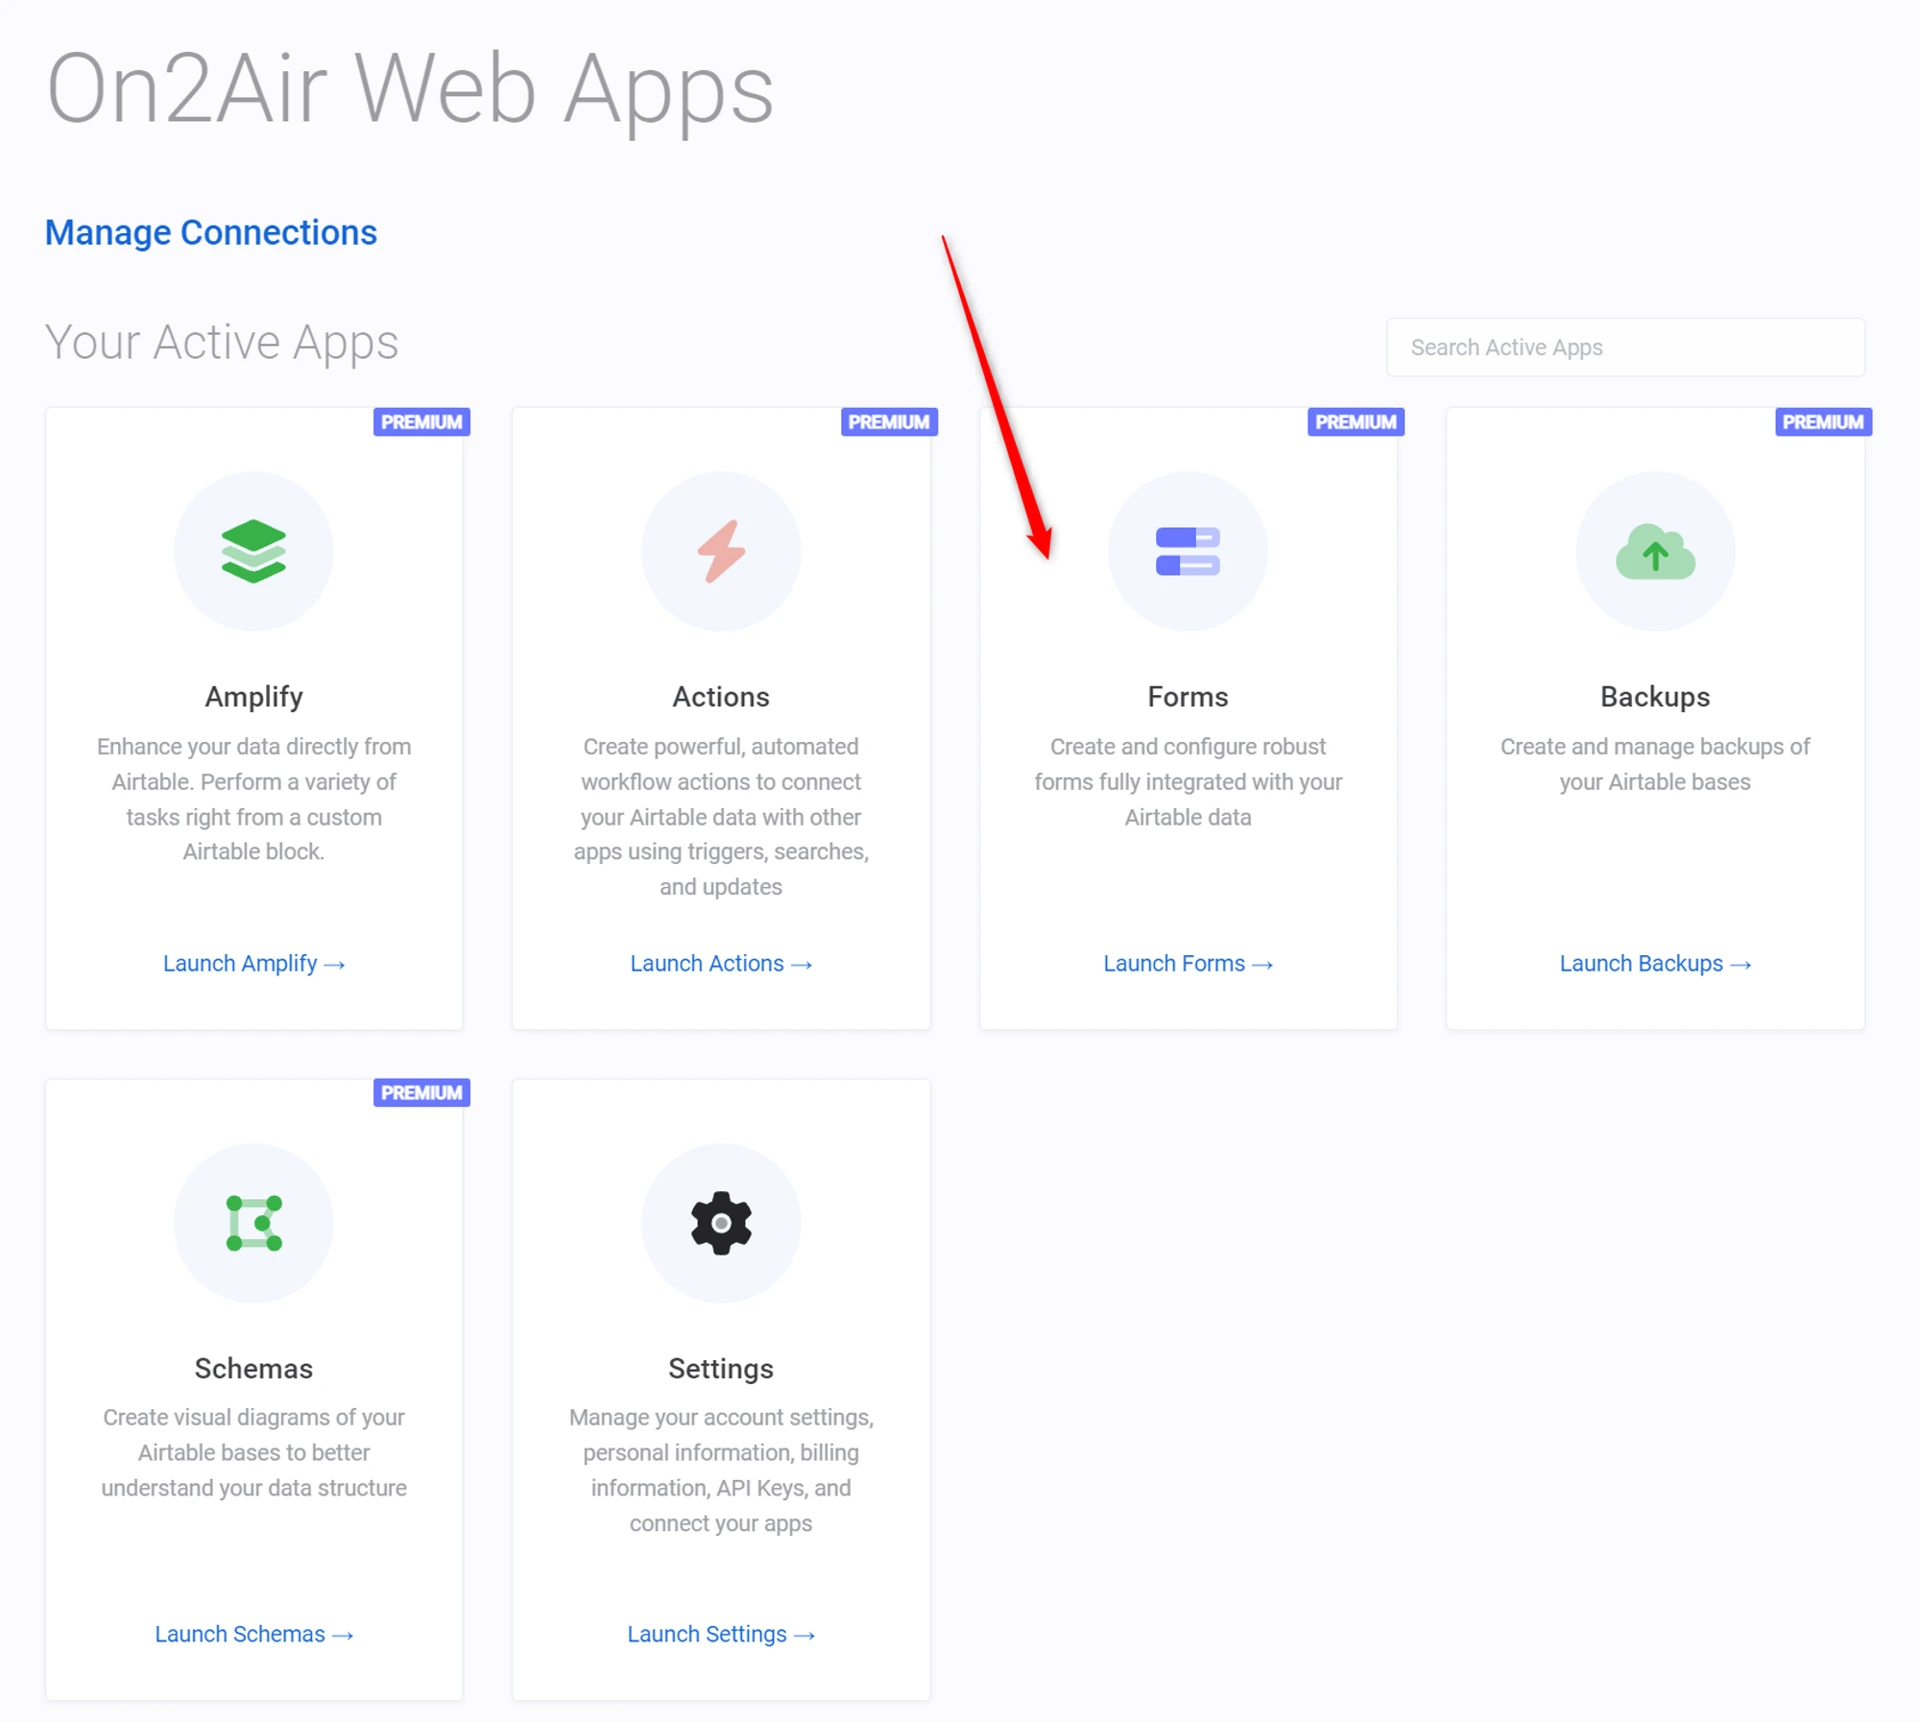
1. Open the Forms app in your On2Air dashboard
-
2. Click Create New Form
-
3. Choose your Airtable base
-
4. Choose your Airtable table
-
5. Click Create
-
6. In the Form Builder, click on Designer
-
7. Click Add/Manage Fields to start adding your Airtable fields and any On2Air fields you need
-
8. Choose any Airtable field you want on your form and click the > arrow. To add all fields, click >>
-
9. To add On2Air Fields, click Custom Fields, then click Add on the field you need
-
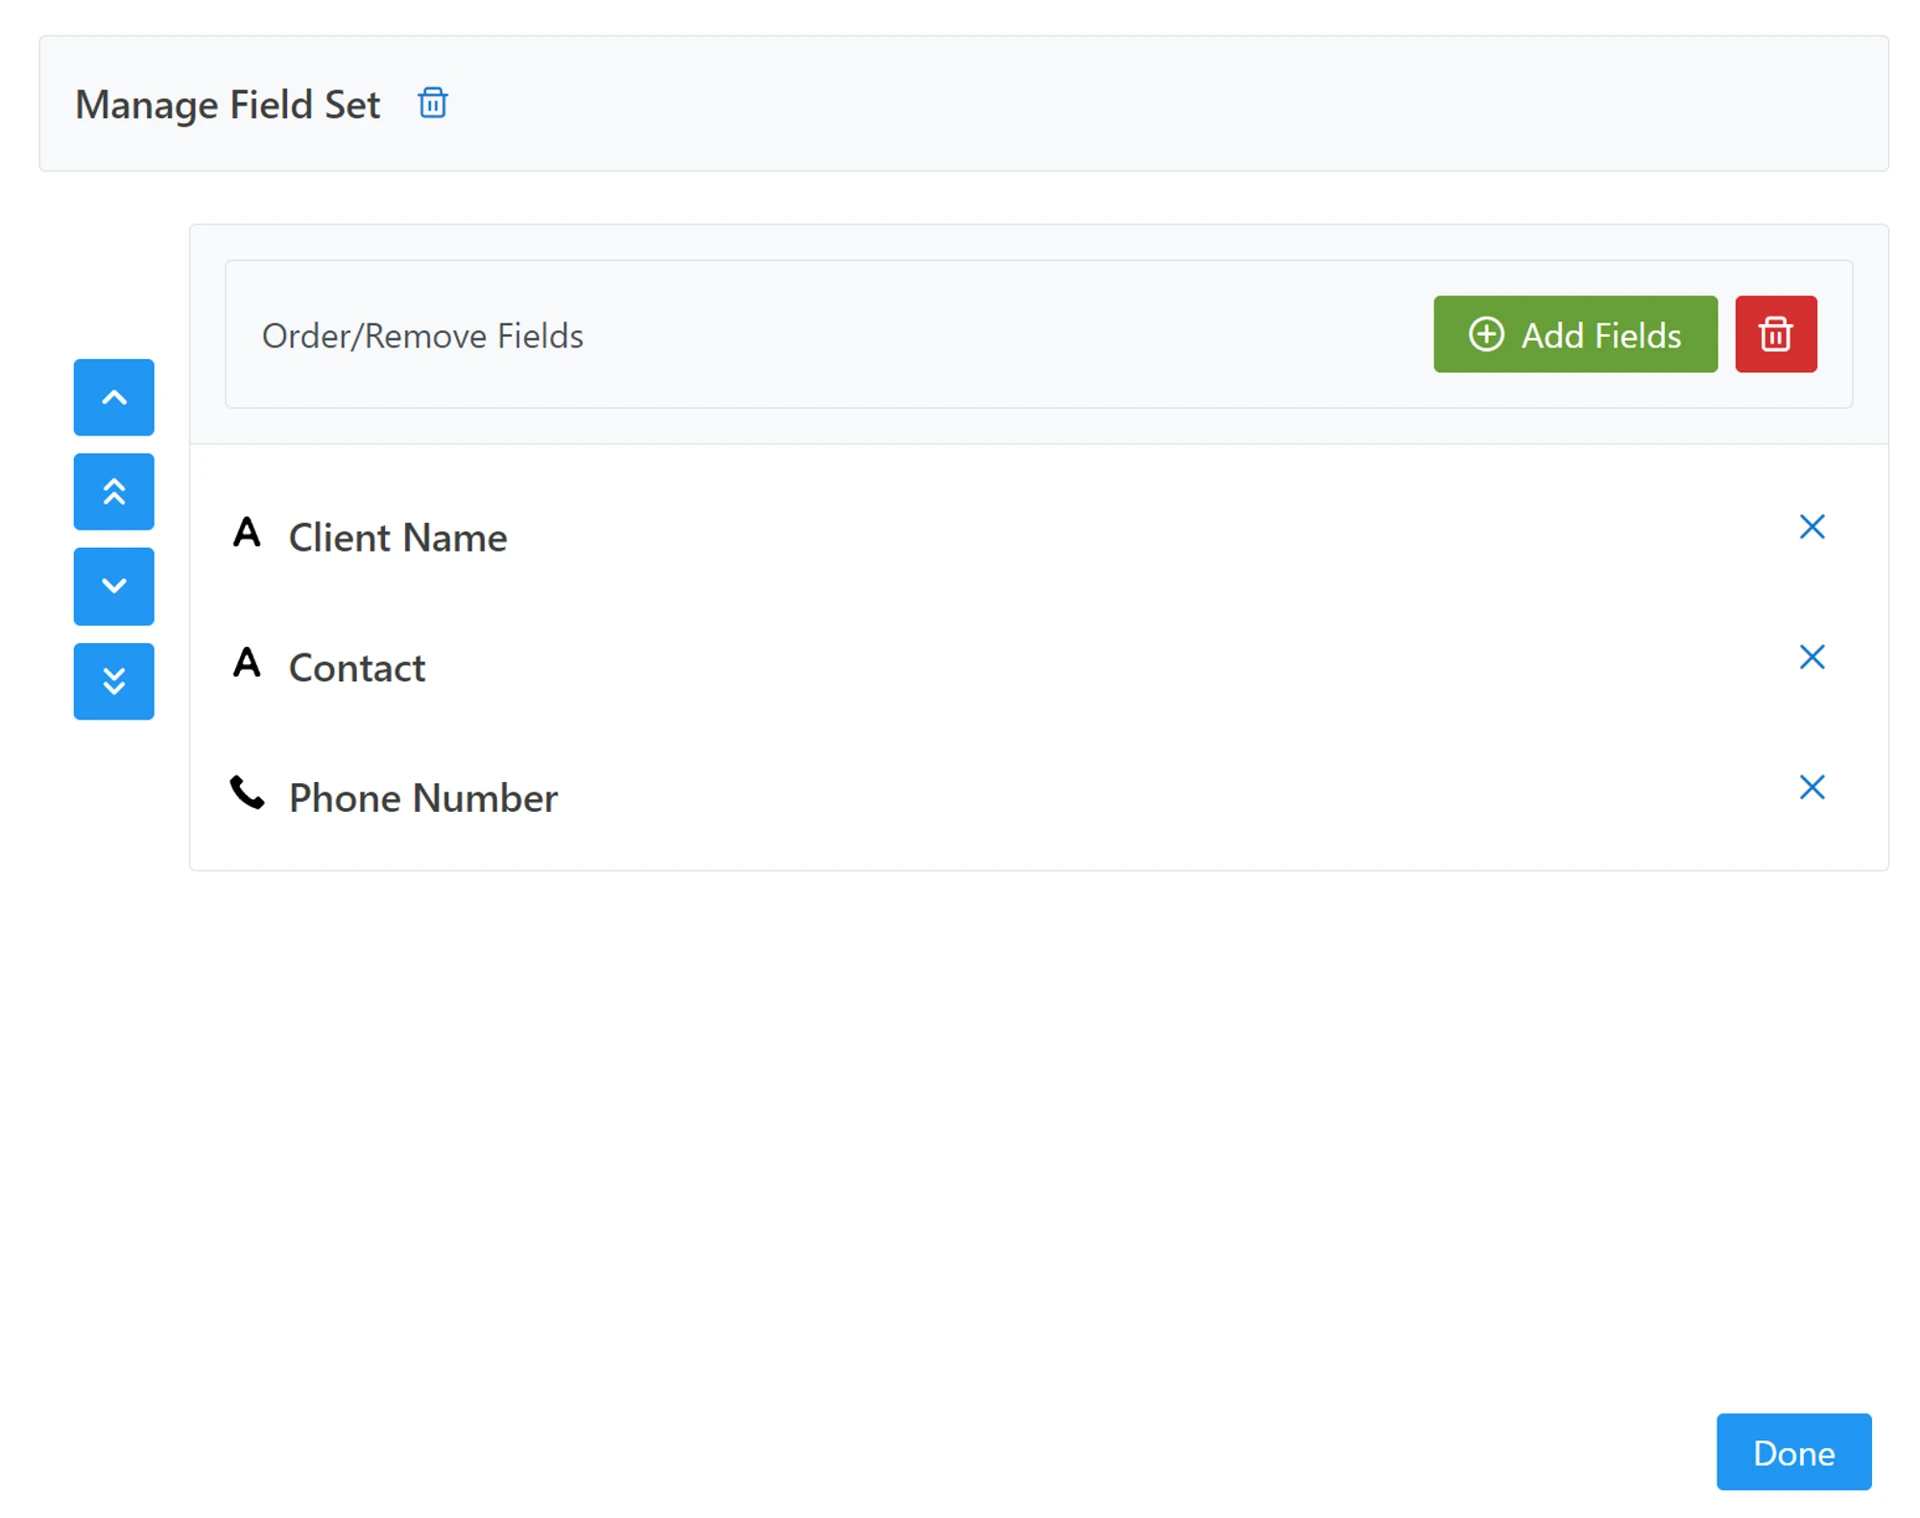
10. Click Add Fields and then click Done
-
11. Click Preview to see your form
-
NEXT: You need to configure your form fields - @How to Configure a Field and Use the Designer
🎥 How to Build a Form - Video
Section titled “🎥 How to Build a Form - Video”Instructions
Section titled “Instructions”➡️
Be sure you connect Airtable and On2Air before building your form -  Connect Airtable and On2Air Forms
1. Open the Forms app in your On2Air dashboard
Section titled “1. Open the Forms app in your On2Air dashboard”Link: On2Air Forms Dashboard
2. Click Create New Form
Section titled “2. Click Create New Form”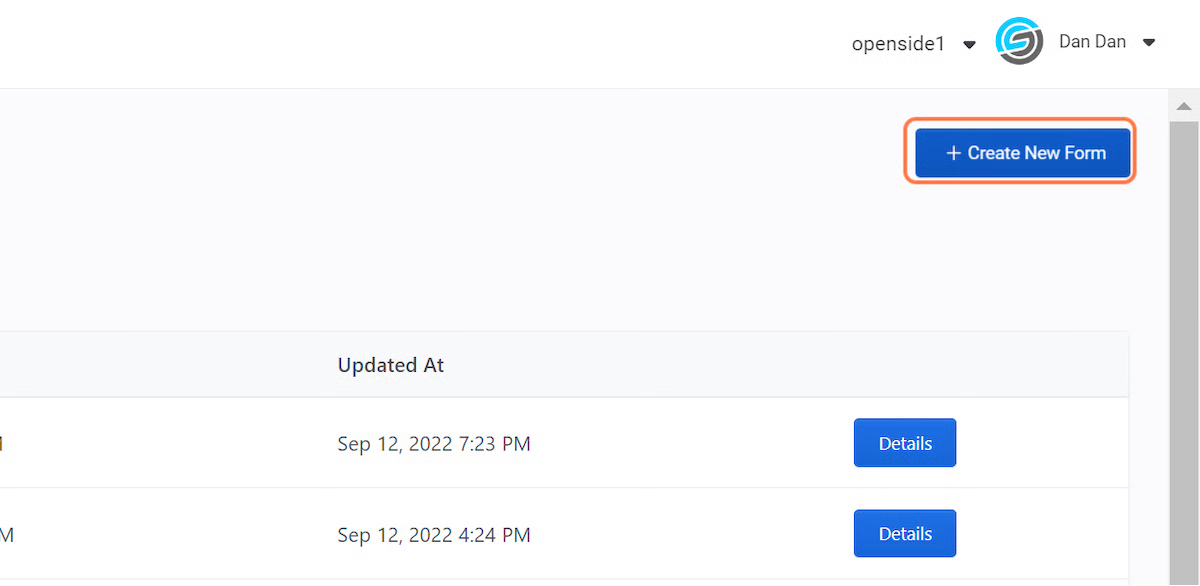
3. Choose your Airtable base
Section titled “3. Choose your Airtable base”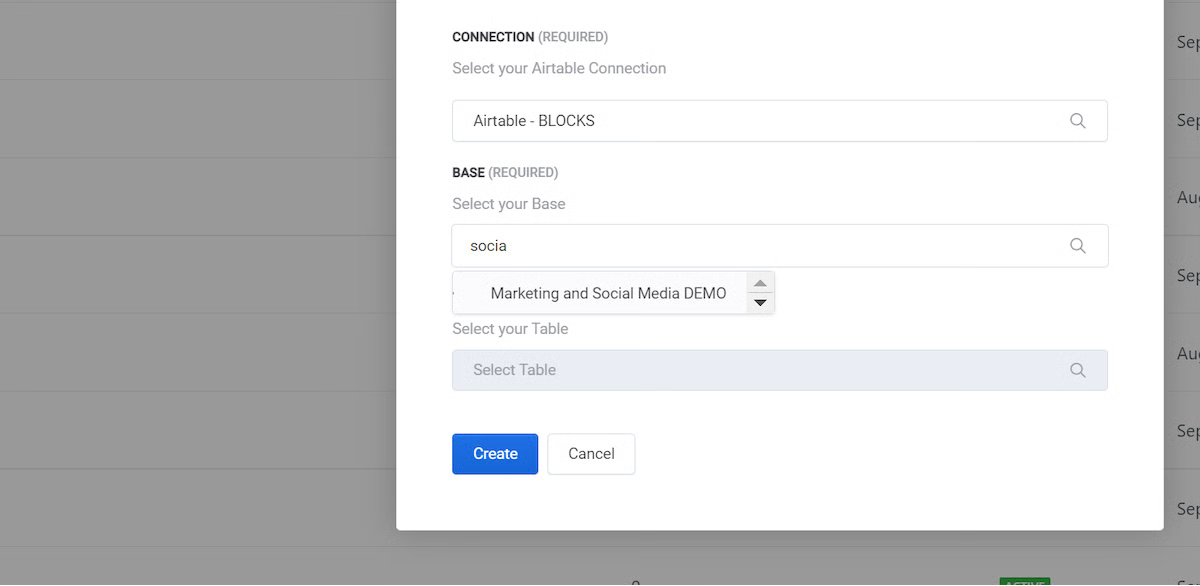
4. Choose your Airtable table
Section titled “4. Choose your Airtable table”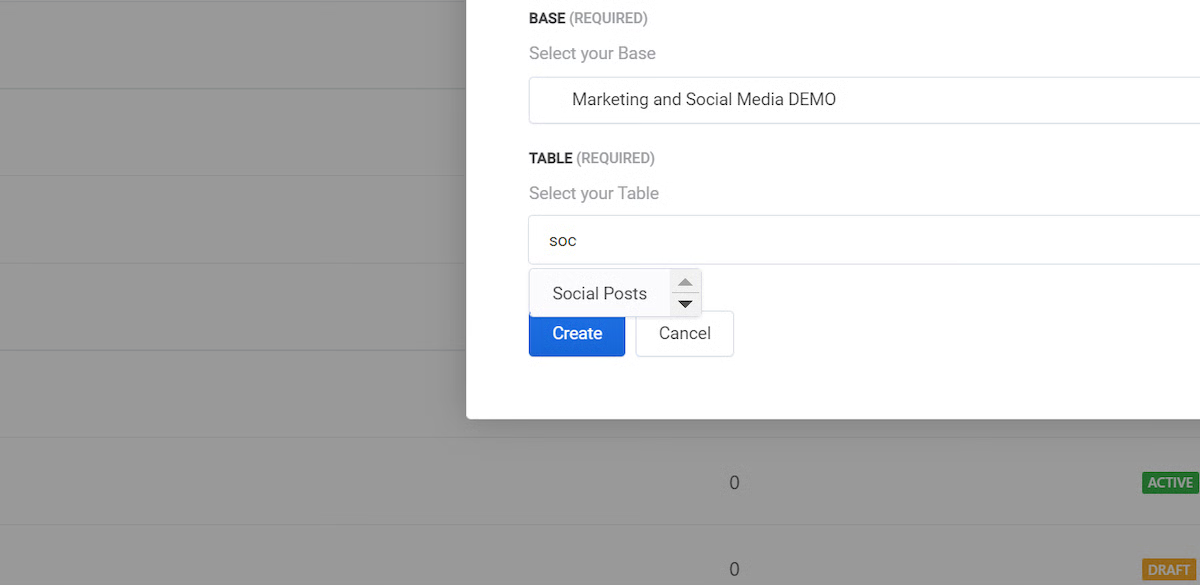
5. Click Create
Section titled “5. Click Create”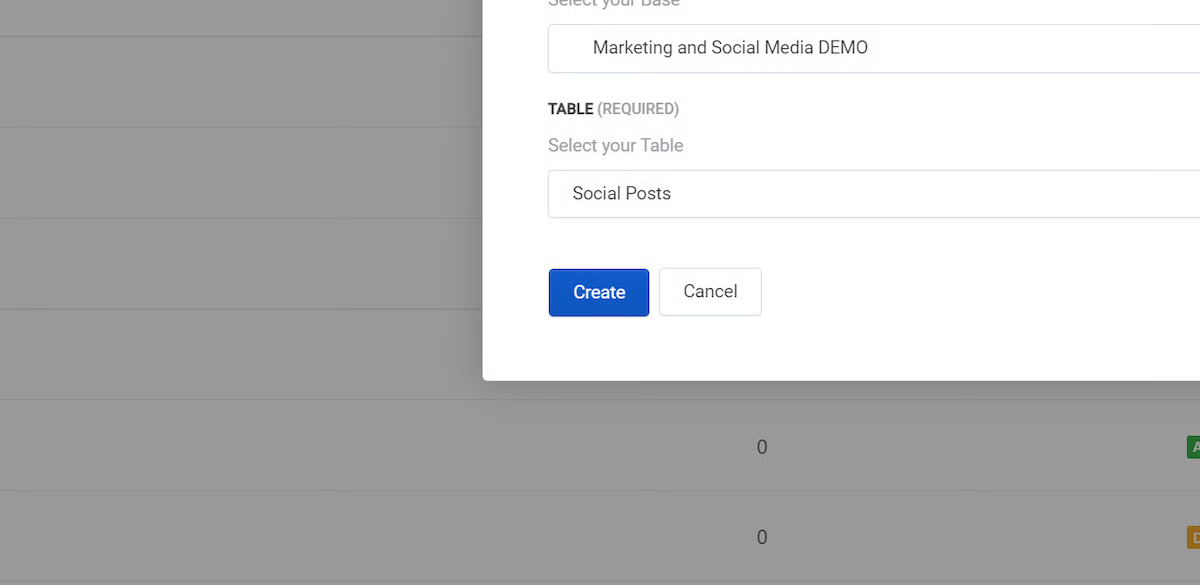
6. In the Form Builder, click on Designer
Section titled “6. In the Form Builder, click on Designer”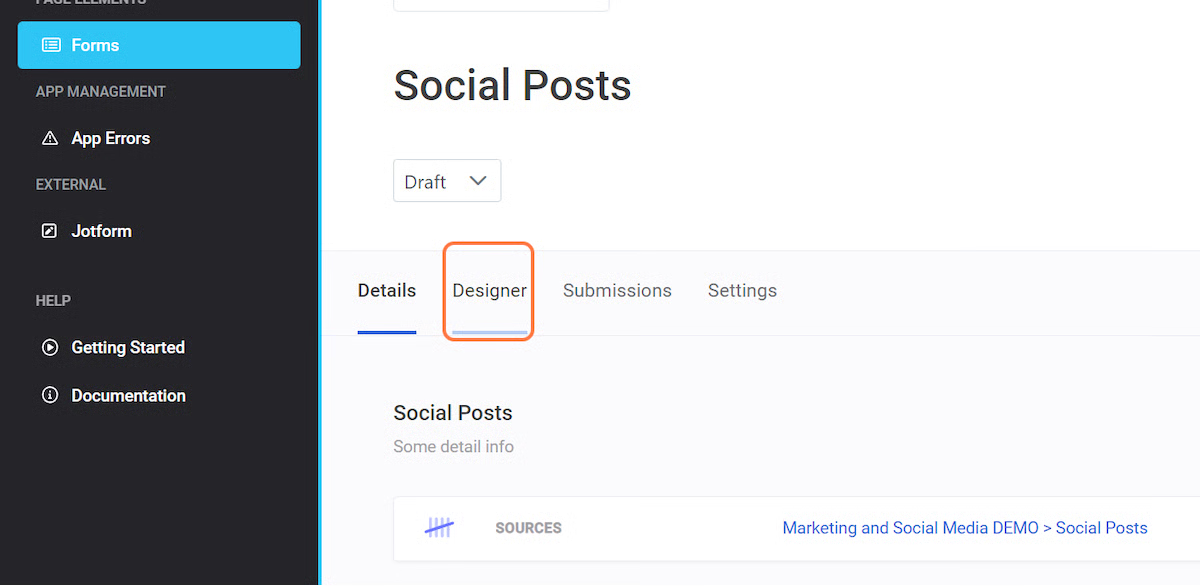
7. Click Add/Manage Fields to start adding your Airtable fields and any On2Air fields you need
Section titled “7. Click Add/Manage Fields to start adding your Airtable fields and any On2Air fields you need”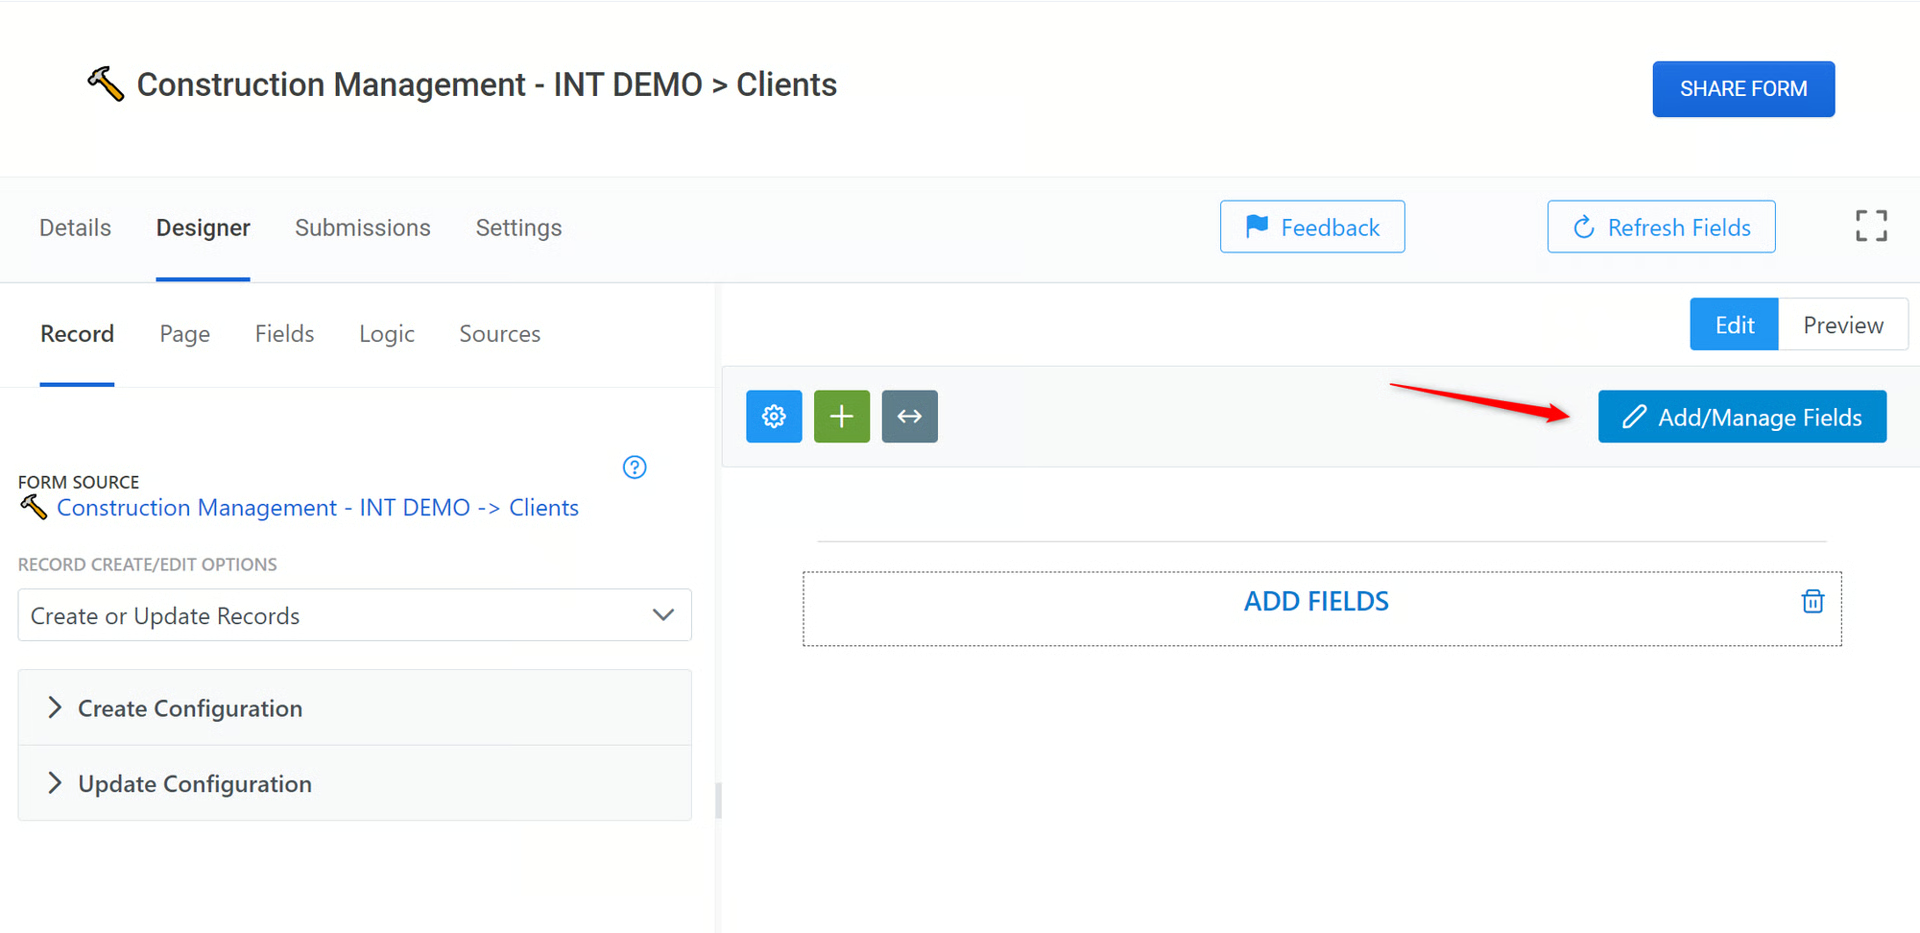
8. Choose any Airtable field you want on your form and click the > arrow. To add all fields, click >>
Section titled “8. Choose any Airtable field you want on your form and click the > arrow. To add all fields, click >>”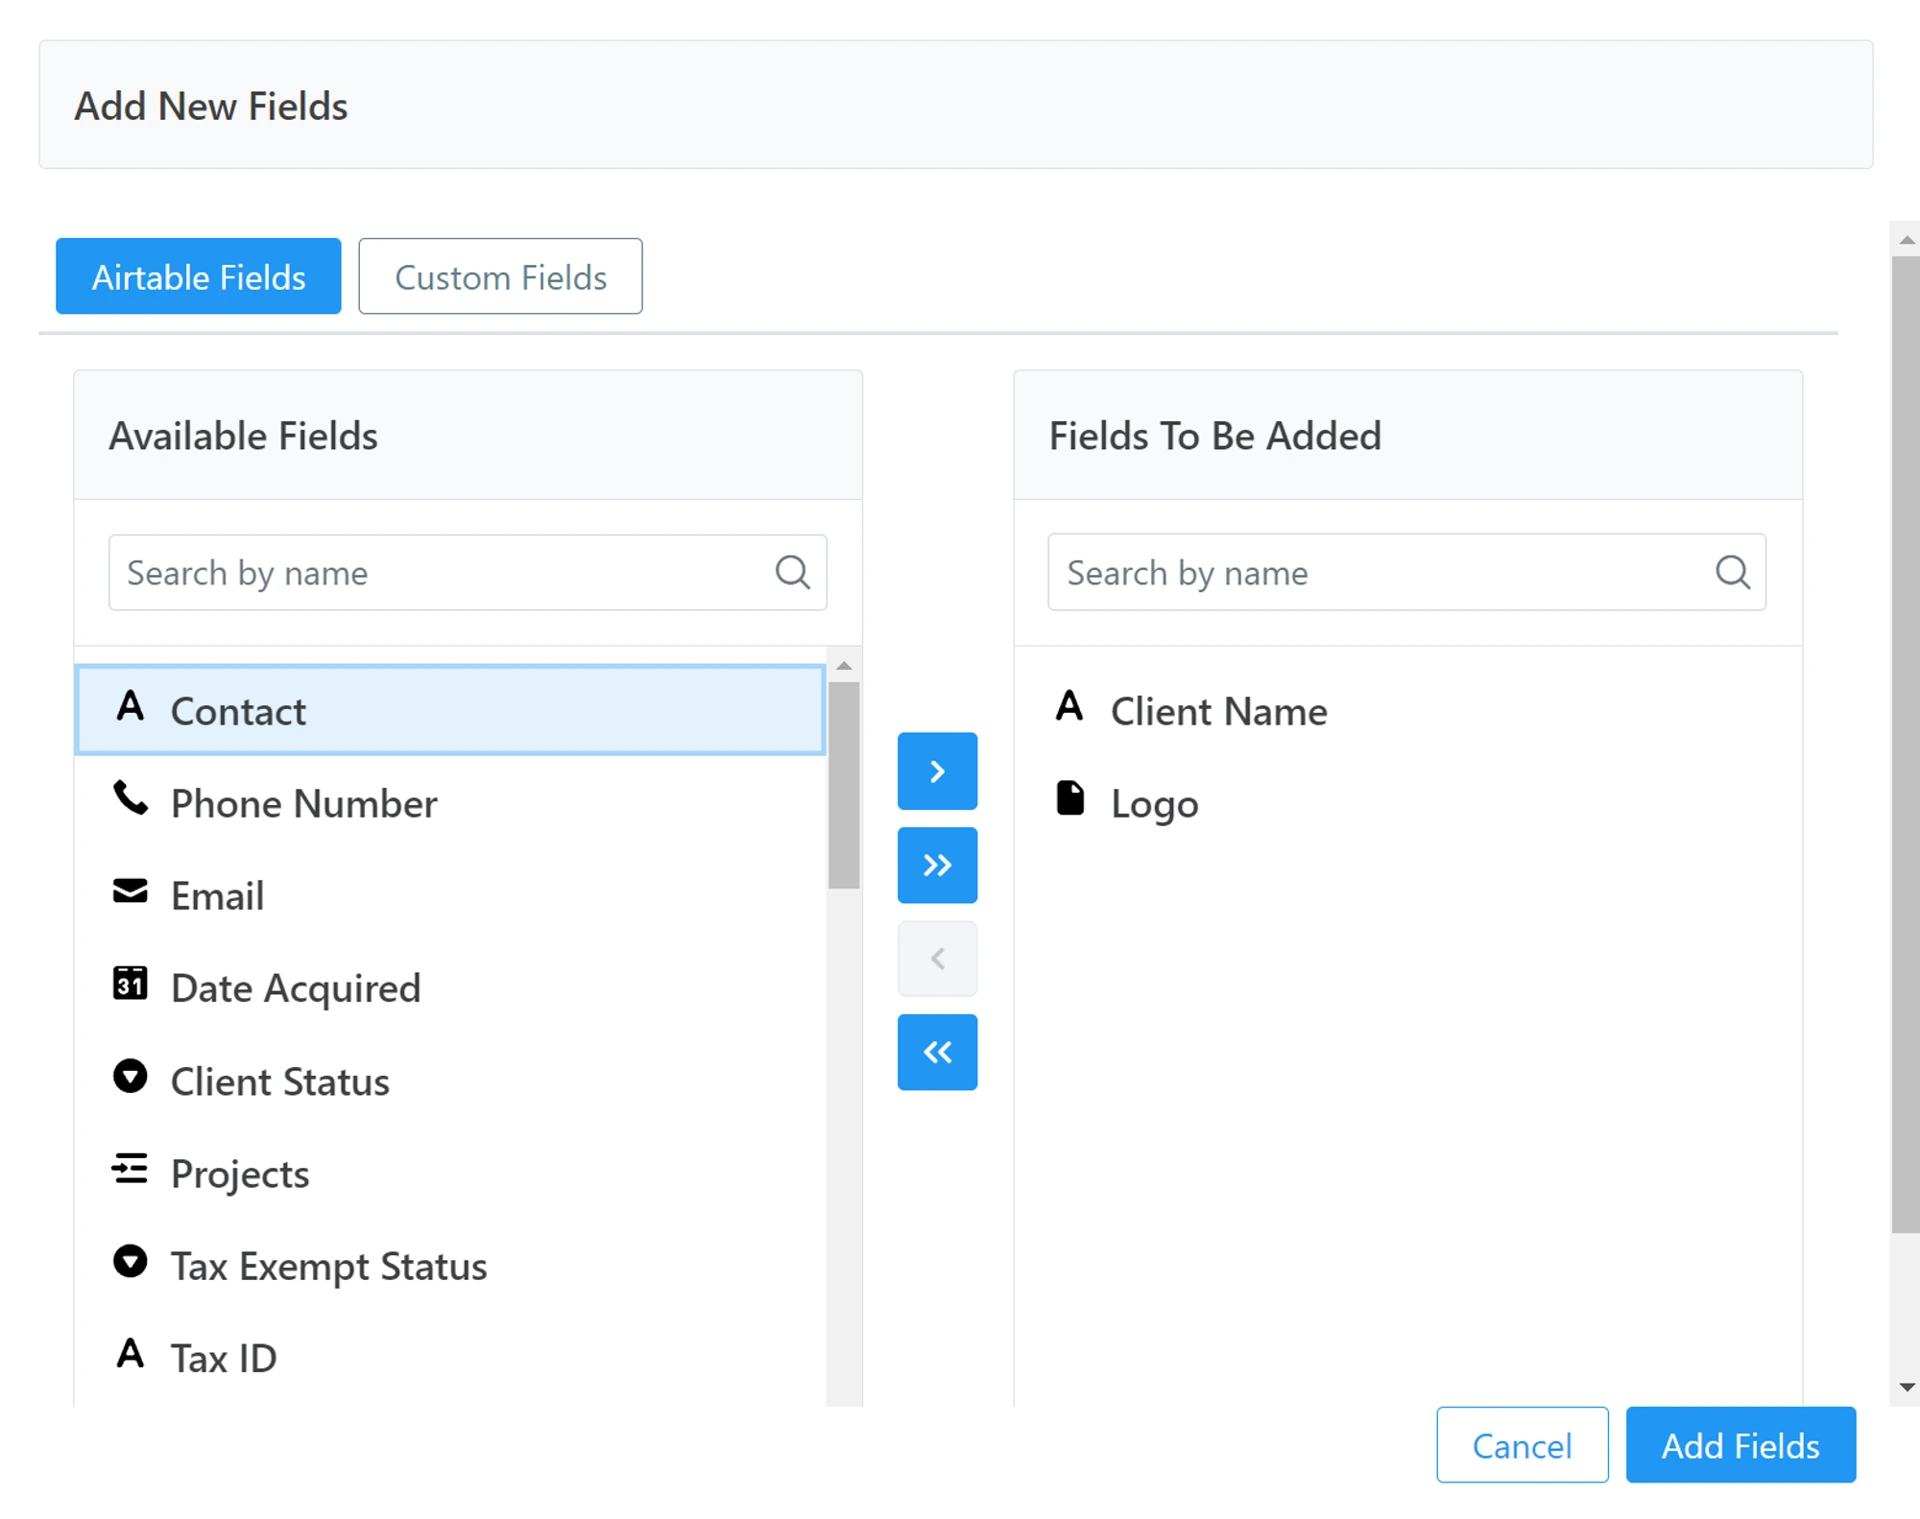
9. To add On2Air Fields, click Custom Fields, then click Add on the field you need
Section titled “9. To add On2Air Fields, click Custom Fields, then click Add on the field you need”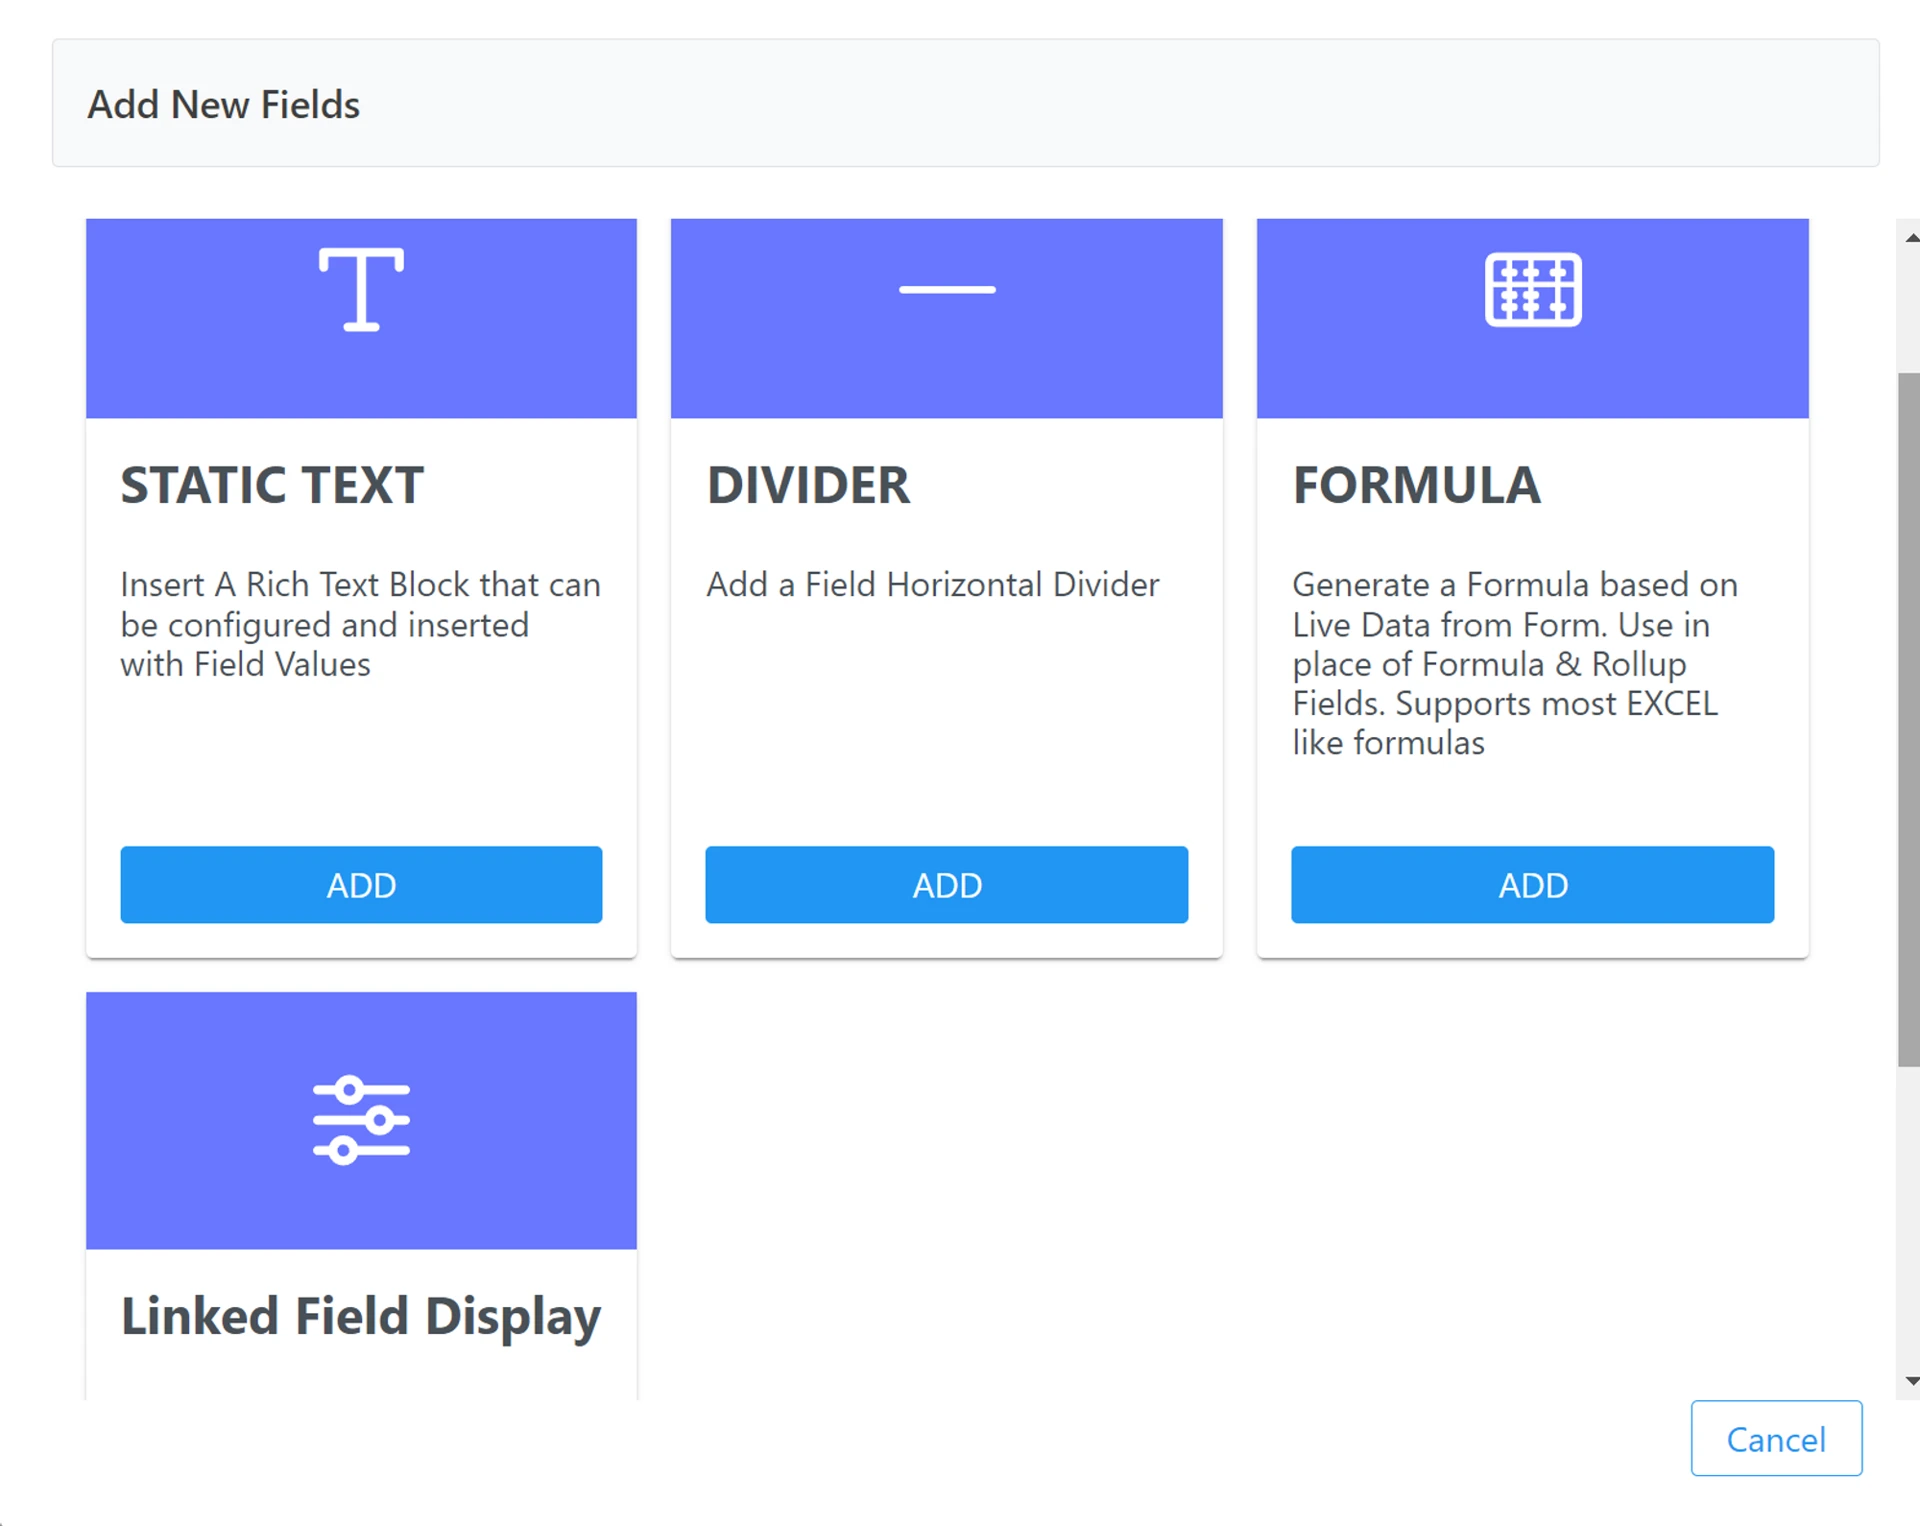
10. Click Add Fields and then click Done
Section titled “10. Click Add Fields and then click Done”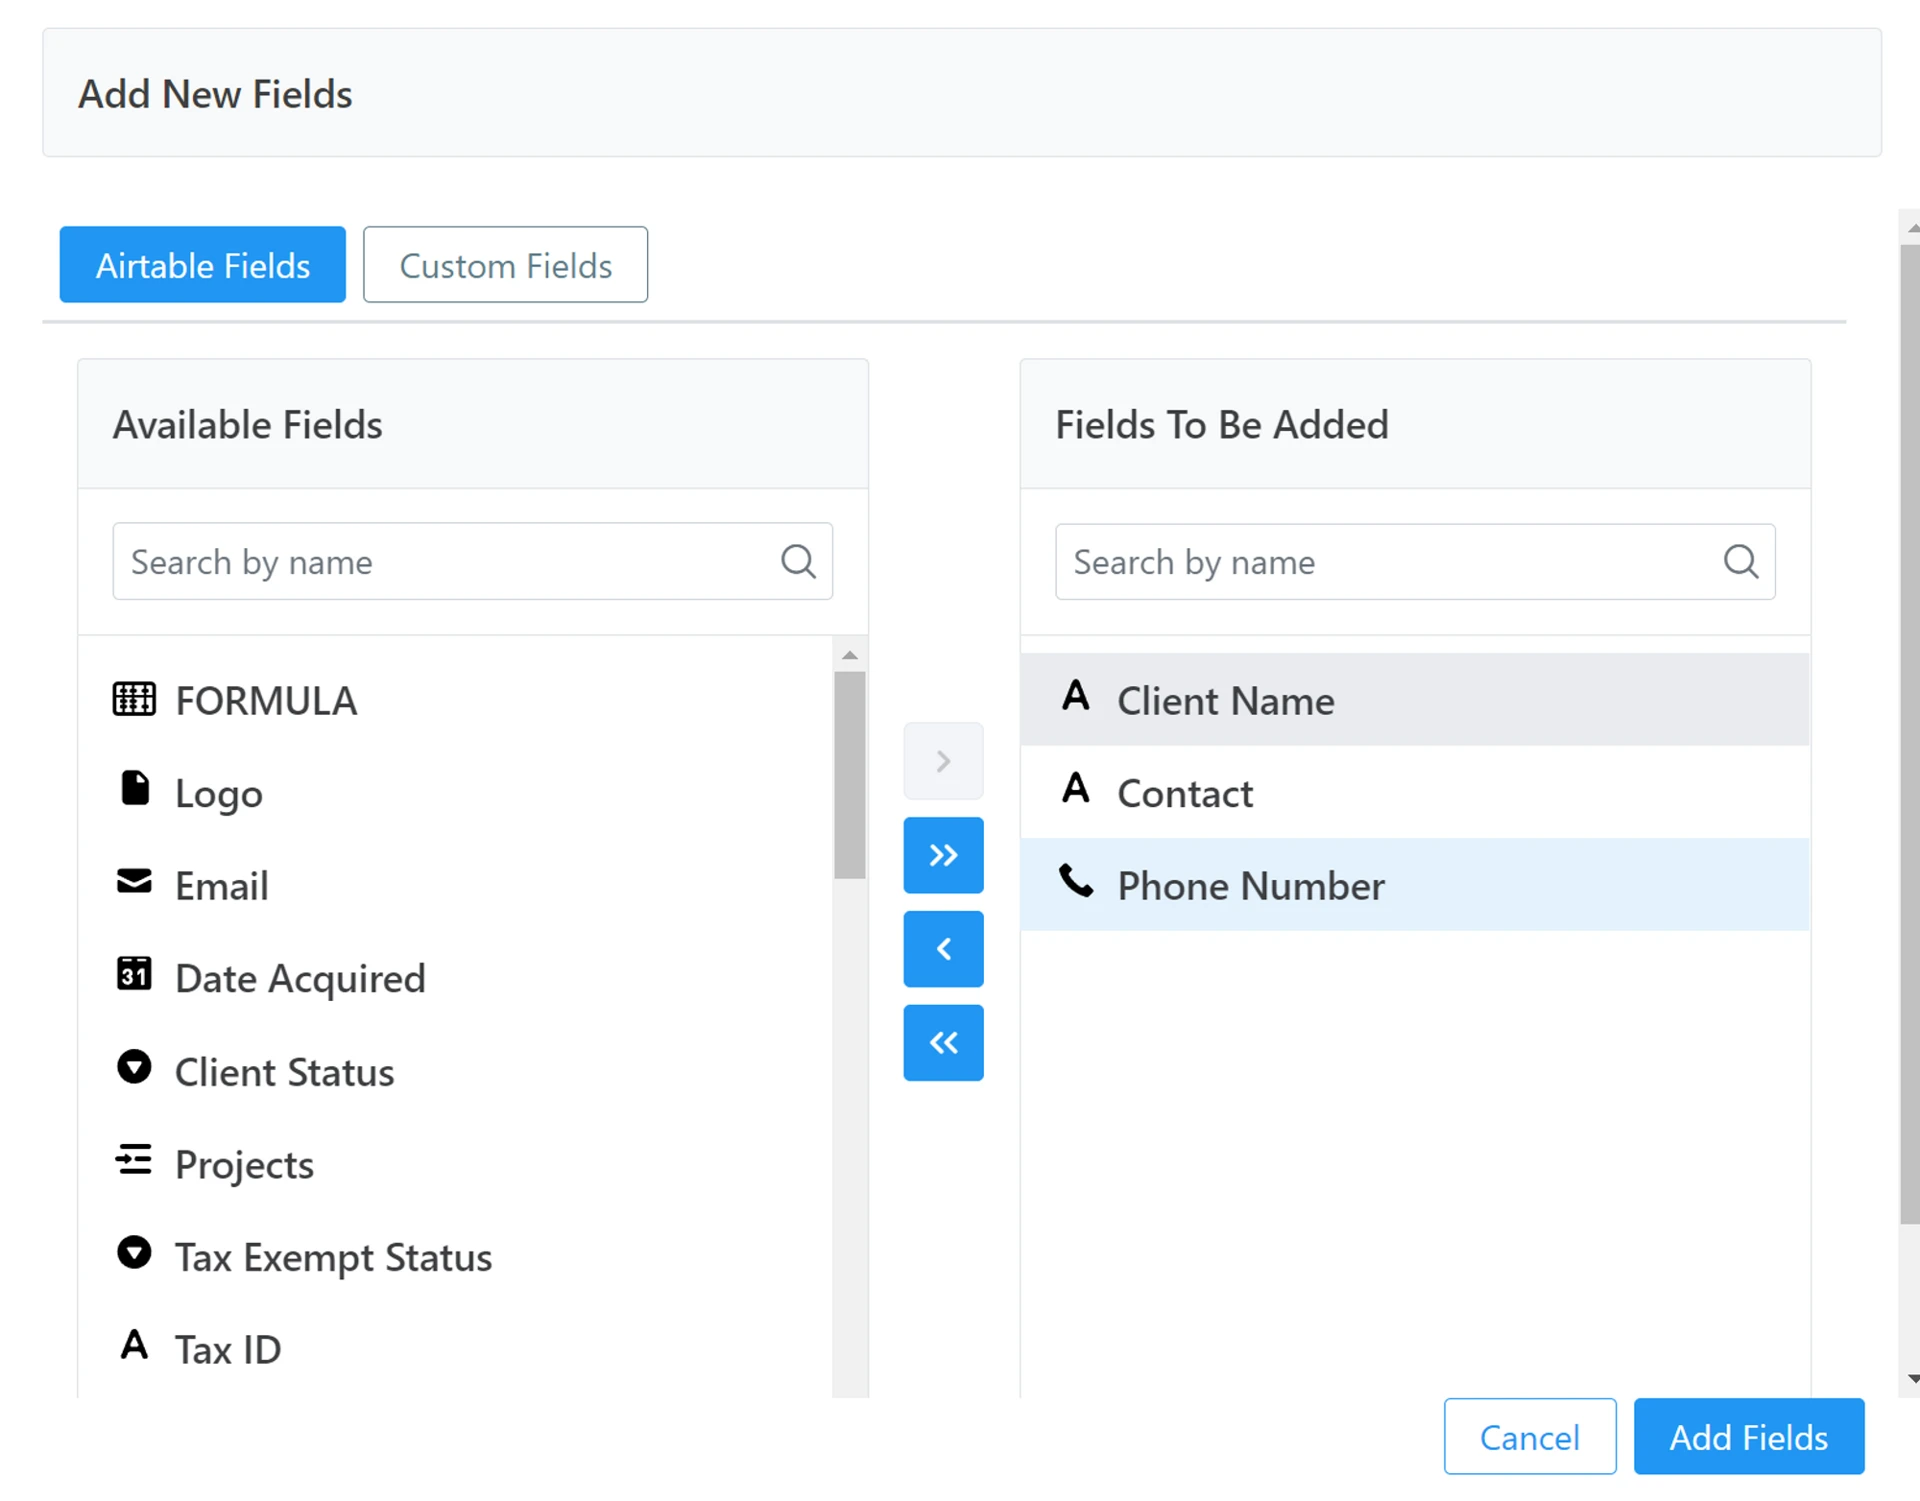
11. Click Preview to see your form
Section titled “11. Click Preview to see your form”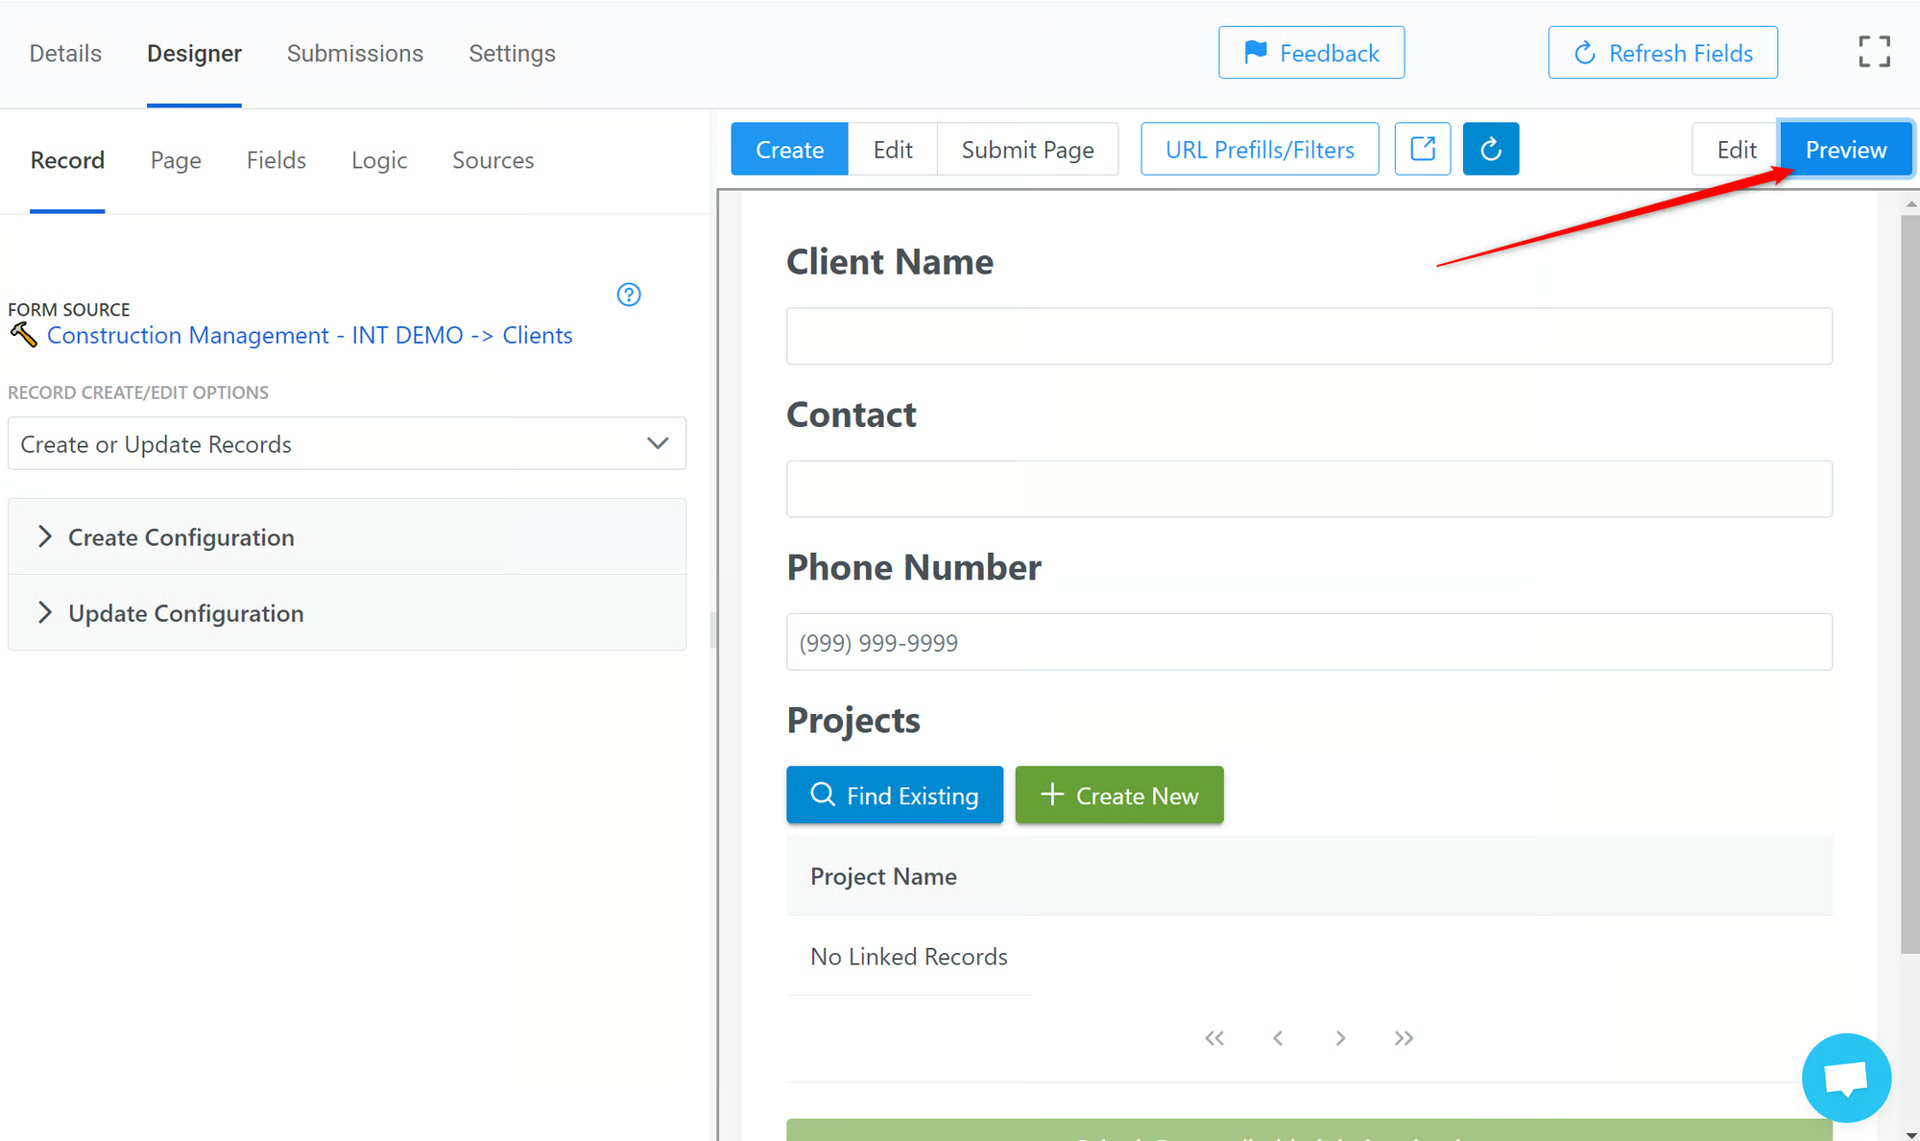
NEXT: You need to configure your form fields -  How to Configure a Field and Use the Designer
Section titled “NEXT: You need to configure your form fields - How to Configure a Field and Use the Designer”💡
Previous:  Getting Started with On2Air Forms
💡
 Using the Form Designer