How to Configure a Field and Use the Designer
🔴 On2Air Forms has been shutdown to focus on our On2Air Backups Airtable app Learn more about automated Airtable backups - on2air.com
Once you’ve added your Airtable and/or On2Air fields to your form, you need to configure each field setting, such as displaying or hiding the field, default values, linked records setup, prefills, and more.
If you don’t configure anything, your form is ready to use with all fields set to Optional (unless you have a  Linked Record (+ SubForms) field which you’ll need to configure.)
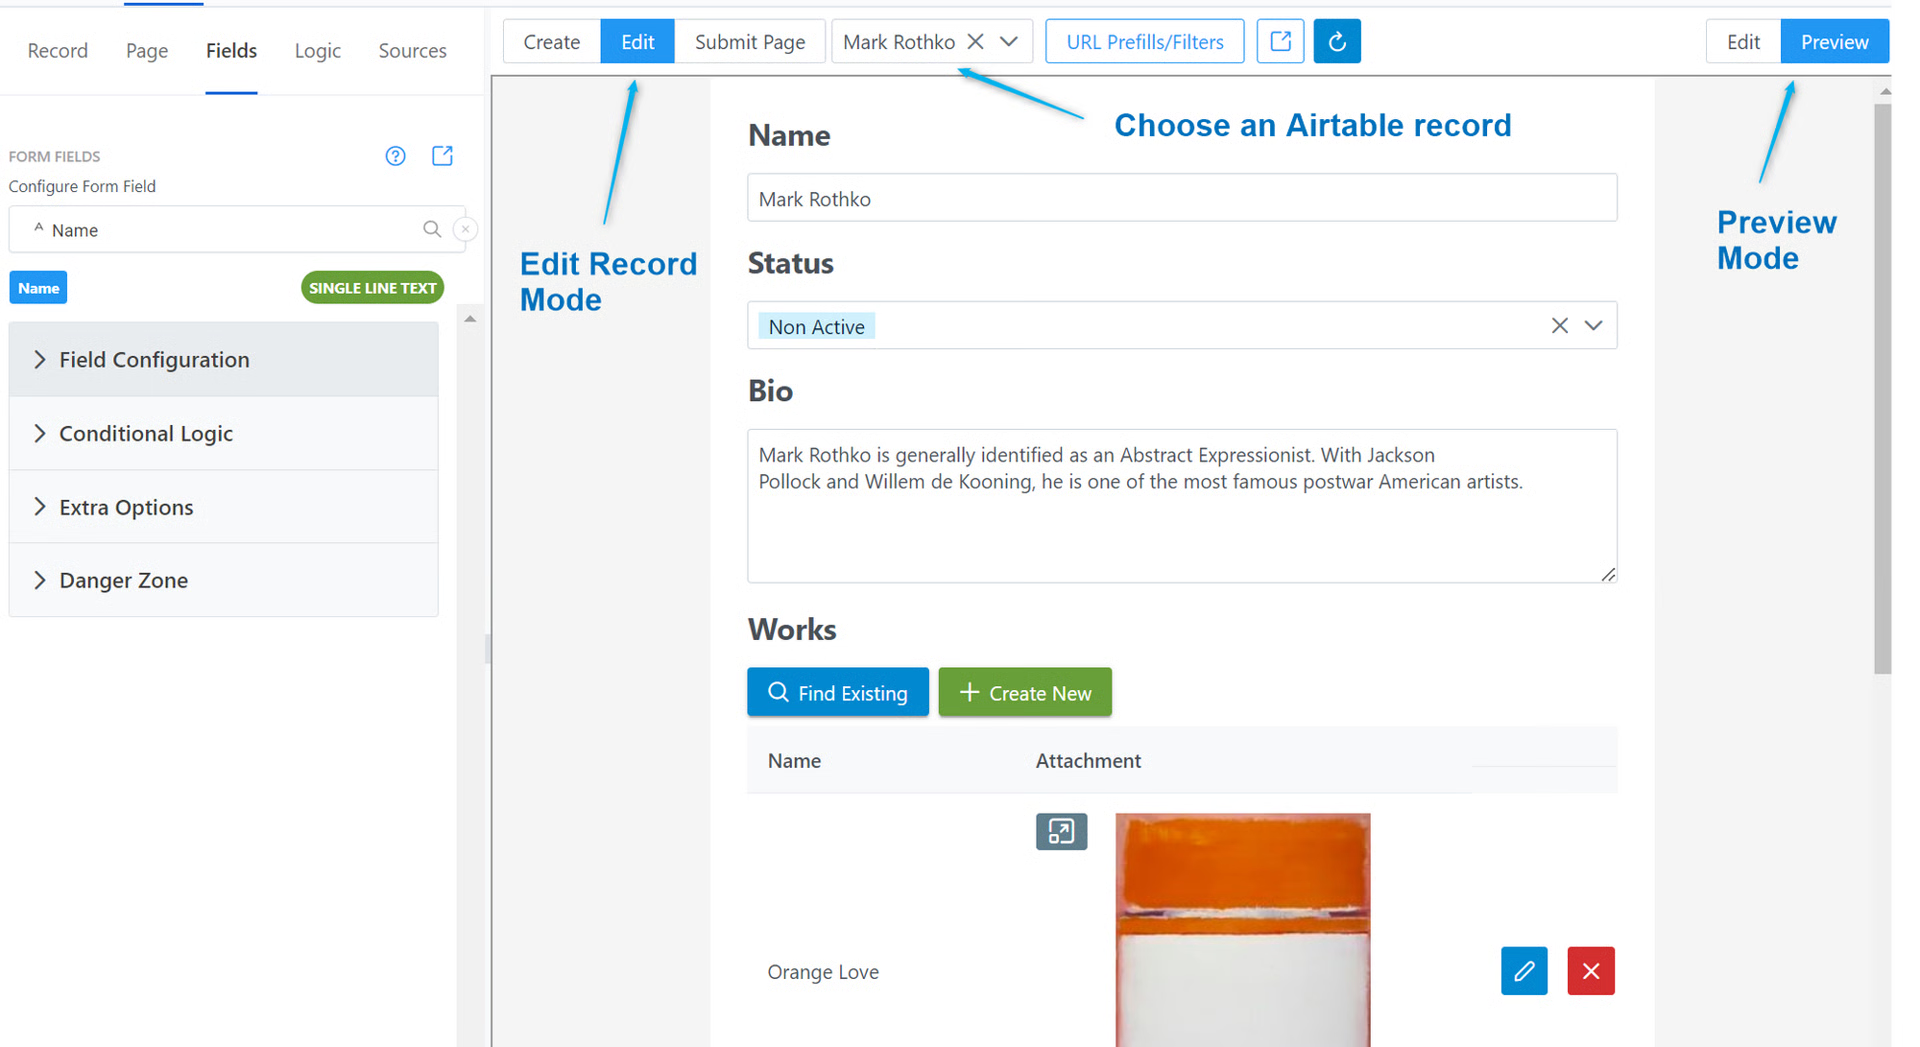
When configuring each field, it might help to first switch your form to Preview mode so you can see changes as they happen.
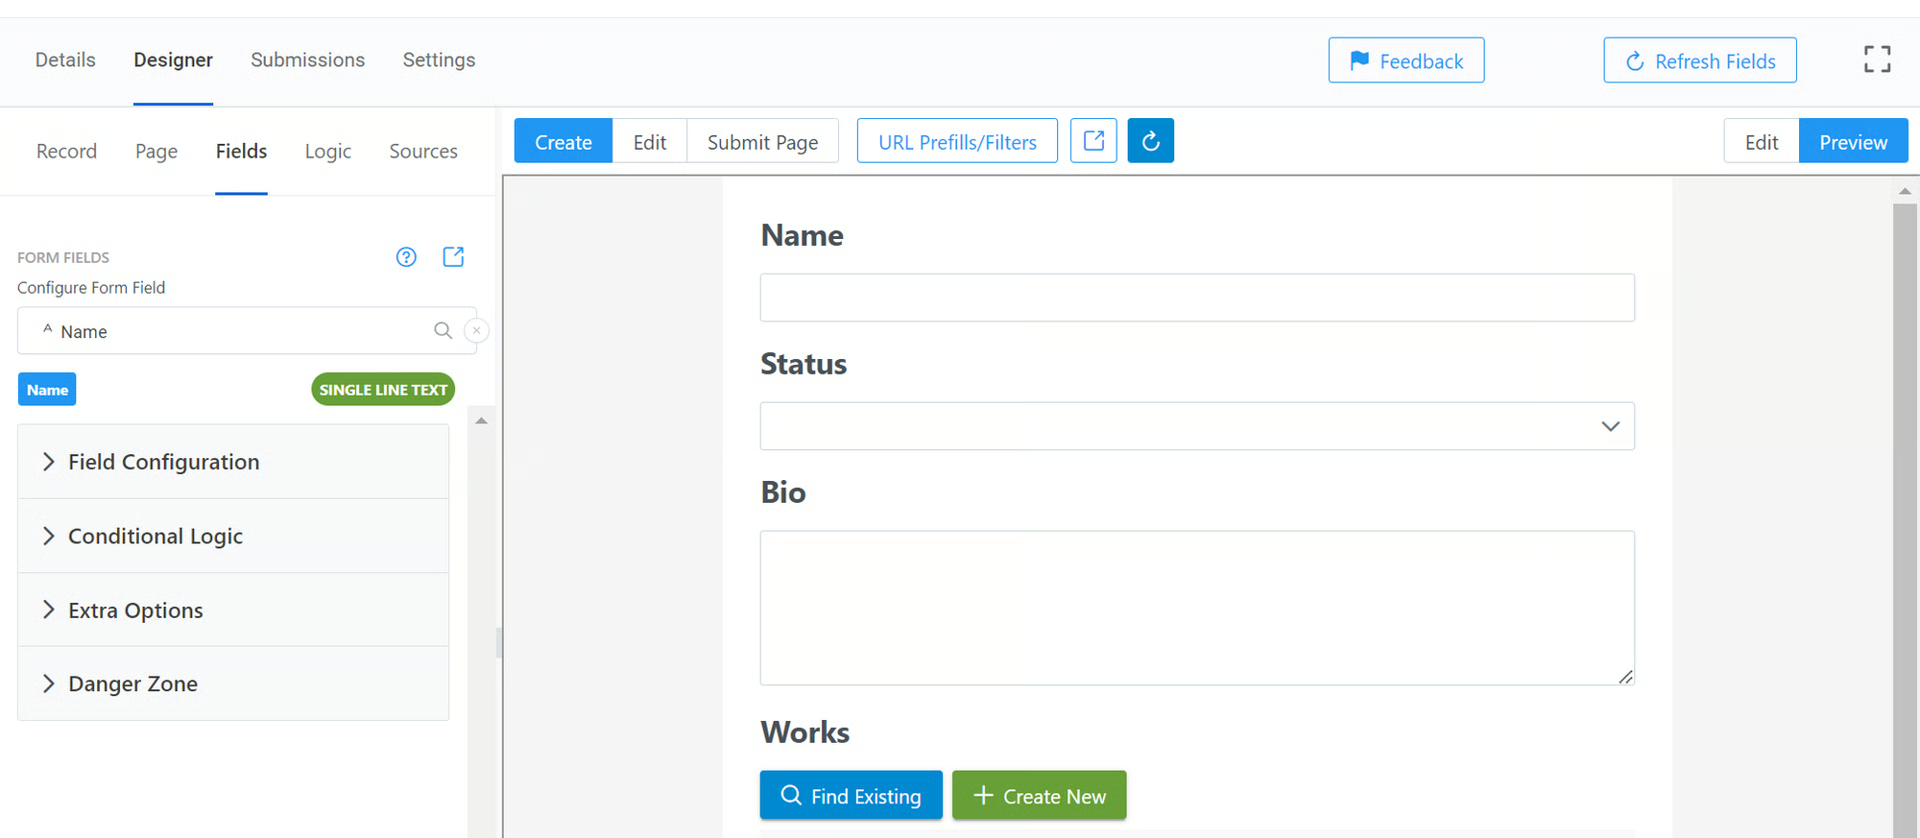
You can also see how the form will look with an actual record from your Airtable base/table by clicking Edit Mode, then choosing an Airtable record from the dropdown
Each field has different options depending on the field type.
💡
View configuration options for each field type:  Form Field Types - Airtable and On2Air Forms
To see the Configuration options for each field
- Click on your Field in the side menu or on the form itself
- A menu will display on the left side with configuration options
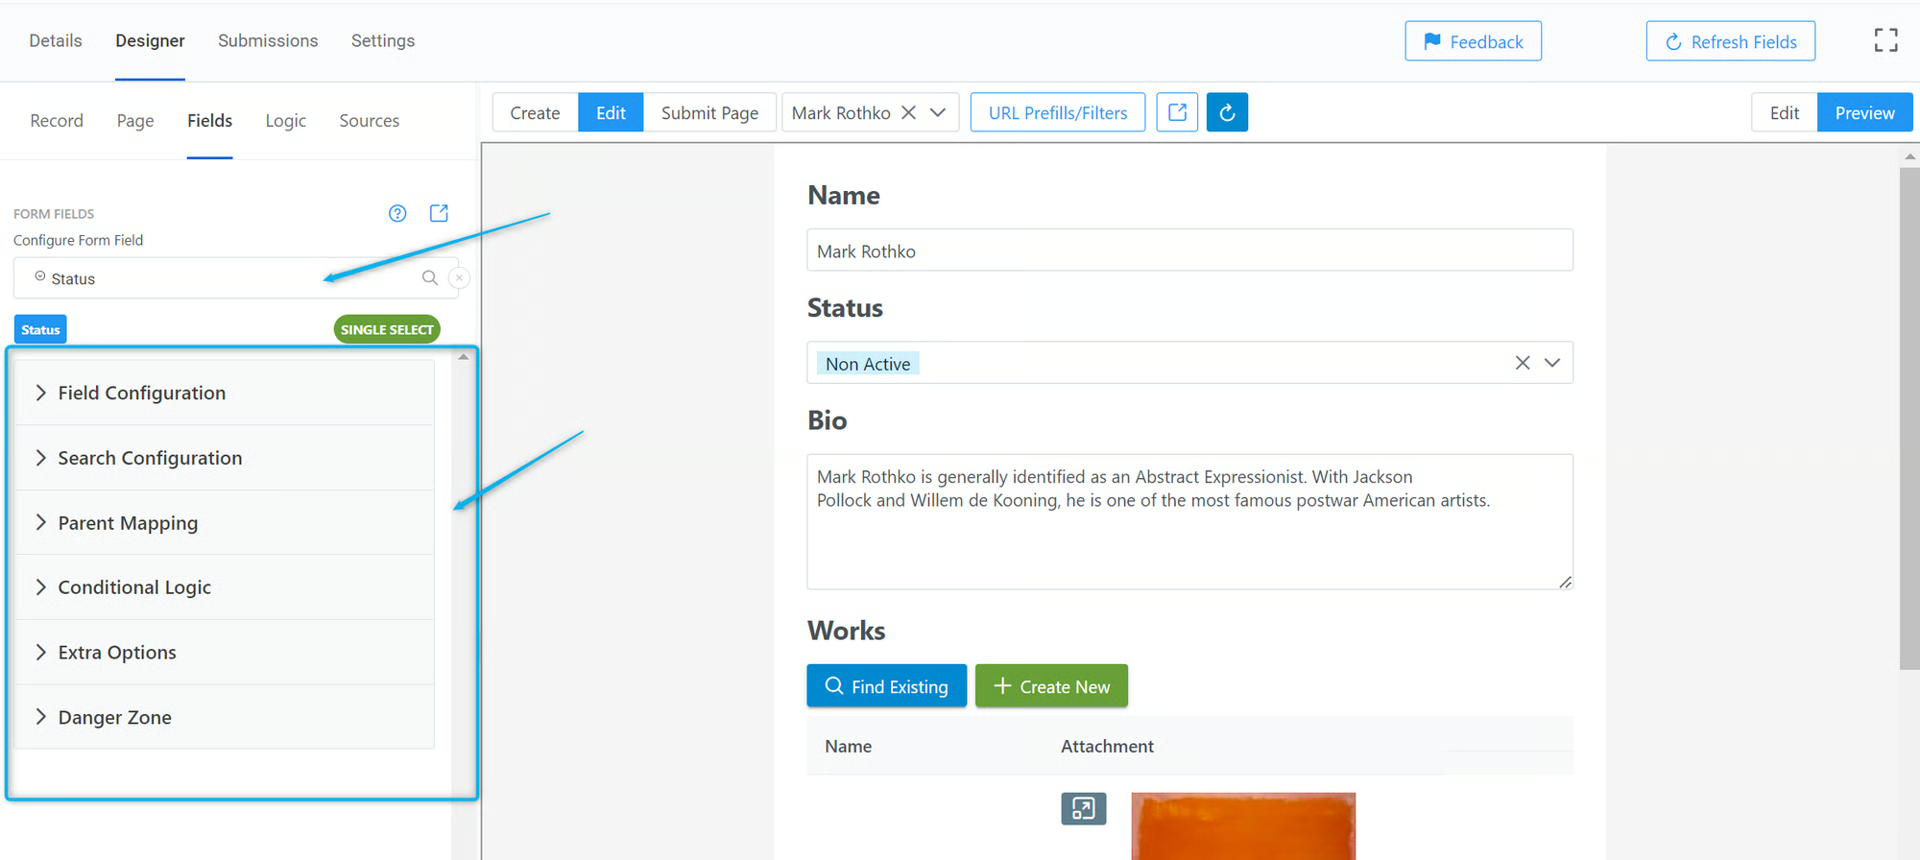
Each Field Type has various configuration options depending on the type of field it is.
- Field Configuration
- Search Configuration
- Parent Mapping
- Display Configuration
- Lookup Filter Configuration
- Lookup Search Configuration
- Danger Zone
Every field type has a Field Configuration option where you can choose the title, helper text, field status, and URL prefill.
Then, depending on your field type, it will have Display options, Search options, Filter options, or Linked Record Forms options.
Each field also has Extra Options with Advanced Settings for customizing your form even more.
💡
NEXT:
 Design the Form Header
 Design the Submission Page