
Creating a seamless automated experience for your business operations can reduce risk, strengthen your bottom-line, and give you a competitive advantage.
The Sales department and the Finance department are two separate operating structures in a business.
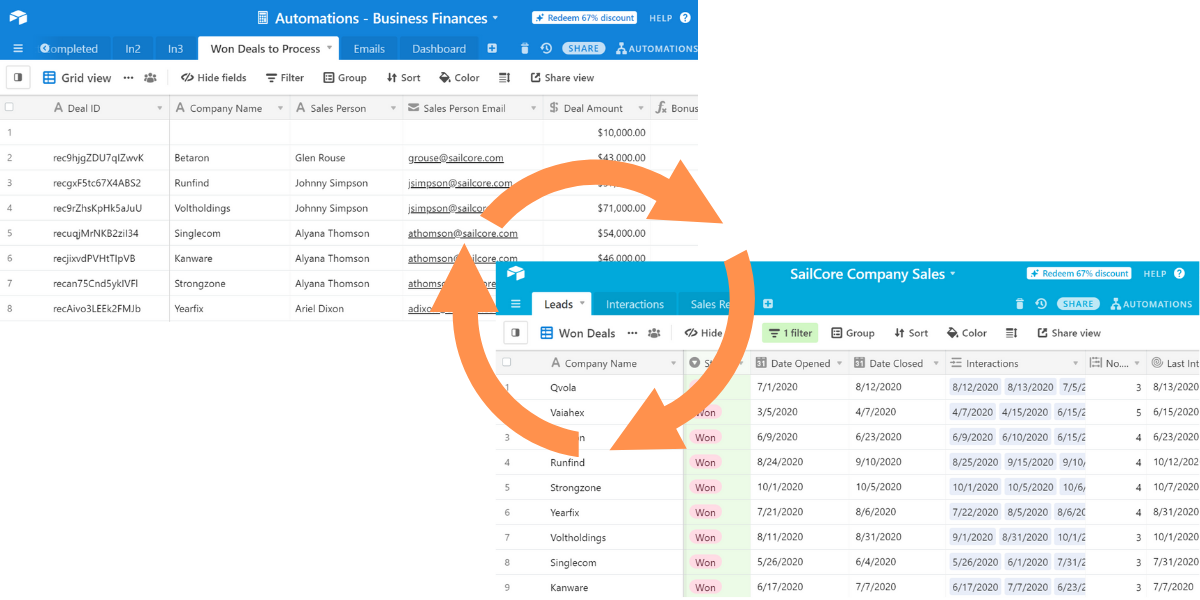
In Airtable, each department should have its own custom base for tracking vital information. Both bases are essential to data management and business growth, however, Airtable lacks a robust way to sync bases and send information from one base to the other.
With this tutorial and setup using On2Air: Actions, you can sync and send data between your different Airtable bases and update multiple records at once.
With the bases connected and synced, you can automate a variety of processes, such as sending projected and closed sales to the Finance department, employee bonus payout information, and monthly and yearly budget updates from the Finance department to the Sales team.
Table of Contents
Trigger Action – Won Deals to Be Processed
Update Action – Update Finance Leads from Sales Deals
Search Action – Find Leads to Pay Out
In this article
With these custom scripts and On2Air: Actions, you can connect your bases and automate the process of sending bonus payout information for a Sales Person from the Sales base to the Business Finances base. You can then send the completed information back to the Sales base.
What we want to accomplish
When a Sales Deal is marked as ‘Won’ in the Sales base, send the Won Deals information to the Business Finances base to be processed as a payout to the Sales Person.
Once the Deal is sent to the Business Finances base, an Update is sent back to the Sales base to mark the Deal as ‘Bonus Processed’.
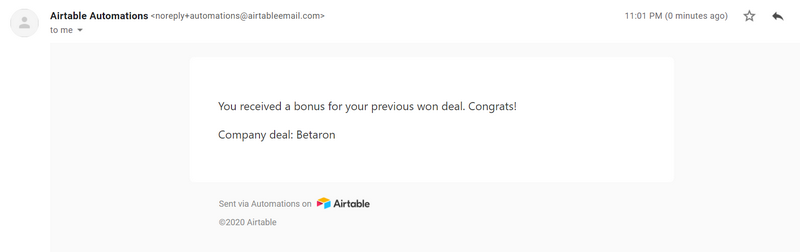
After the Finance employee reviews and processes the bonus, they will change the Bonus status to ‘Approved’ in the Business Finances base. Then, an email will be automatically sent to the Sales Person notifying them of the bonus.
Before starting
First, copy our Sales base and our Business Finances base into your Airtable account.
The Sales base contains:
A table with all Leads and a specific View for ‘Won Deals’ with the Bonus Processed checkbox NOT Checked (The Bonus has not been processed yet)
Relevant fields
- Sales Person Name (Rollup field from Sales Person linked field)
- Amount
- Status
- Bonus Processed
- Deal ID
- Date Bonus Processed (used when processing in On2Air)
(The Scripting version will work on both the Airtable Free Plan and Pro Plan while the Scripting App is still currently available)
The Business Finance base contains:
A table for ‘Won Deals to Process’ that captures all the information needed from the Sales base
Relevant fields
- Deal ID
- Company Name
- Sales Person
- Sales Person email
- Deal Amount
- Bonus Amount
- Status
Automating the process
In On2Air: Actions, we will set up a Trigger action. The Trigger watches for records in the Sales base that enter the Won Deals view. This begins (triggers) the process.
Trigger Action – Won Deals To Be Processed
- In the Actions app, select Triggers from the menu
- Click New Trigger
- Select Multiple Records Updated
- Click Add Configuration
- In the Trigger Configuration, choose your Airtable account as the Airtable Connection
- In Configurations details, choose the Sales base, the Leads table, and the Won Deals view

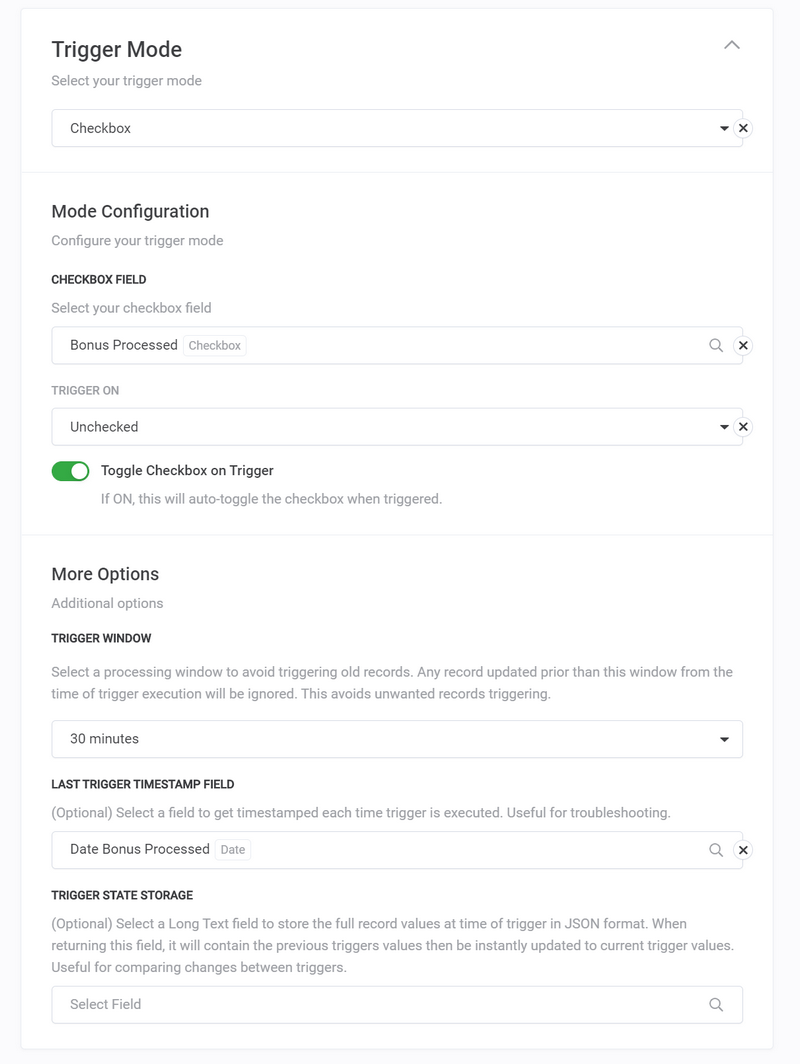
- In Trigger Mode, choose Checkbox as the mode, Bonus Processed as the Checkbox field, and Trigger on Unchecked
- In the Trigger Window, choose 30 minutes, and in the Last Trigger Timestamp Field, choose Date Bonus Processed
- Click Save Trigger Details
- Rename your Trigger to Won Deals to Be Processed
- Enable your Trigger
Trigger Installation
- In the Installation tab, choose Script as the Installation Source and select an API Key
- Click Copy to Clipboard to copy the code script
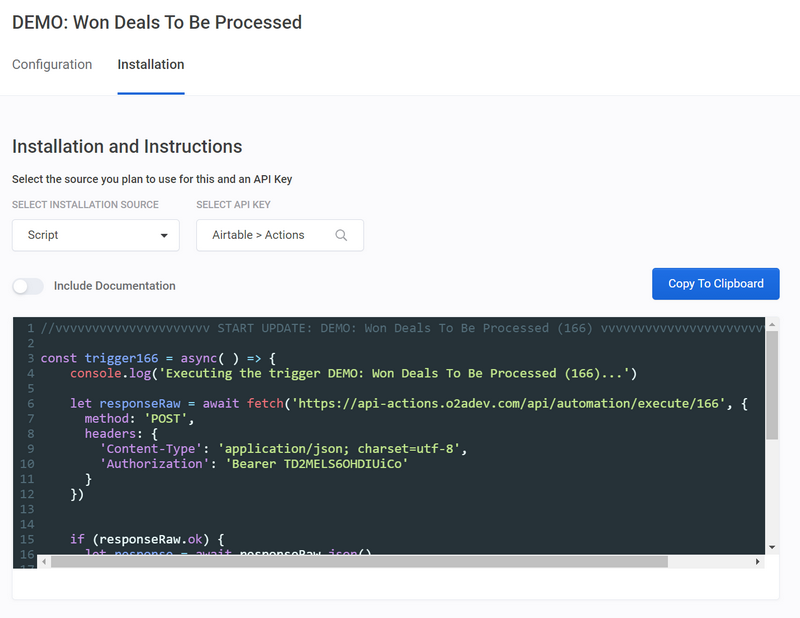
- Paste the script into the Airtable Scripting app in your Business Finances base
How to add code to the Scripting App in Airtable
- Click Run
This will bring in Deals that have a Bonus that needs to be processed
- Make sure you have records in your Sales base where the Bonus Processed checkbox is NOT checked
Update Action – Update Finance Leads from Sales Deals
Next, we’ll create an update to add multiple records from the Sales base to the Business Finances base
This will grab the Deals results from the first Trigger (Bonus Processed-Not checked) and update or add the Deals into the Business Finances base in the ‘Won Deals to Process’ table.
- In the Actions app, select Updates from the menu
- Click New Update
- Select Update (Insert) Multiple Records
- Click Add Configuration
- In the Update Configuration, choose your Airtable account as the Airtable Connection
- In Configurations details, choose the Business Finances base and the Won Deals to Process table
- For the Lookup Field, choose Deal ID
- For the Field Values, choose Deal ID, Sales Person, Sales Person Email, Deal Amount, Company Name, and Status
- In the Default Create Value for Status, type New
- In Required Field, choose Deal ID
- Click Save Update Details
- Rename your Update to Update Finance Leads from Sales Deals
- Enable your Update
Update Installation
- In the Installation tab, choose Script as the Installation Source and select an API Key
- Click Copy to Clipboard to copy the code script
- Paste the script into the same Airtable Scripting app where you added the Trigger in your Business Finances base – Paste the script below the Trigger
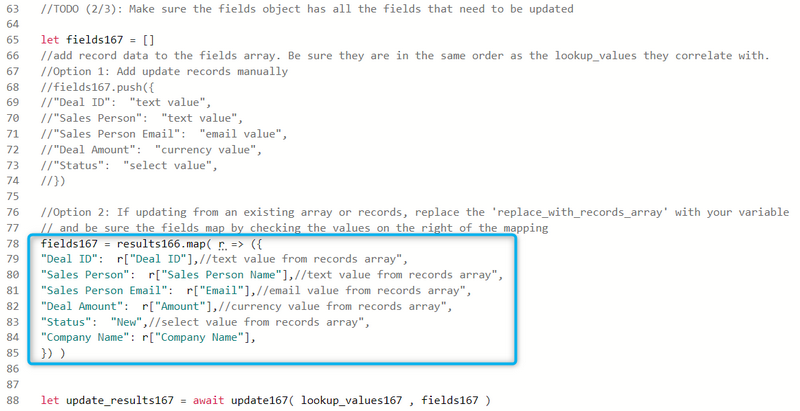
- Inside the Update script, complete all relevant TODOs.
- In this instance, for TODO 1, we are using the results from the previous Trigger as the lookup value

- In TODO 2, we used Option 2 and created variables mapped from the Sales base to the Business Finances base
- On the left side is the Business Finances base field name. The right side is the Sales base field name
- Now that you’ve added the Trigger and Update into the Scripting App, be sure you have at least 1 or more records displayed in the Won Deal view in the Sales Base
- Click Run

You should see the Trigger and Update executed and you should see the Deals from your Sales base added to your ‘Won Deals to Process’ table in the Business Finances base
If you open your Sales base, you should also see your Bonus Processed checkbox now CHECKED in the Sales base where the each Deal was previously not checked.
Search Action – Find Leads to Pay Out
Next, we’ll use a Search action to search for Deals containing the Status of “New” in the “Won Deals to Process” table in the Business Finances base. This will be used to capture the Deal records and, in the next step, will add them to another table.
- In the Actions app, select Searches from the menu
- Click New Search
- Select Search Multiple Records
- Click Add Configuration
- In the Update Configuration, choose your Airtable account as the Airtable Connection
- In Configurations Details, choose the Business Finances base and the Won Deals to Process table
- For the Lookup Mode, choose Field
- For the Field to Lookup, choose Status
- In the Default Lookup Value, type New
- Click Save Search Details
- Rename your Search to Find Leads to Pay Out
- Enable your Search
Search Installation
- In the Installation tab, choose Script as the Installation Source and select an API Key
- Click Copy to Clipboard to copy the code script
- Paste the script into a new Airtable Scripting app in your Business Finances base
- Inside the Search script, complete all relevant TODOs.
- In this instance for TODO 1, we add the lookup value of “New”

- Click Run
You should see the Search being executed and your records found.
Next, let’s use those records that were found to add data to the Emails table.
Update Action – Create Emails Ready to Send
Now that we’ve searched the “Won Deals to Process” table in the Business Finances base for any record containing the Status of “New”, we’re going to create new records in the Emails table. These will be used to send emails using Airtable Automations to the Sales Person with their bonus payout information.
The table will contain the Sales Person’s name, their email address, email subject, email body, and a Status of ‘To Send’.
- In the Actions app, select Updates from the menu
- Click New Update
- Select Create New Multiple Records
- Click Add Configuration
- In the Update Configuration, choose your Airtable account as the Airtable Connection
- In Configurations details, choose the Business Finances base and the Emails table
- For the Field Values, choose Email, Subject, Body, Status, Name, and Related Company
- In the Default Create Value for Status, type To Send
- In Required Field, choose Email
- Click Save Update Details
- Rename your Update to Create Emails to Send
- Enable your Update
Update Installation
- In the Installation tab, choose Script as the Installation Source and select an API Key
- Click Copy to Clipboard to copy the code script
- Paste the script into the same Airtable Scripting app where you added the Search action script in your Business Finances base – Paste the script below the Search
- Inside the Update script, complete all relevant TODOs.
- In this instance, for TODO 2, we chose Option 2 and created variables mapped from the Sales base to the Business Finances base
- On the left side is the field name from the Emails table. The right side is the field name from the Won Deals to Process table
- Now that you’ve added the Search and the Update into the second Scripting App and have Run the first Scripting app, click Run
You should see the Search and Update executed and you should see the Emails table being filled with new records.
Airtable Automation – Send Emails
Next, let’s send an email to the Sales Person letting them know their bonus has been paid! This can be accomplished using the in-app Airtable Automations.
- First, add an email address you can check into the Email field on the first record in the Emails table
- Open the Automations dashboard and click New Automation
- Rename your Automation to Send Emails with Bonus Information
- Click Choose a trigger
- Choose When record matches condition
- Choose your Emails table
- Click Add condition, choose ‘Status’ ‘is’ ‘To Send’
- Test your Trigger
- Next, we’ll add the Email Action
- Click Add action
- Choose Send email
- Click the blue plus button and choose your Email field
- Do the same for the Subject and the Message fields
- Test your Action
- Turn the Automation on
Running the Automation
Now, right-click one of the records and click Duplicate record. This will ensure you have a new record with an email address in it.
Your automation should run.
Check your email to see the Bonus update!
Final Thoughts
Keeping your bases in sync can make your business processes more efficient and your team more connected.
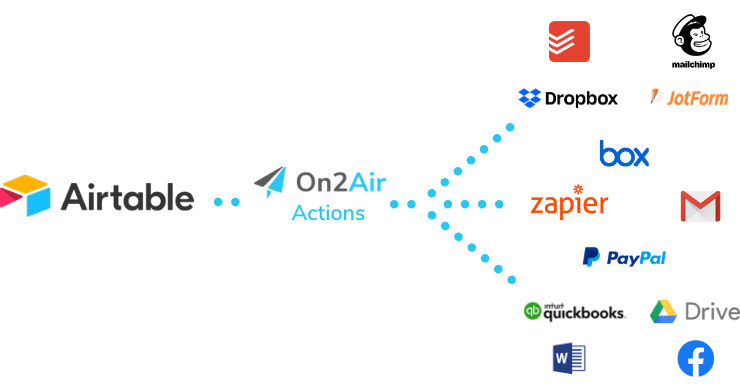
Use custom scripts or integrate your bases with Zapier and On2Air: Actions to ensure your data is where you need it to be.
Even More Powerful Automations
Automations in Airtable make it easy to complete basic in-app tasks. However, the automations in Airtable have multiple limitations. On2Air: Actions fills the gap to help you connect your Airtable data better.
If you need more automation power and connection to over 2,500 other apps, try On2Air: Actions, an advanced Airtable connector.
Sign up for a free trial of On2Air: Actions today!
Current Limitations in Airtable Automations:
- Unable to integrate with other apps you use
✅ On2Air: Actions integrates with Zapier to connect to over 2,500 other apps
- No bulk record automation - only single records at a time
✅ On2Air: Actions allows you to process multiple records at one time in bulk
- Many field types are not available to use in automations, such as attachments, linked records, lookups, multiple-select, rollups with only values, and collaborator fields with more than one collaborator
✅ On2Air: Actions is able to use every field type available in Airtable
- 1-second limitation on script runs
✅ On2Air: Actions has no script run limitations - scripts allow you to do just about anything in Airtable using JavaScript
- The 'Send email' action is branded with Airtable logo and information
✅ On2Air: Actions allows you to integrate with any email provider you choose
- Limitation on the number of automation runs per month - when you hit the limit, your automations will stop working
✅ On2Air: Actions has no limit on the number of runs per month and the number of actions is significantly higher depending on the plan you choose
- Limitation on the number of automations per base
✅ On2Air: Actions allows for a significantly higher number of automations
With On2Air: Actions, you can create automations with more field types, add conditional actions based on previous actions, update multiple records at once, and connect to all your other business software.