Create a New Backup Project
On2Air Backups is an automated backup app for your Airtable bases. Create scheduled backups of your critical business data stored in Airtable and export your information to Dropbox, Box, or Google Drive.
 On2Air Help Center >
  On2Air Backups Start a free trial
In this tutorial
-
1. Create a Backup Project
-
2. Choose your Storage Connection and Folder
-
3. Choose a Schedule
-
4. Choose your Airtable Base(s)
-
5. Click Start Backup
-
Customize Your Backup (Include/Exclude Fields, View, and Attachments)
-
Backups History Log
-
Backup Folder Structure and File Name Convention
-
Need Support?
1. Create a Backup Project
Section titled “1. Create a Backup Project”-
Go to your Account at https://app.on2air.com/app/backups/all
-
Be sure you’ve connected Airtable and your Storage Drive
-
Click New Backup
-
A Backups Project allows you to add 1 or multiple bases to a Project

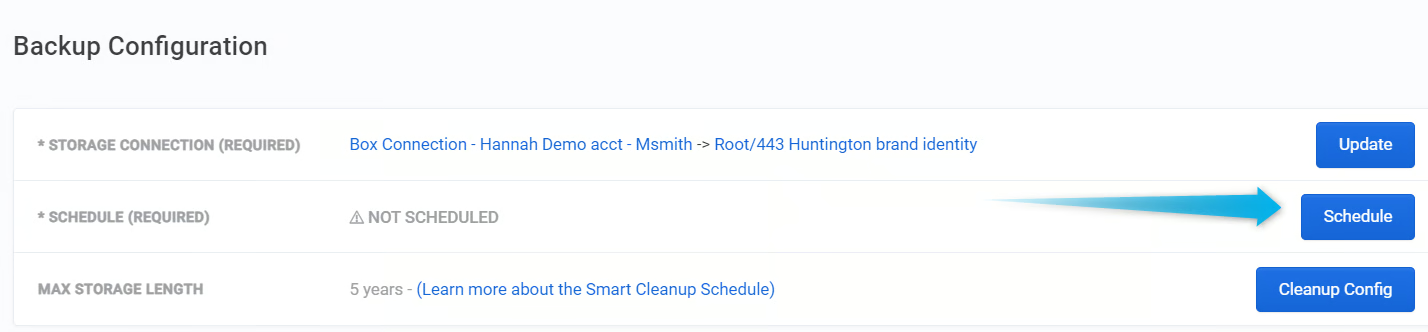
2. Choose your Storage Connection and Folder
Section titled “2. Choose your Storage Connection and Folder”- Next to Storage Connection, choose Select Storage Connection
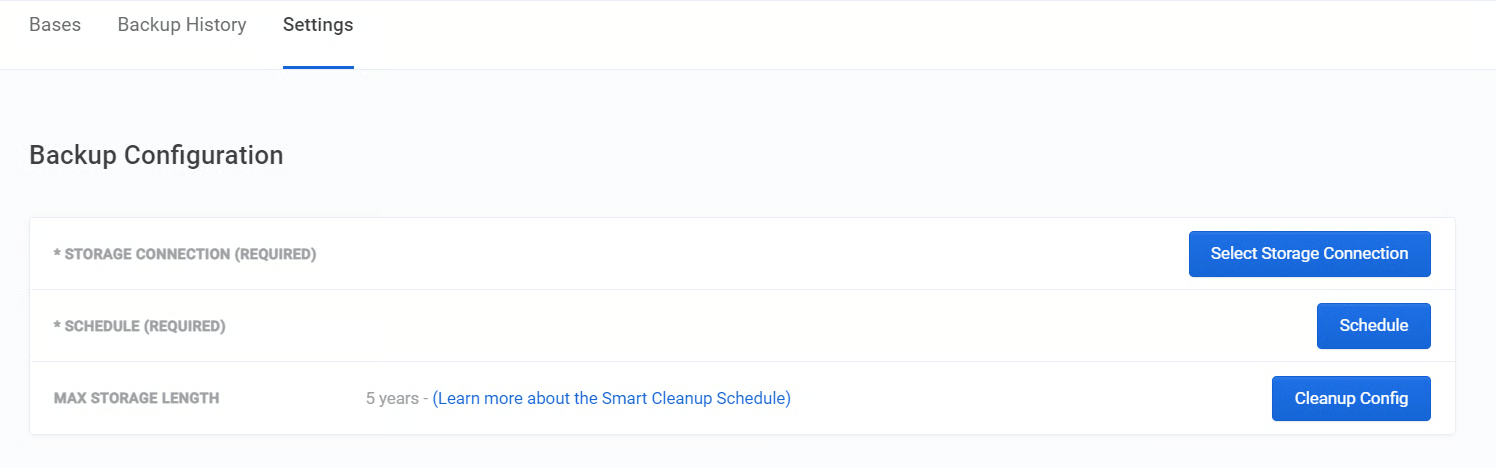
- Then choose your Connection from the list

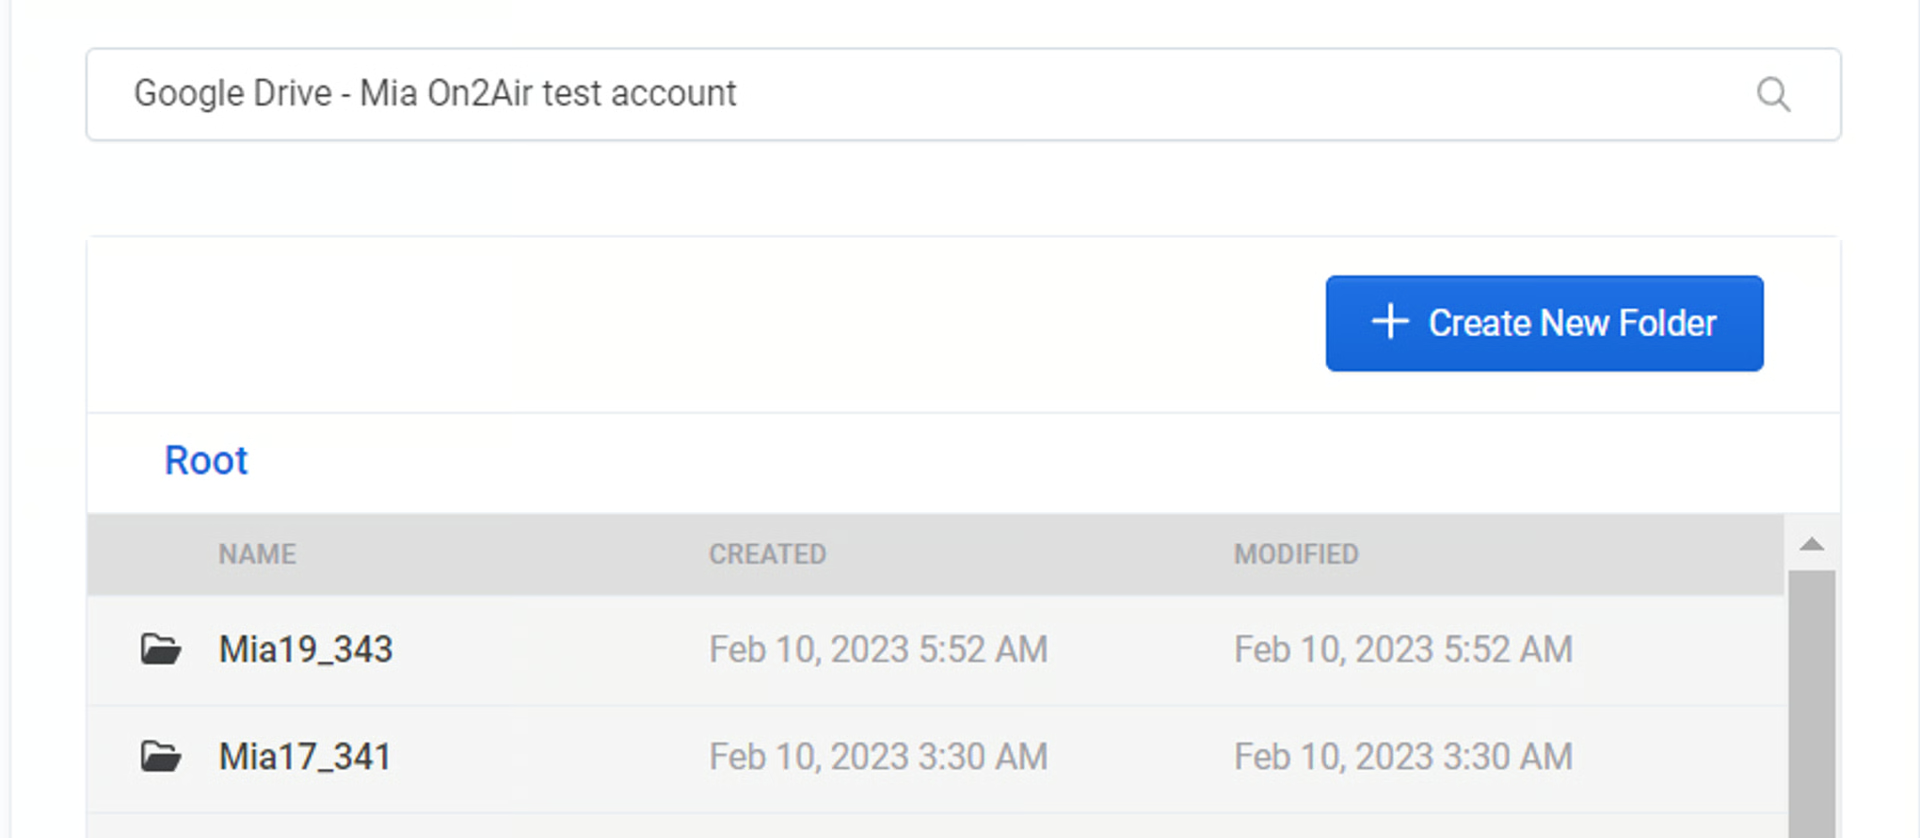
- Now, you can Choose a folder from your storage drive or Create a New Folder where your backups will be sent

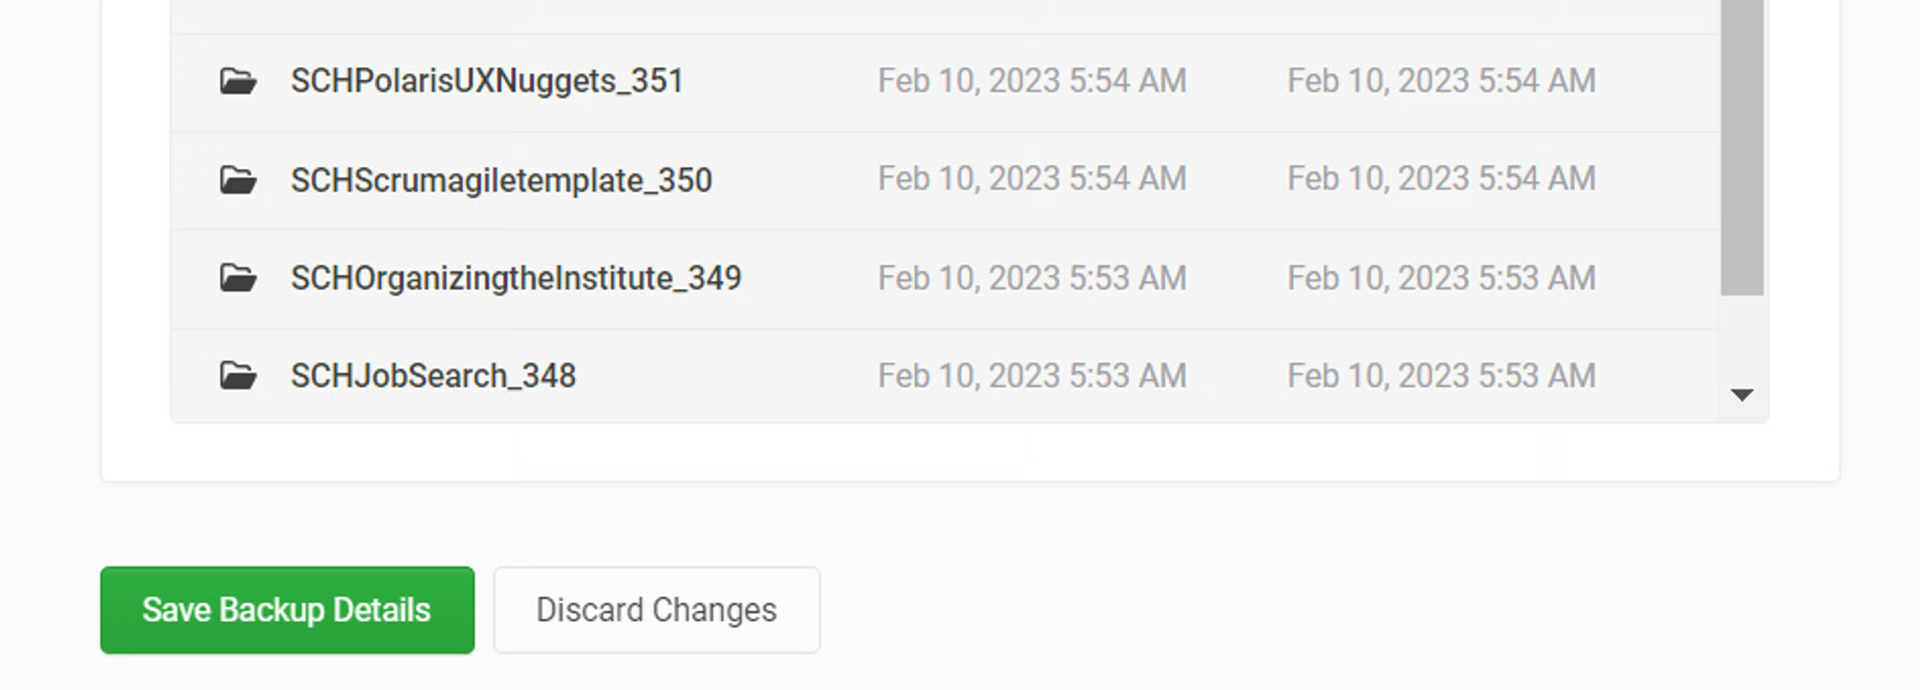
By default, we add the backup to the root of your storage drive. You can change to a specific folder. Please note that once you choose a folder, you won’t be able to change it**. You’ll have to create a new Backup Project if you need a new folder.**
Then click Save Backups Details
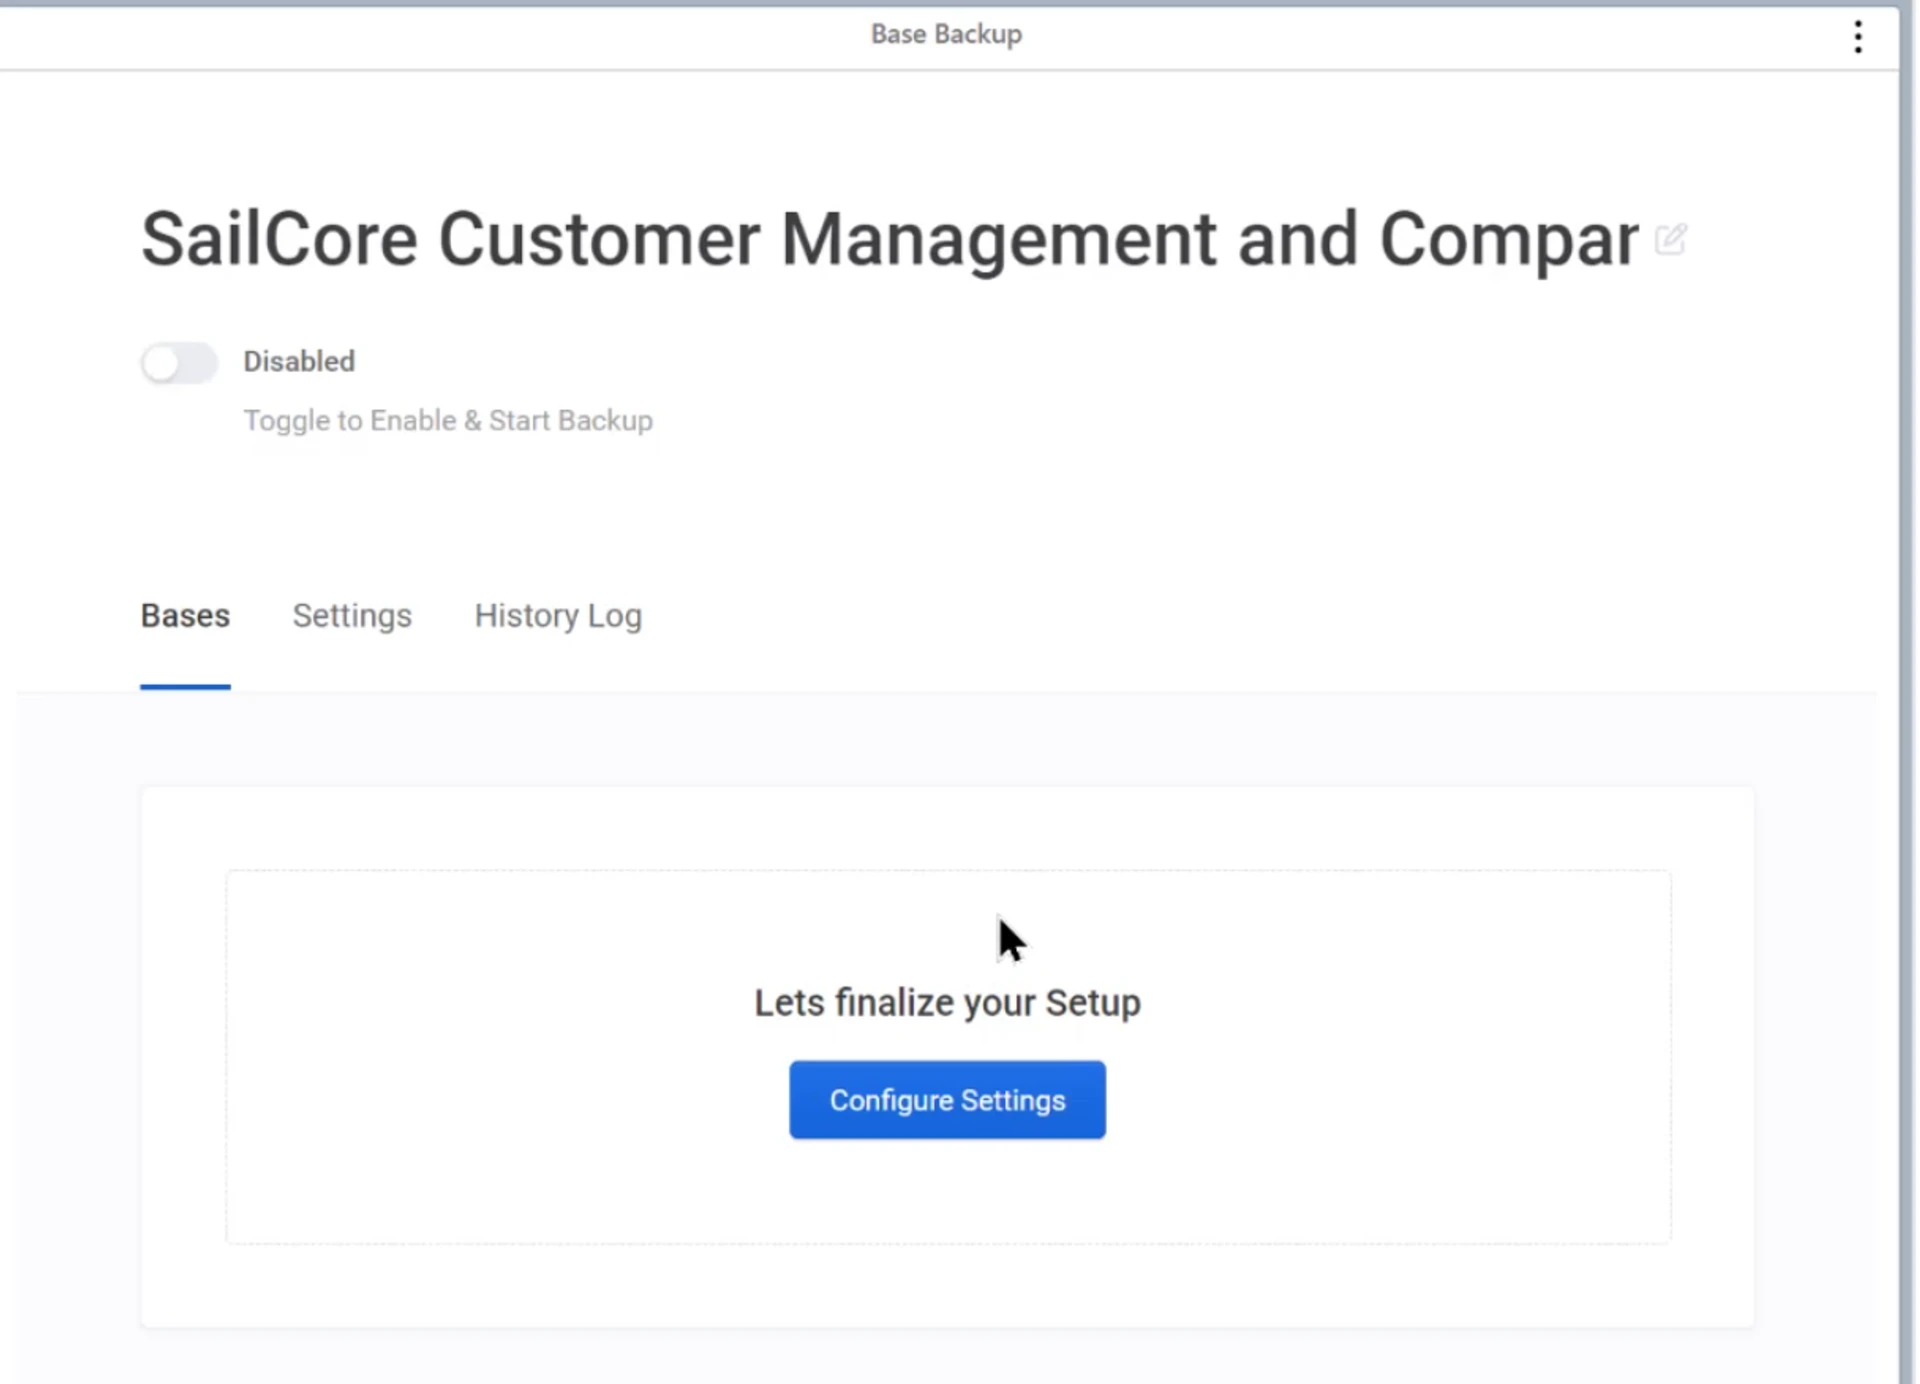
- Click Configure Settings
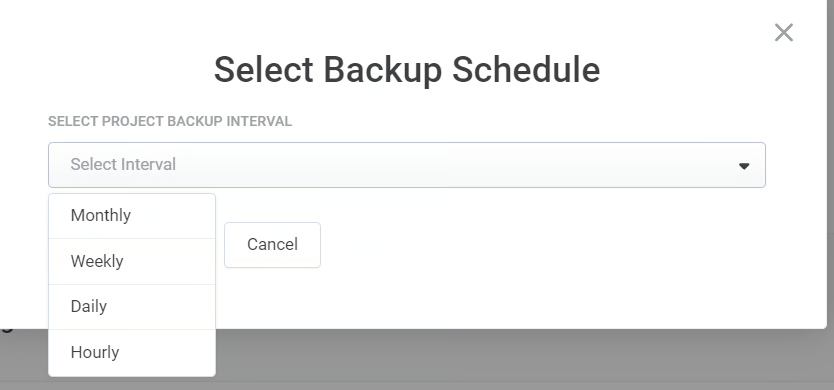
3. Choose a Schedule
Section titled “3. Choose a Schedule”-
Choose a Backup Schedule
-
The options listed depend on your plan - Monthly, Weekly, Daily, Continuous
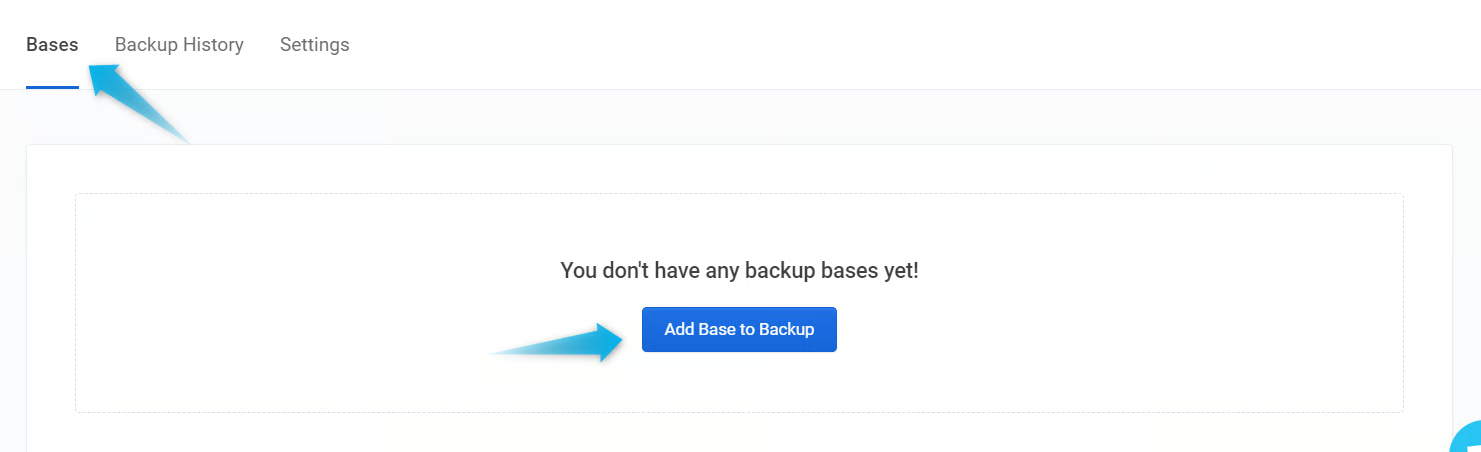
4. Choose your Airtable Base(s)
Section titled “4. Choose your Airtable Base(s)”- Go to the Bases tab and click Add Base to Backup
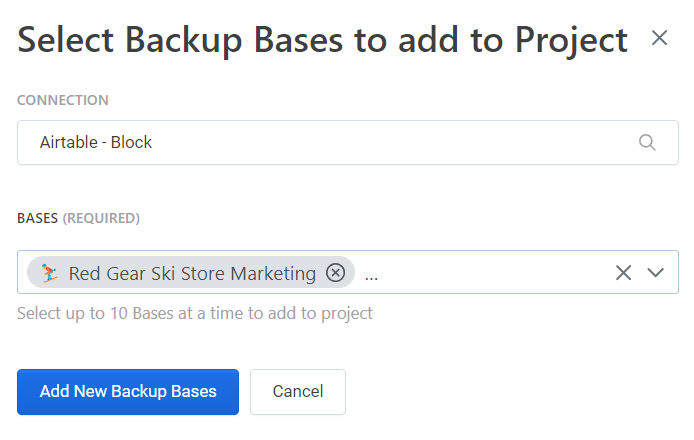
- Choose your Airtable connection, then choose the Airtable bases or multiple bases you want in the Backup
- Click Add New Backup Bases
💡
If you see don’t see all of your Airtable bases, this means you didn’t give On2Air full read/write permissions when creating the Airtable connection. - To update this, go to the Accounts and Integrations page in your On2Air account - Choose your Airtable connection and click Reconnect to Airtable - This will start the Airtable to On2Air connection process again - To allow us to access all Airtable bases and workspaces, choose “All current and future bases in all current and future workspaces”. You can also select specific bases if you prefer.
5. Click Start Backup
Section titled “5. Click Start Backup”- Click Start Backup to start your Backup
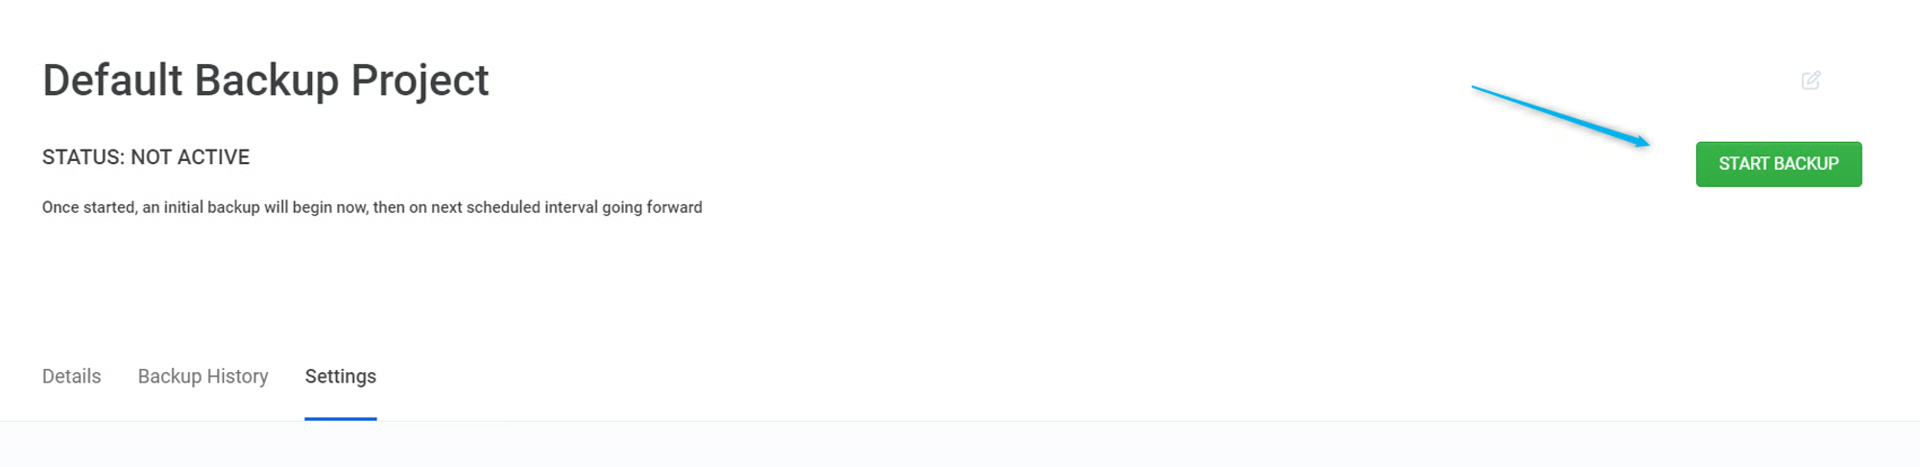
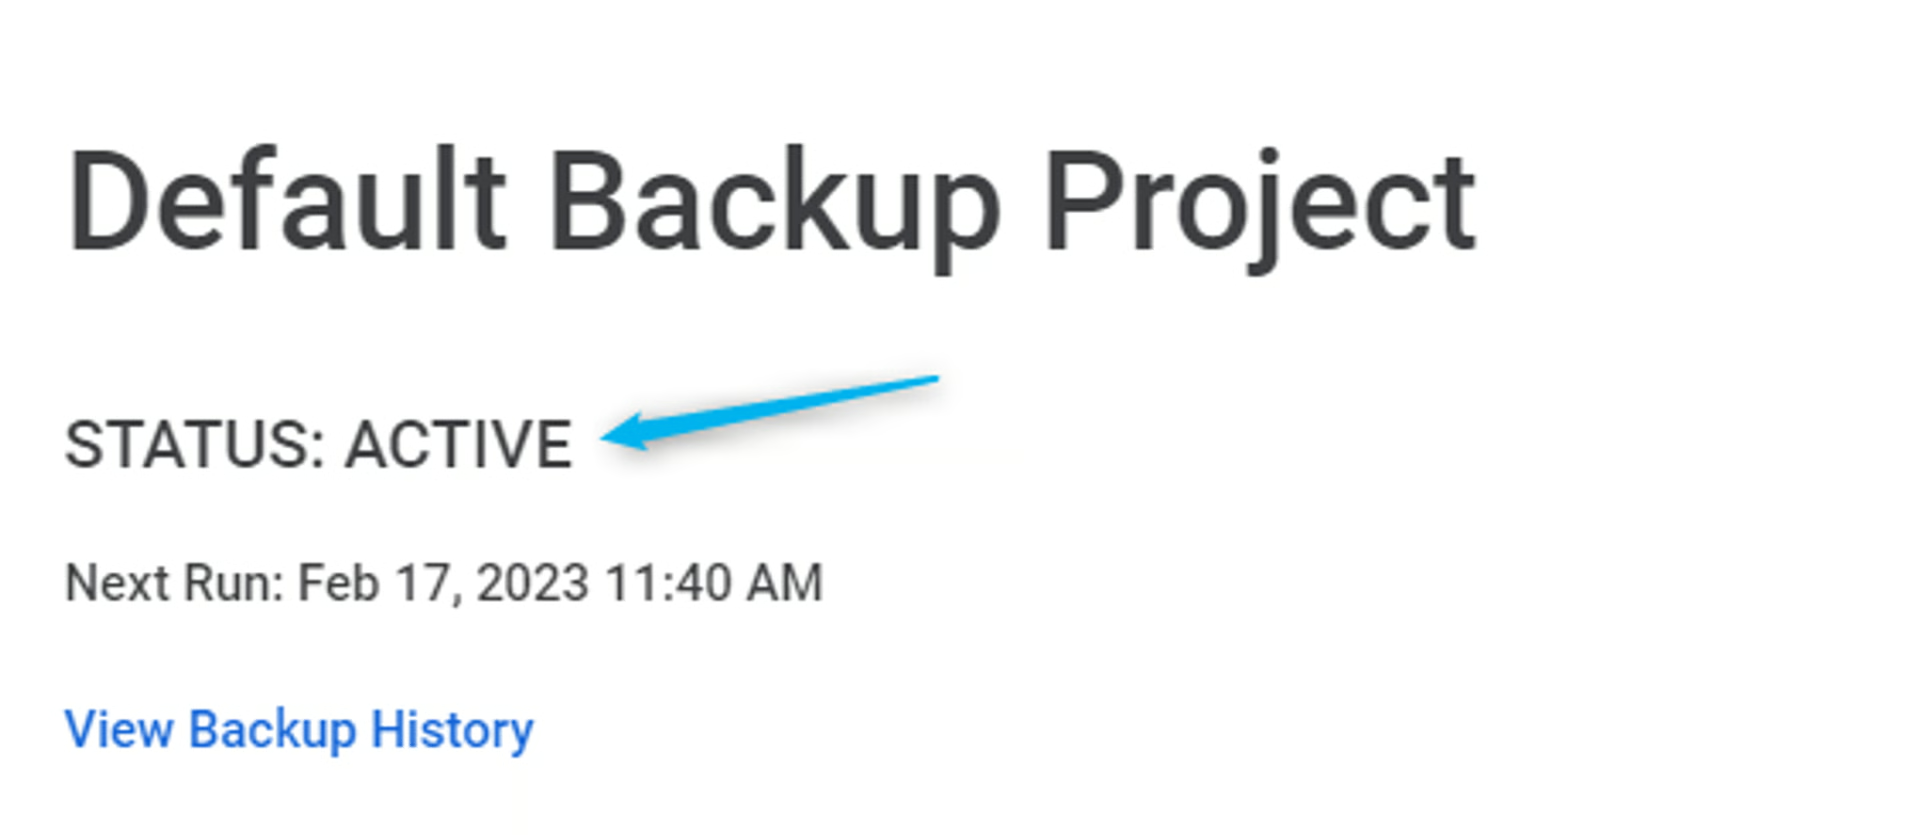
- The Status will change to Active while it creates a backup in your storage drive
⭐
Backups will begin within approximately 1 minute. Please note the initial backup takes time to complete, depending on the number of records/fields in your Airtable base and the number of attachments. Subsequent backups will not take as long.
- Click Backup History to watch the backup process and see when it’s done processing.
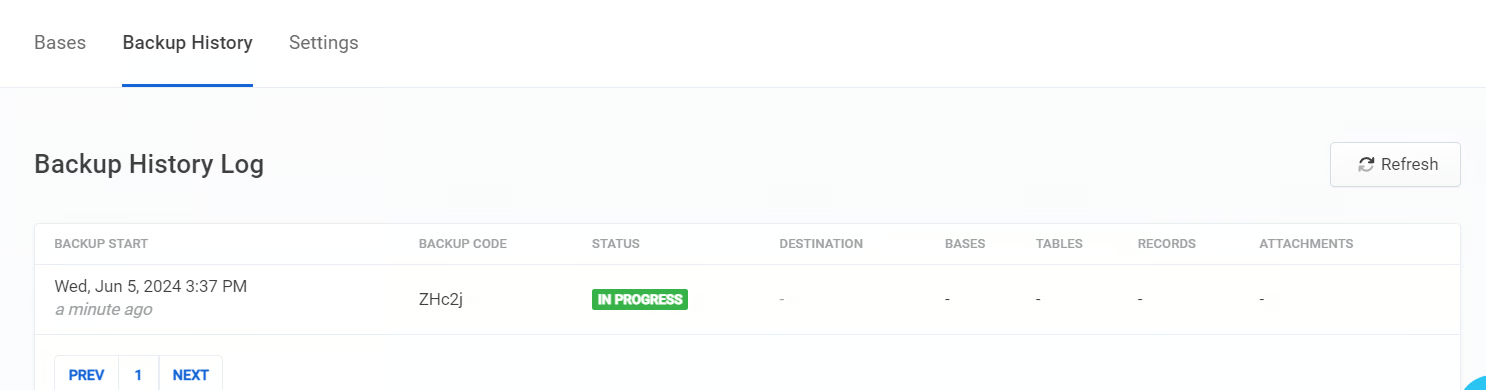
- You can click Refresh on the Backup History page to watch the progress.
Customize Your Backup (Include/Exclude Fields, View, and Attachments)
Section titled “Customize Your Backup (Include/Exclude Fields, View, and Attachments)”You can customize what’s included in your Airtable base backup, such as specific fields, views, or attachments.
 Customize Your Base Backup (Include/Exclude Fields, View, and Attachments)
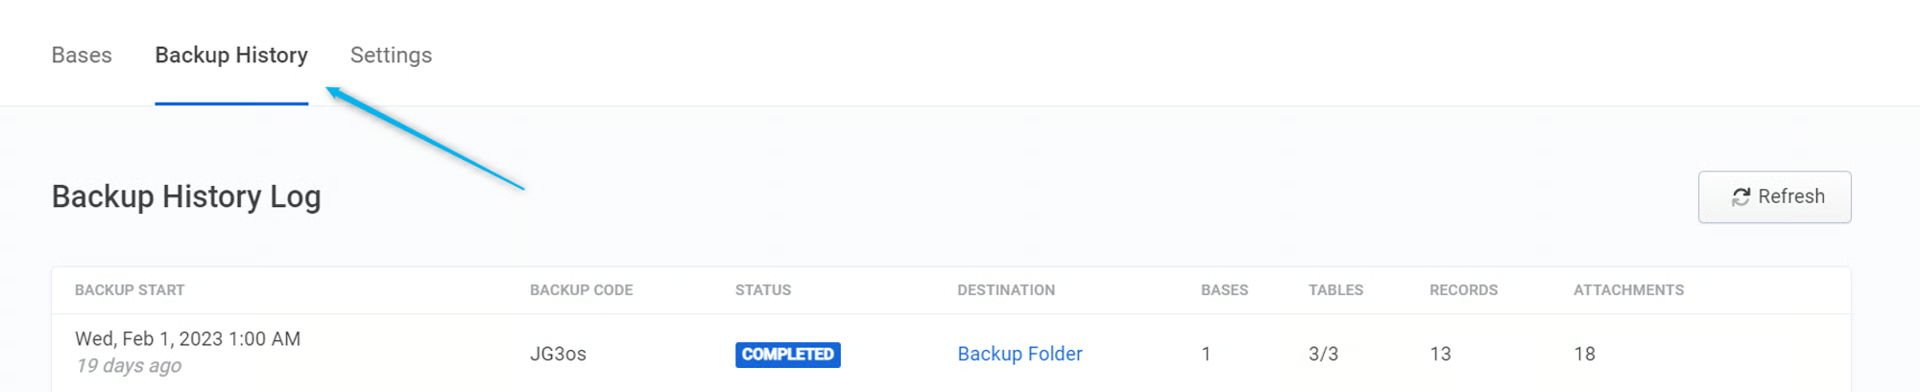
Backups History Log
Section titled “Backups History Log”See how you can view all your backups details and history
 Backups History Log and Details
Backup Folder Structure and File Name Convention
Section titled “Backup Folder Structure and File Name Convention”Learn how we name the files and attachments in your storage drive
 Backup Folder Structure and File Name Convention in On2Air Backups
Need Support?
Section titled “Need Support?”Send us a message. If we’re online, we’ll get back to you as soon as possible. If not, we’ll follow up by email.
⚙
‣
Backup Folder Structure
‣
Previous Versions