How to View Airtable Data Offline or Locally
 On2Air Help Center >
  On2Air Backups Start a free trial
Sometimes, you may need to use Airtable when you don’t have an internet connection, bad service, or are offline. While there is no specific Offline feature in Airtable, you can view your data offline by using On2Air Backups and your storage provider, such as Google Drive, Dropbox, or Box.
In this tutorial, you’ll learn how to set up your Airtable data and files to quickly view data while you’re offline.
What is On2Air Backups?
Section titled “What is On2Air Backups?”On2Air Backups creates automated backups of your Airtable data and sends the data to your storage drive in Google Drive, Dropbox, and Box.
In this tutorial
-
What is On2Air Backups?
-
Why Our Customers Use On2Air Backups
-
Can I view my Backup files offline?
-
How to view Airtable data offline
-
1. Install the On2Air Backups Extension in your Airtable Base
-
2. Connect Your Airtable Account
-
3. Connect Your Cloud Storage Account (Google Drive, Dropbox, or Box)
-
4. Create a Backup Project
-
5. Click Start Backup
-
Enable Offline Mode for Your Airtable Data
-
How to view Airtable data offline using Google Drive
-
How to view Airtable data offline using Dropbox
-
How to view Airtable data offline using Box
-
Final
-
Add On2Air Backups to your Airtable base
Why Our Customers Use On2Air Backups
Section titled “Why Our Customers Use On2Air Backups”Many of our customers create an automated Airtable backup with On2Air Backups for one or more of the following reasons:
- Backup Best Practices (3-2-1 backup structure)
- Compliance
- Protect their own data
- Protect their client’s data
- Data redundancy
- Company growth with more users editing Airtable data
- Full Revision history
- Failsafe if access to Airtable is lost
- Ability to always have your data, no matter the software used
- If ever needed to move to a software solution other than Airtable
Data backups aren’t meant to be an afterthought, they are deemed an essential element for ensuring cybersecurity in businesses and organization.
Can I view my Backup files offline?
Section titled “Can I view my Backup files offline?”You can view your Airtable data in a backed up version of your Base, table, and attachments in your storage drive. The files should be used only as a reference for viewing data, not editing data. Any changes you make in your CSV file are not synced back into Airtable.
⭐
IMPORTANT: Before being able to use the files offline, you must first make each CSV file “Available Offline” in your storage provider. See instructions below.
On2Air Backups creates the backup files as CSV files and each table from your Airtable base is its own CSV file. You’ll need to make each CSV file available offline, essentially making each Table from your base offline. You can pick and choose which Tables you need to use offline.
Regarding Linked Records - We display the Linked Record as a Record ID. We are unable to create automatic links from a record to an attachment.
To see which record is related, you can create a Lookup field in your table to see the actual linked record name.
You won’t be able to to click to get to the linked record like you do in Airtable. You will need to open the other Linked table file and search via Record ID.
How to view Airtable data offline
Section titled “How to view Airtable data offline”First, you’ll need to install On2Air Backups and connect it to Airtable.
In the On2Air Backups Trial, we allow 1 Airtable Base, 10 Tables, 100 Records per table, and 25 Attachments (total). After the trial creates a backup to your storage drive, it deactivates. You do not have to upgrade to use the Offline option. You just won’t have your entire Airtable base backed up.
To enable an automated backup schedule and to backup your entire Airtable base(s), upgrade to a plan . Once you’ve upgraded, you’ll then need to set the Schedule and Reactivate the backup.
- Upgrade On2Air Backups to backup your entire Airtable base
1. Install the On2Air Backups Extension in your Airtable Base
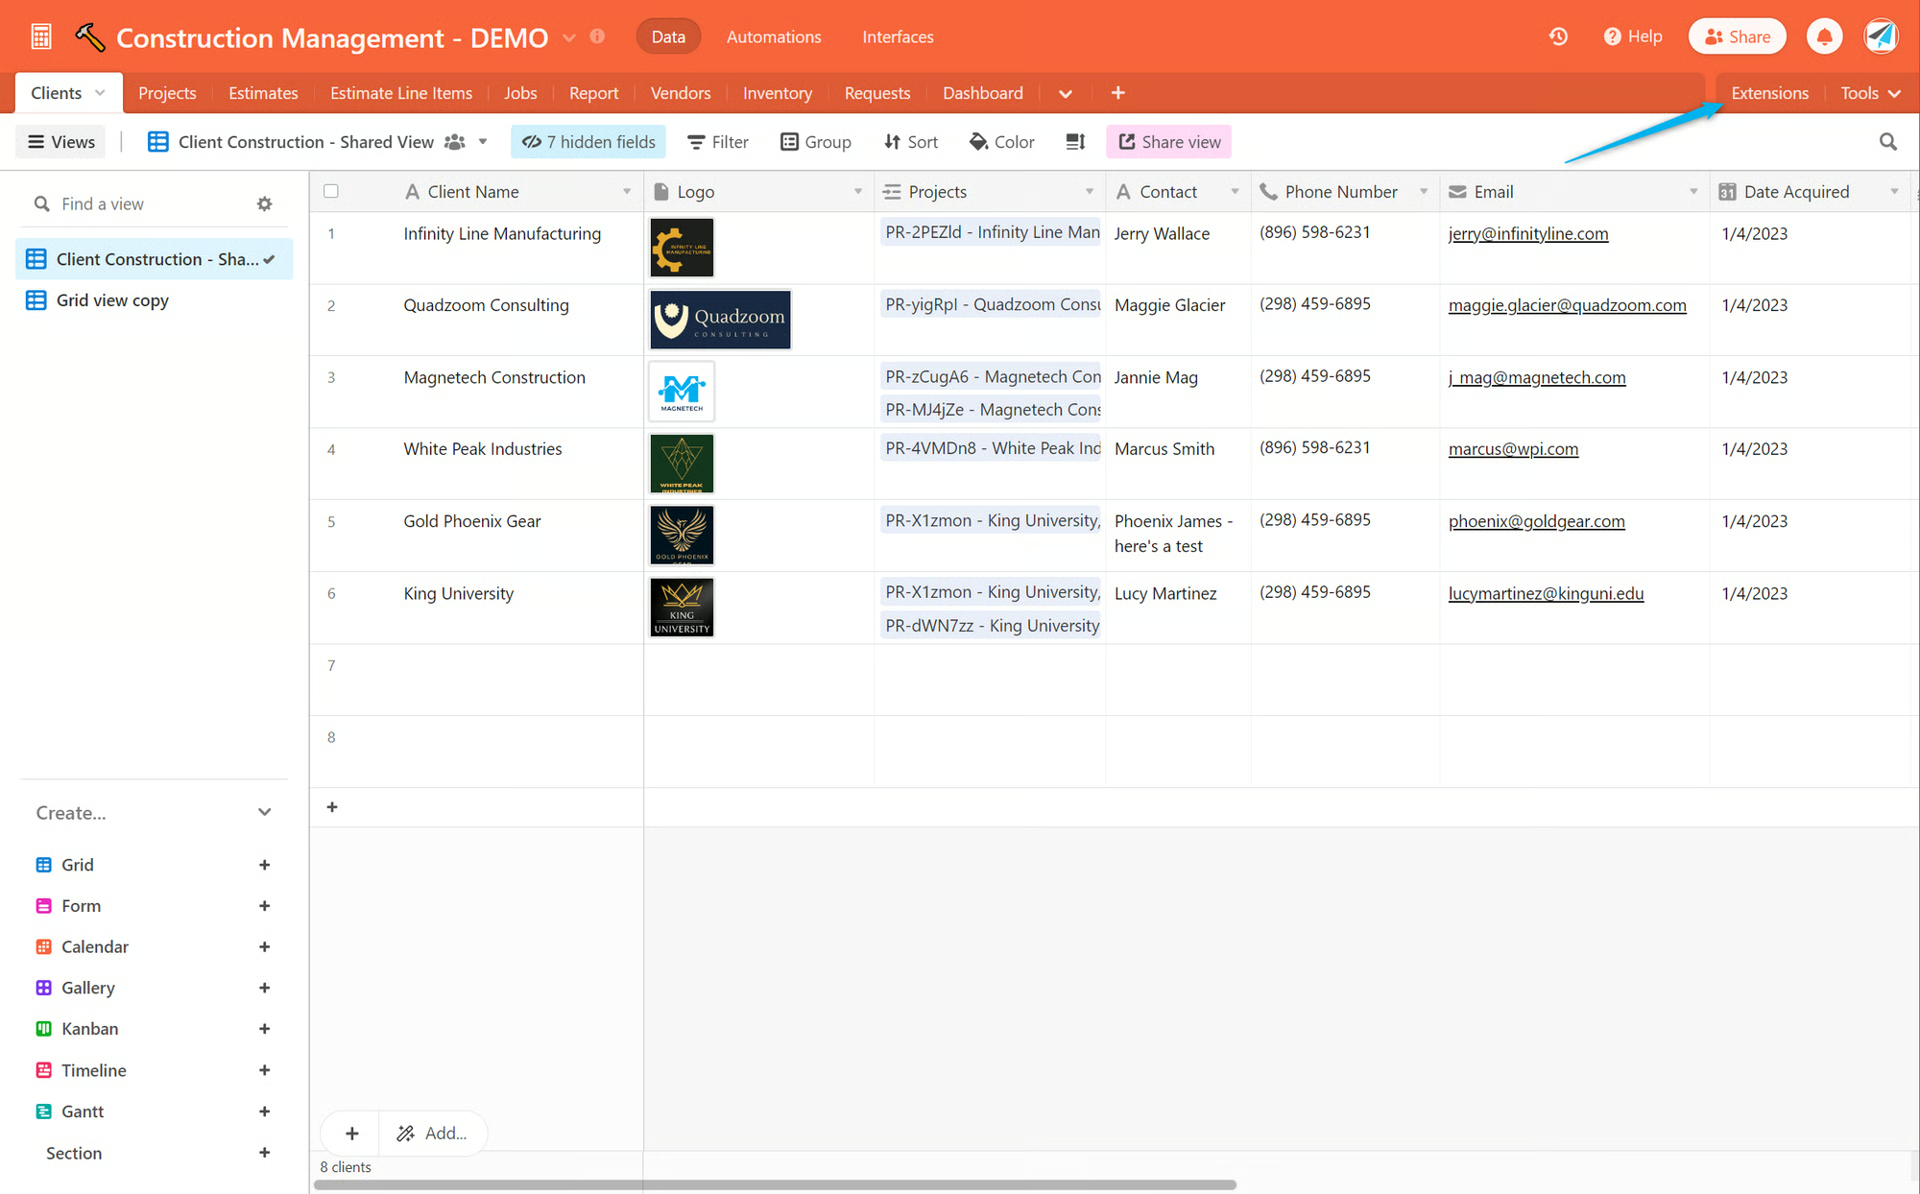
Section titled “1. Install the On2Air Backups Extension in your Airtable Base”- First, open your Airtable base and click Extensions
⚙
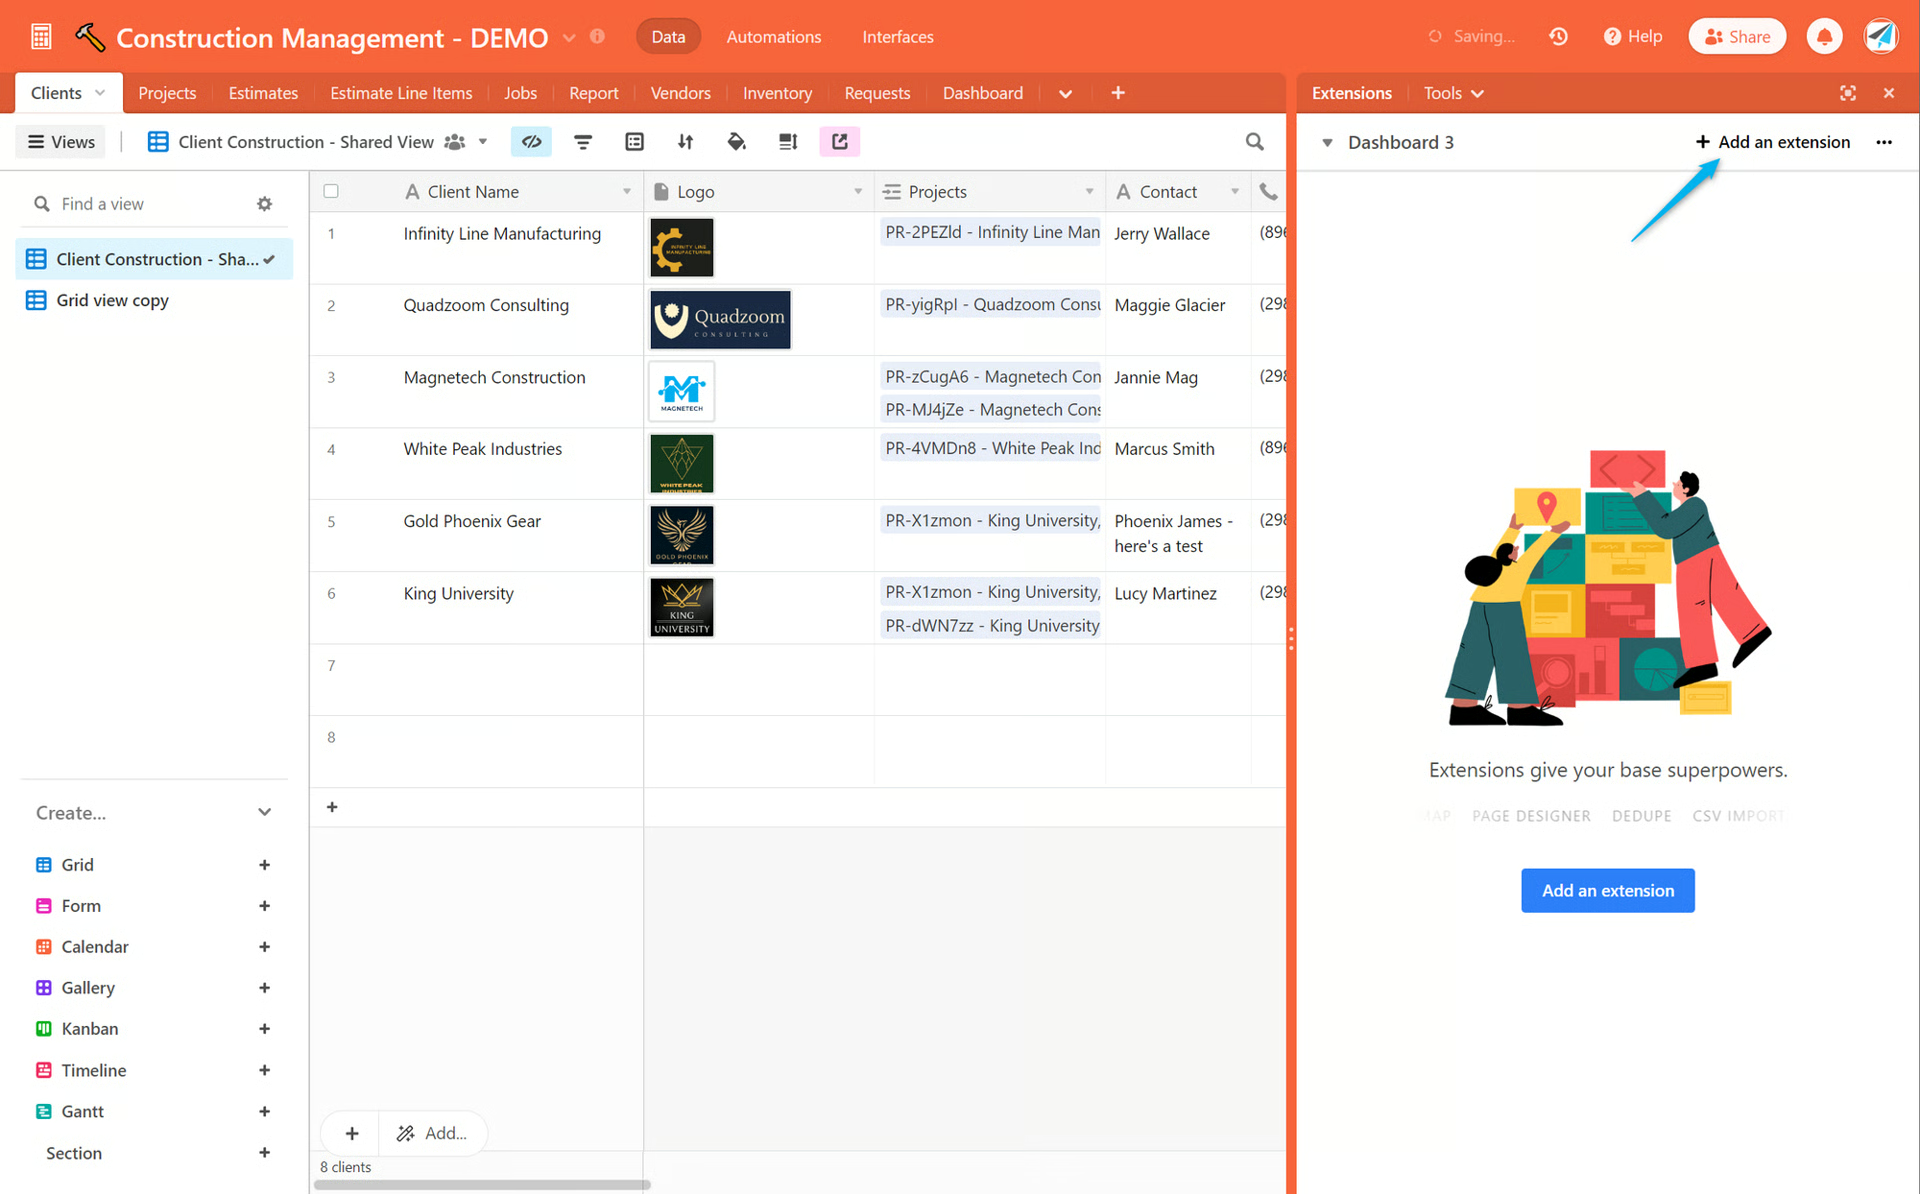
- Click Add an extension
- Type On2Air in the search box and choose On2Air Backups
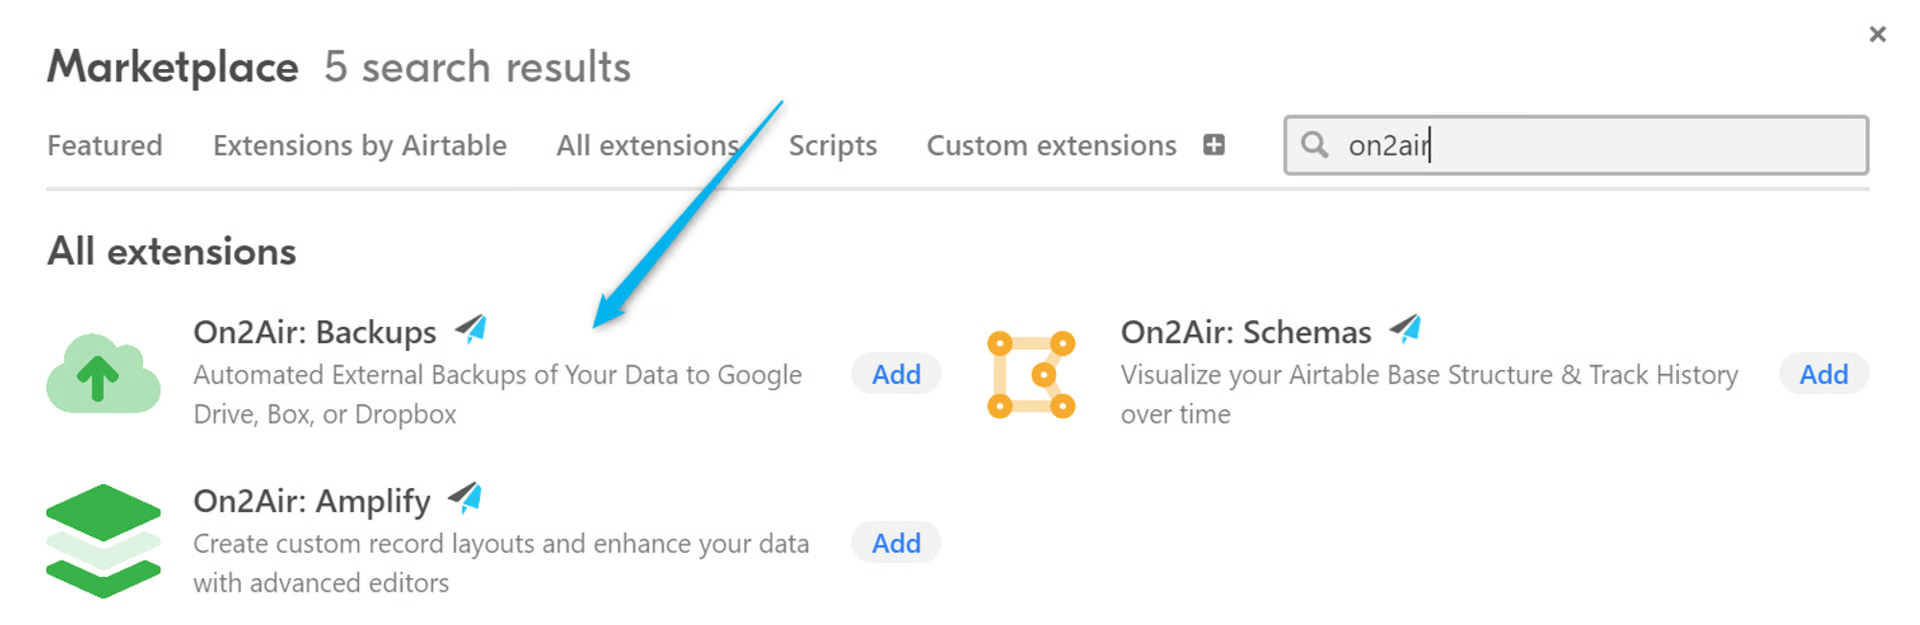
- Click Add Extension to add it to your Airtable base

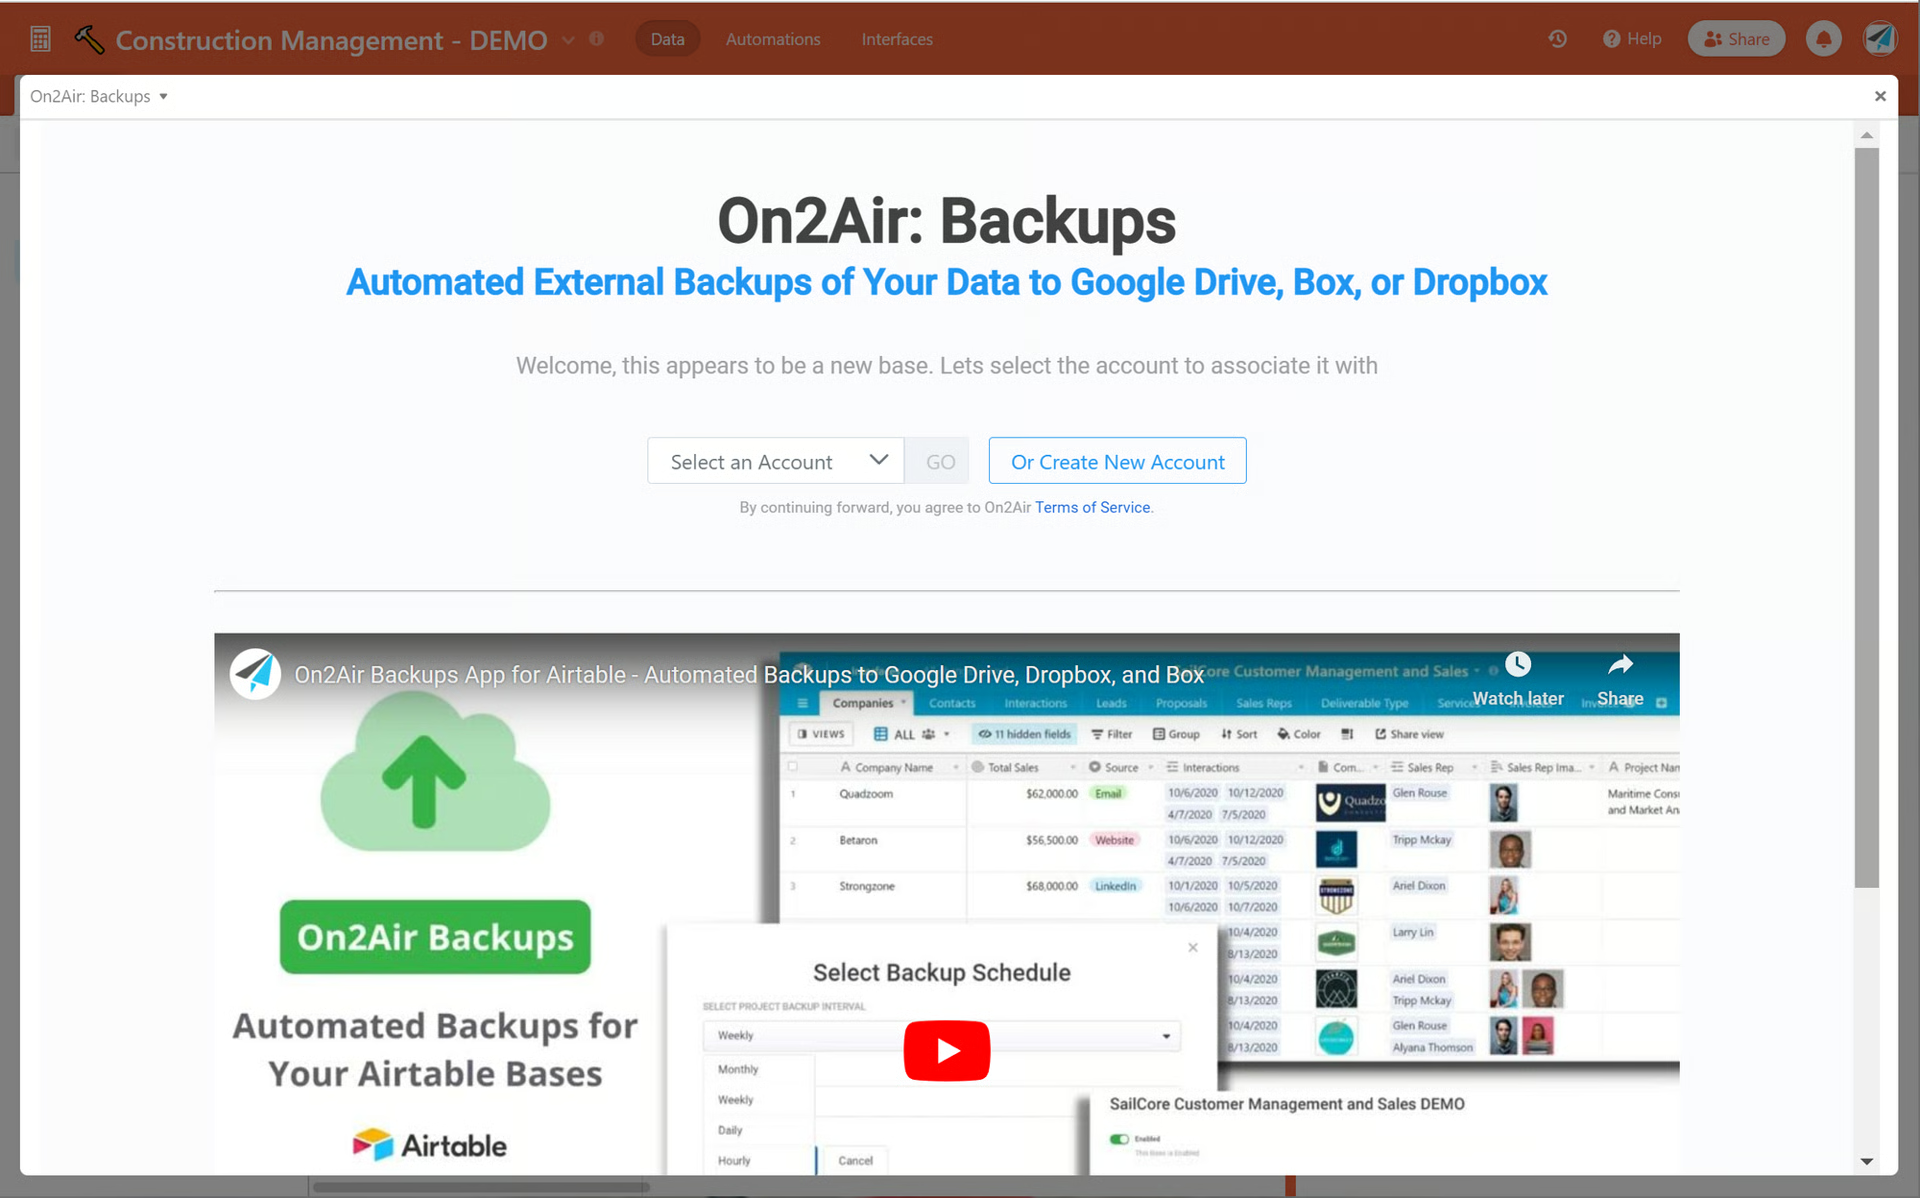
- You’ll now click Create New Account to create an On2Air account. You’ll go through the account creation process.
If you’ve ever added On2Air Backups to other bases in your Airtable workspace, Select your On2Air account.
2. Connect Your Airtable Account
Section titled “2. Connect Your Airtable Account”Now, you’ll need to connect your Airtable account
-
First, connect Airtable and On2Air via OAuth connection -
 How to Connect Airtable and On2Air - REQUIRED (OAuth)
 -
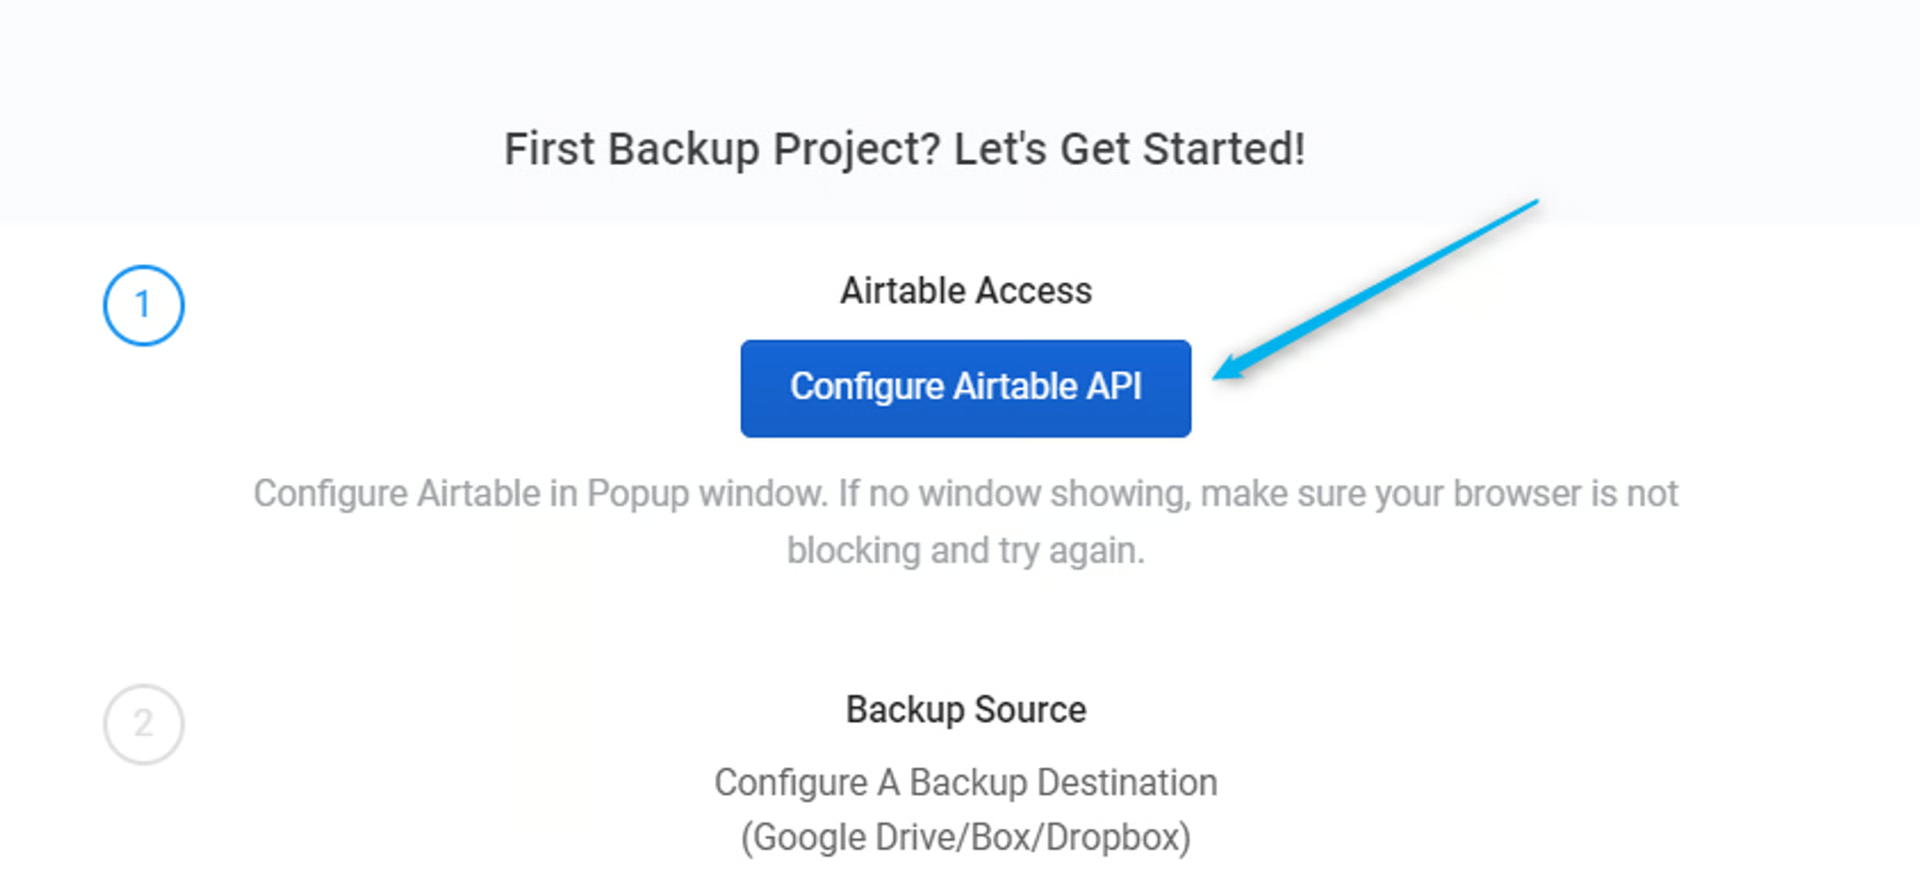
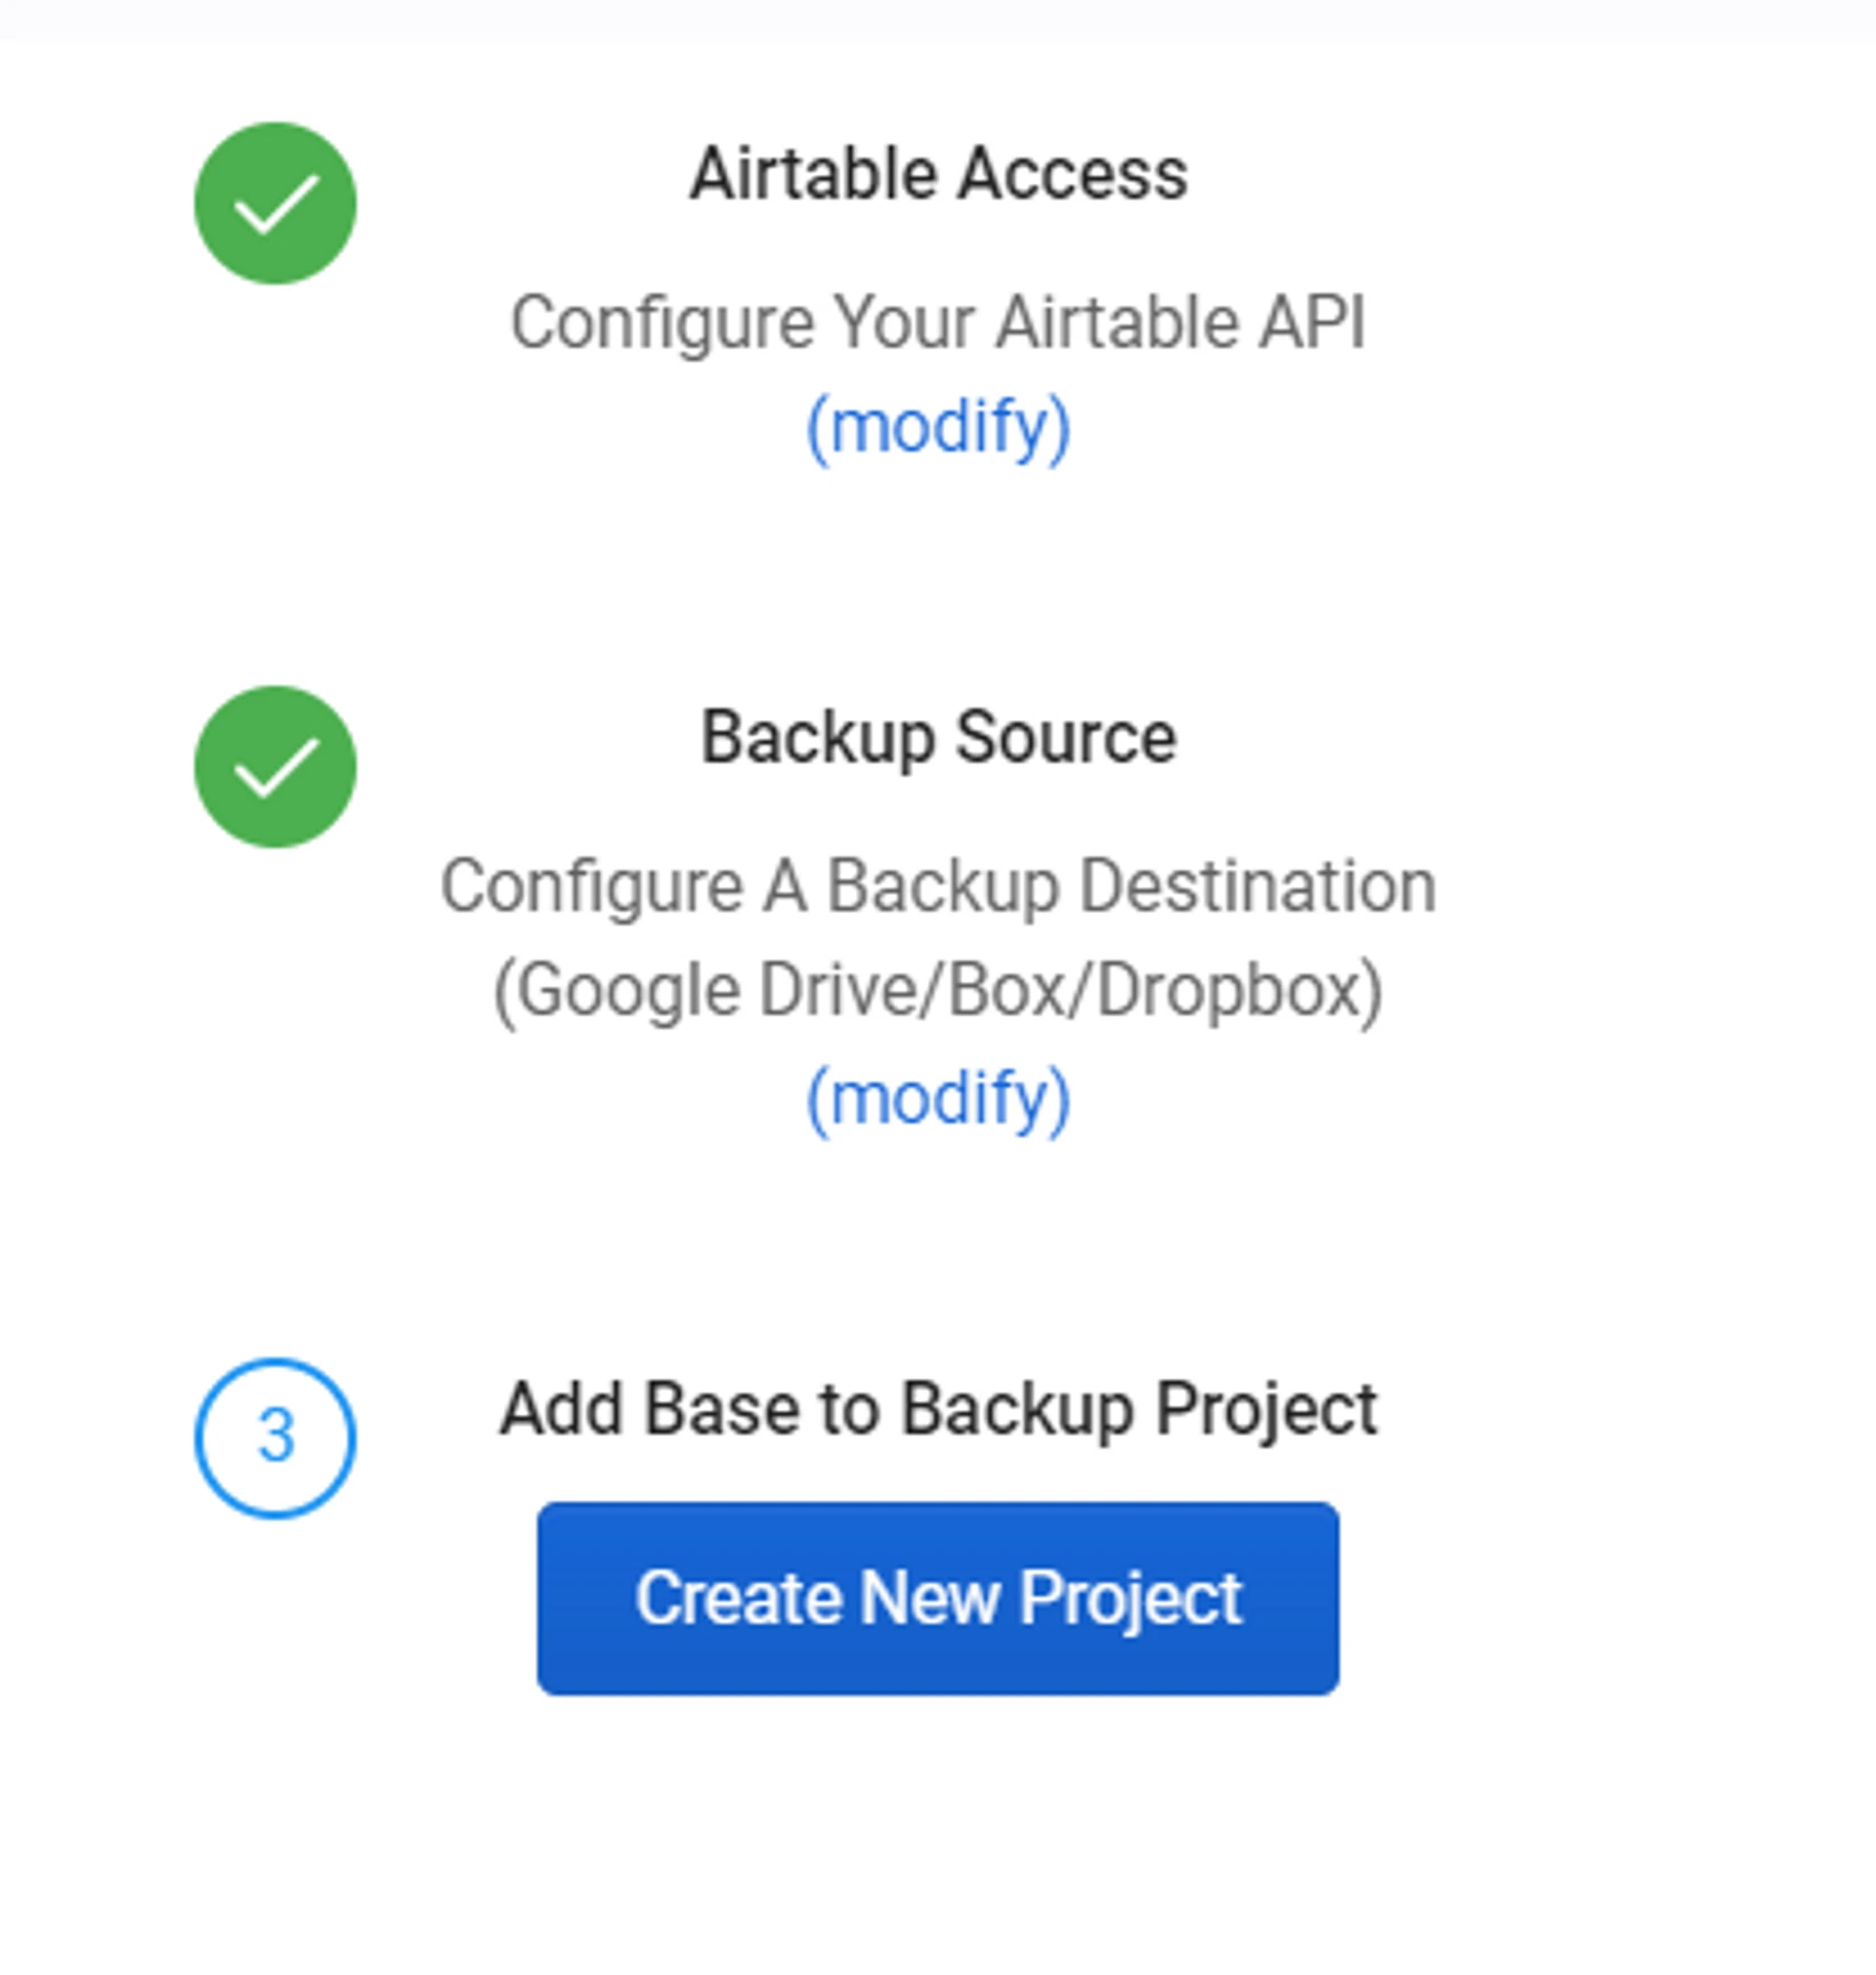
Click the Configure Airtable API button
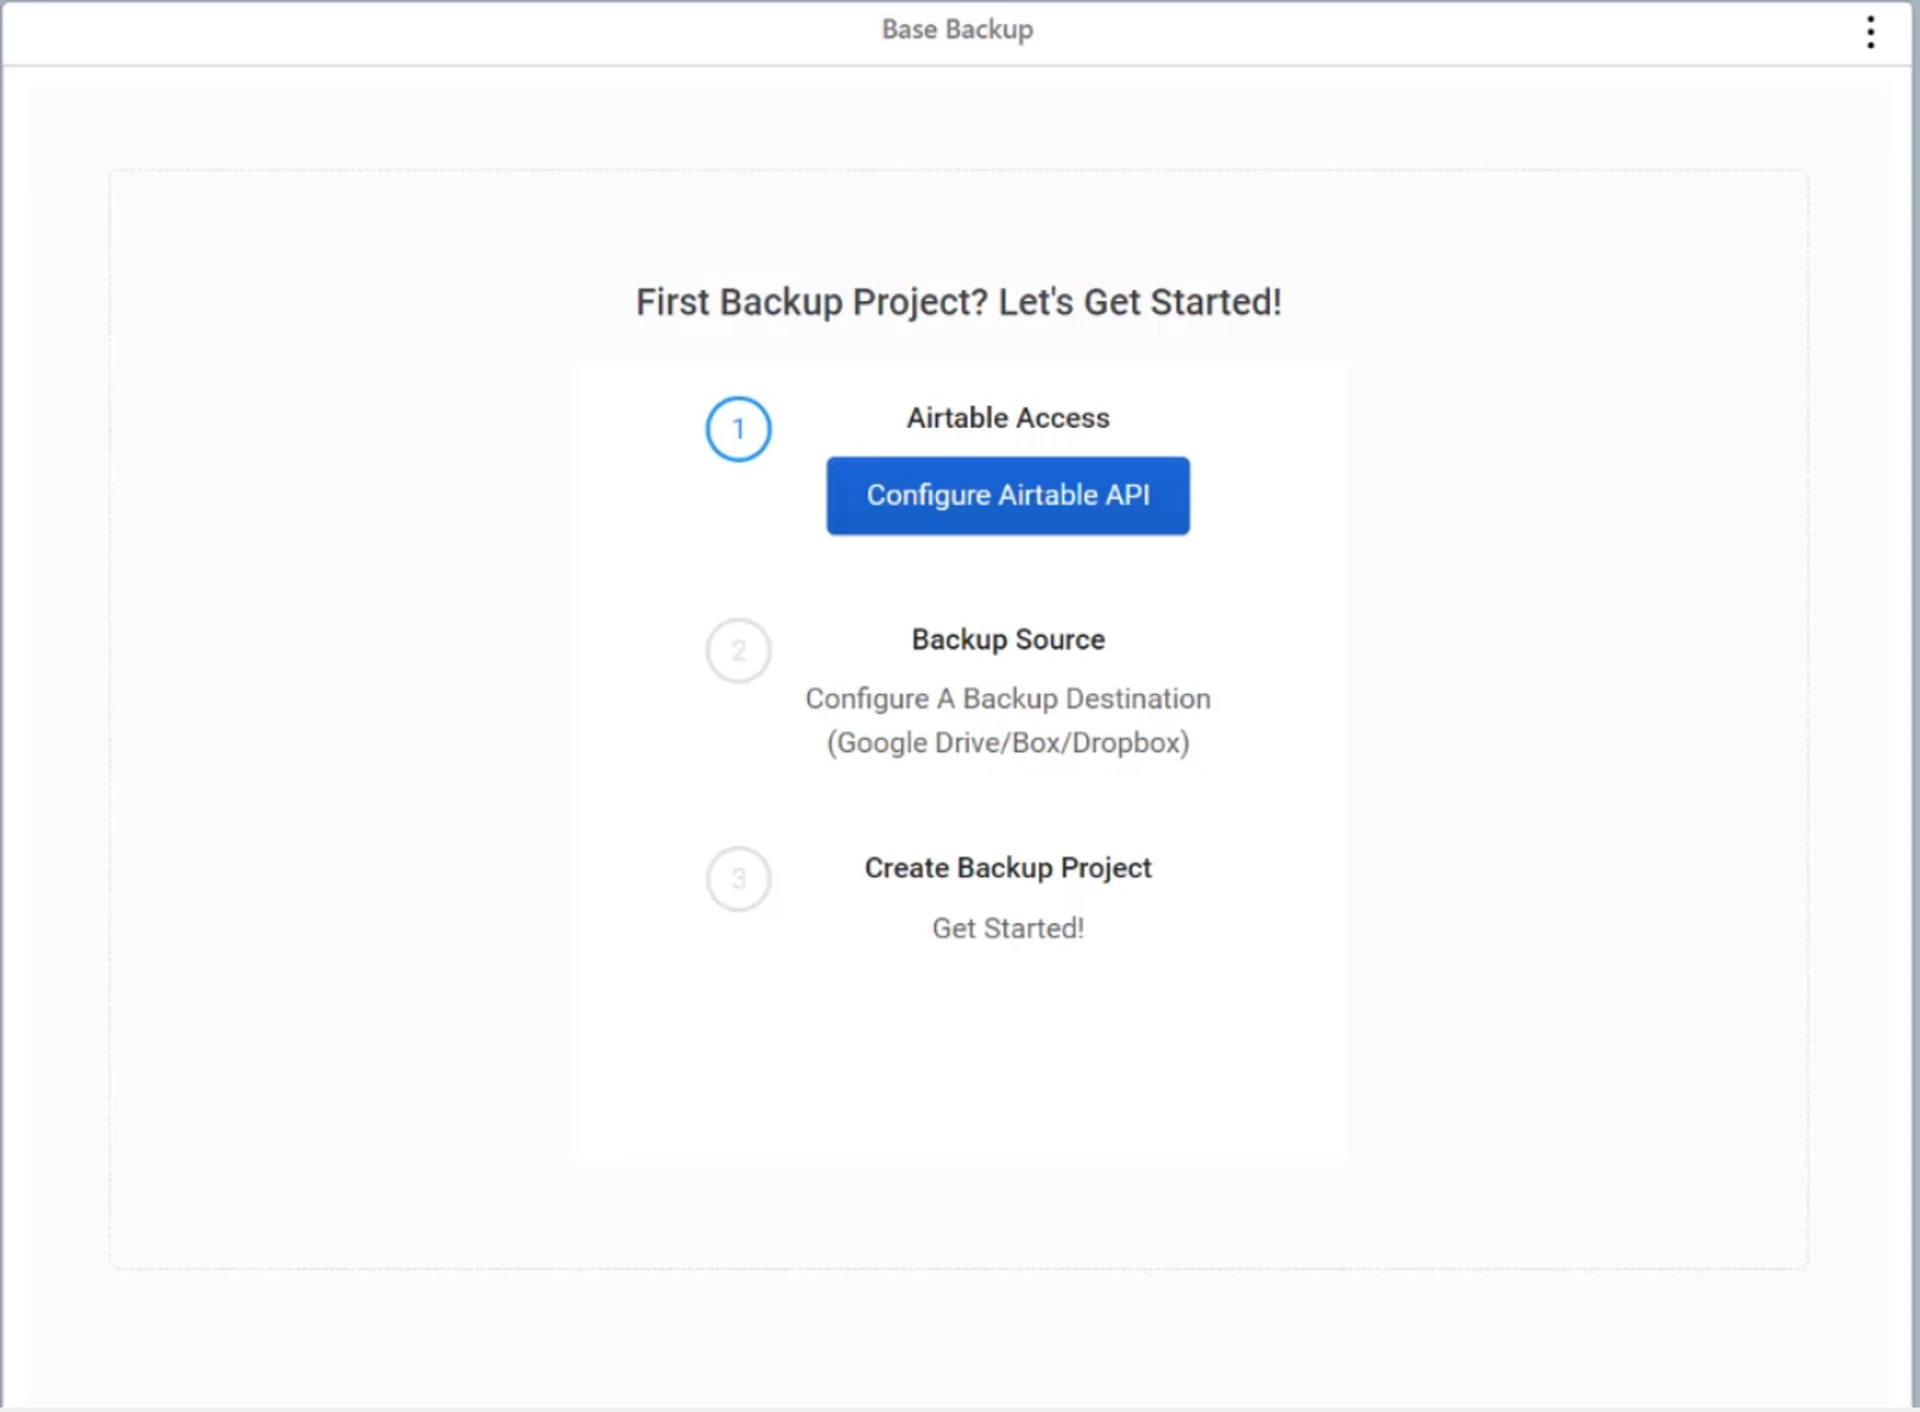
‣
You can label the Connection whatever you would like
- Next, Activate the Airtable Connection toggle
- Click Save Changes
- Close out the popup and click the Configure Airtable API button again. This will refresh the app to accept your token.
Final
3. Connect Your Cloud Storage Account (Google Drive, Dropbox, or Box)
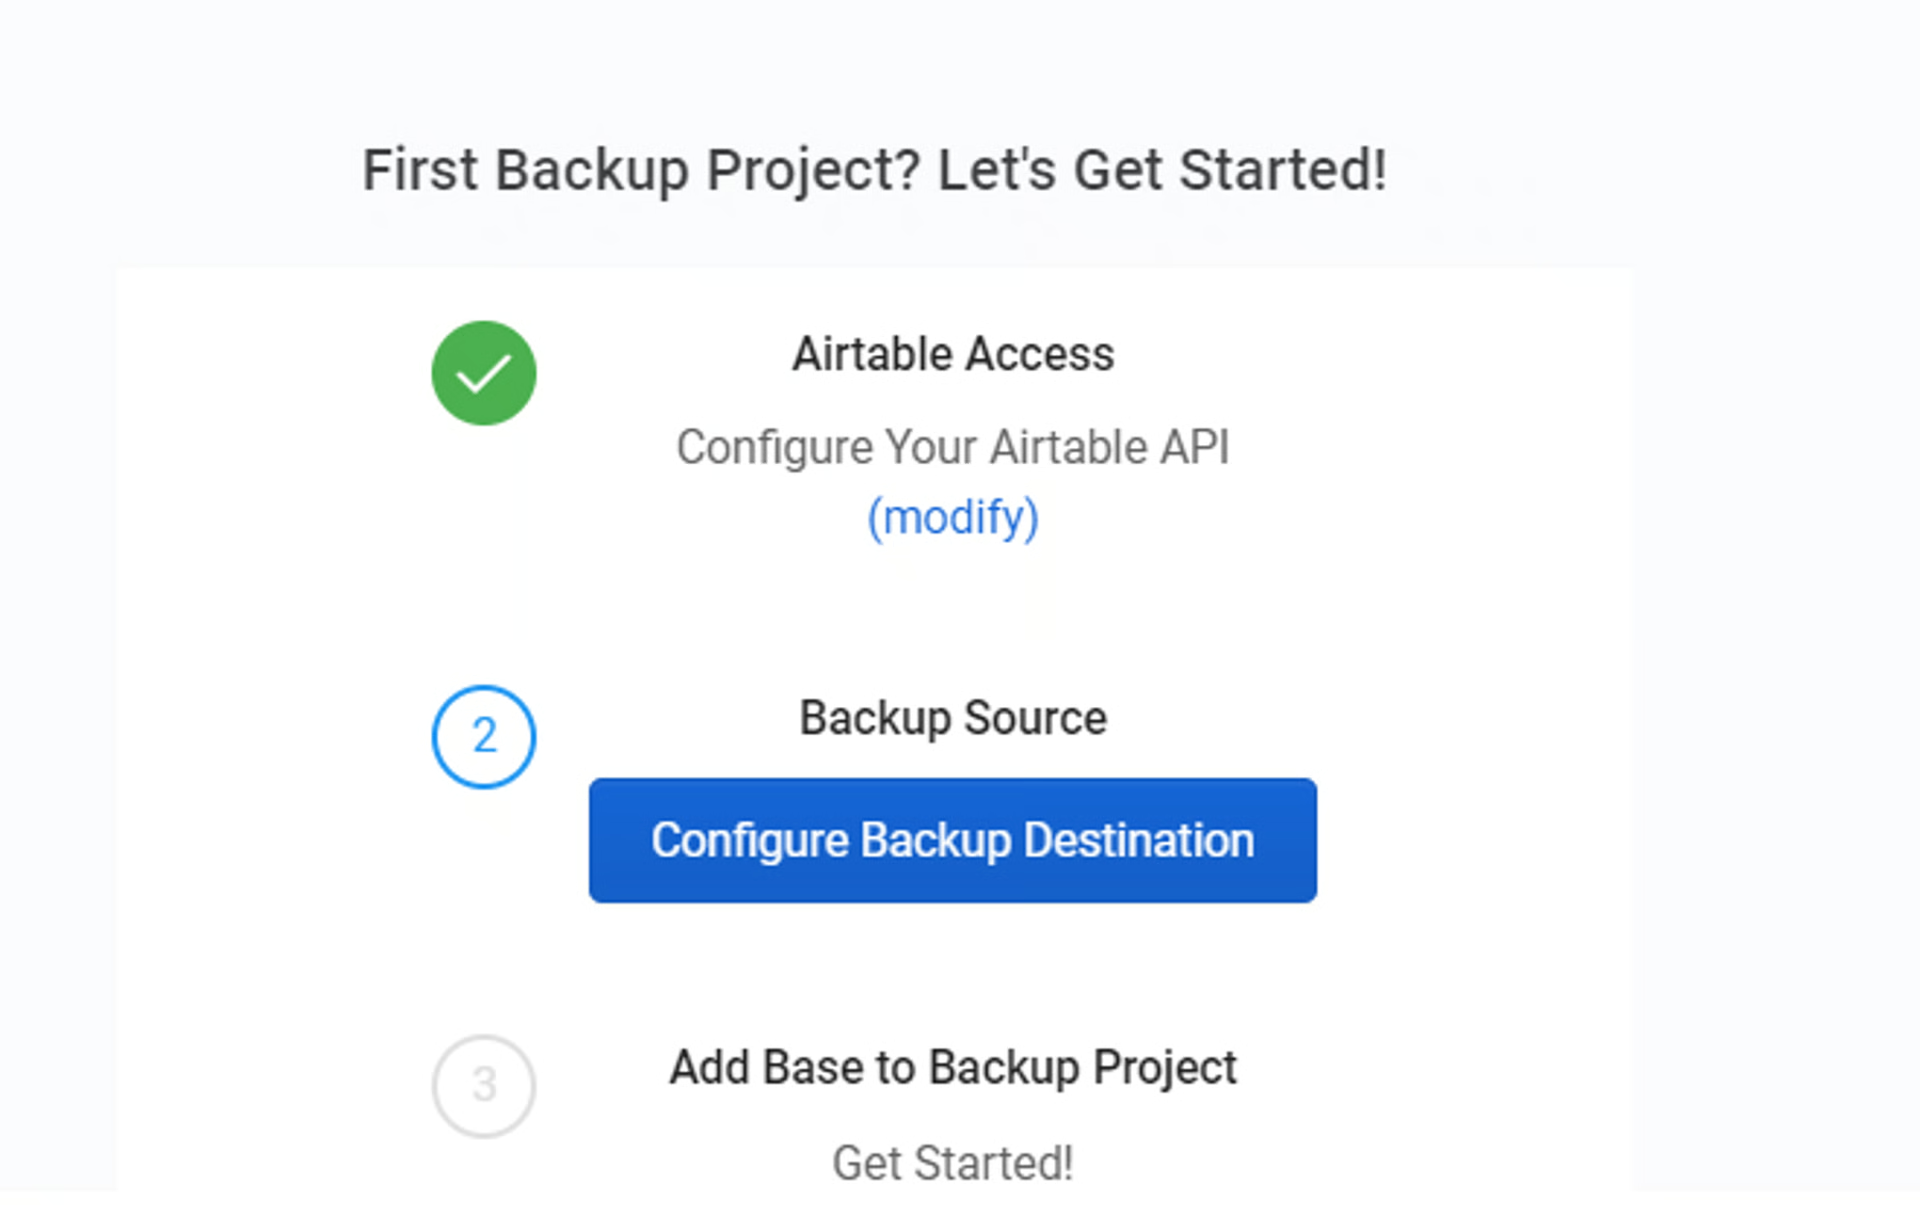
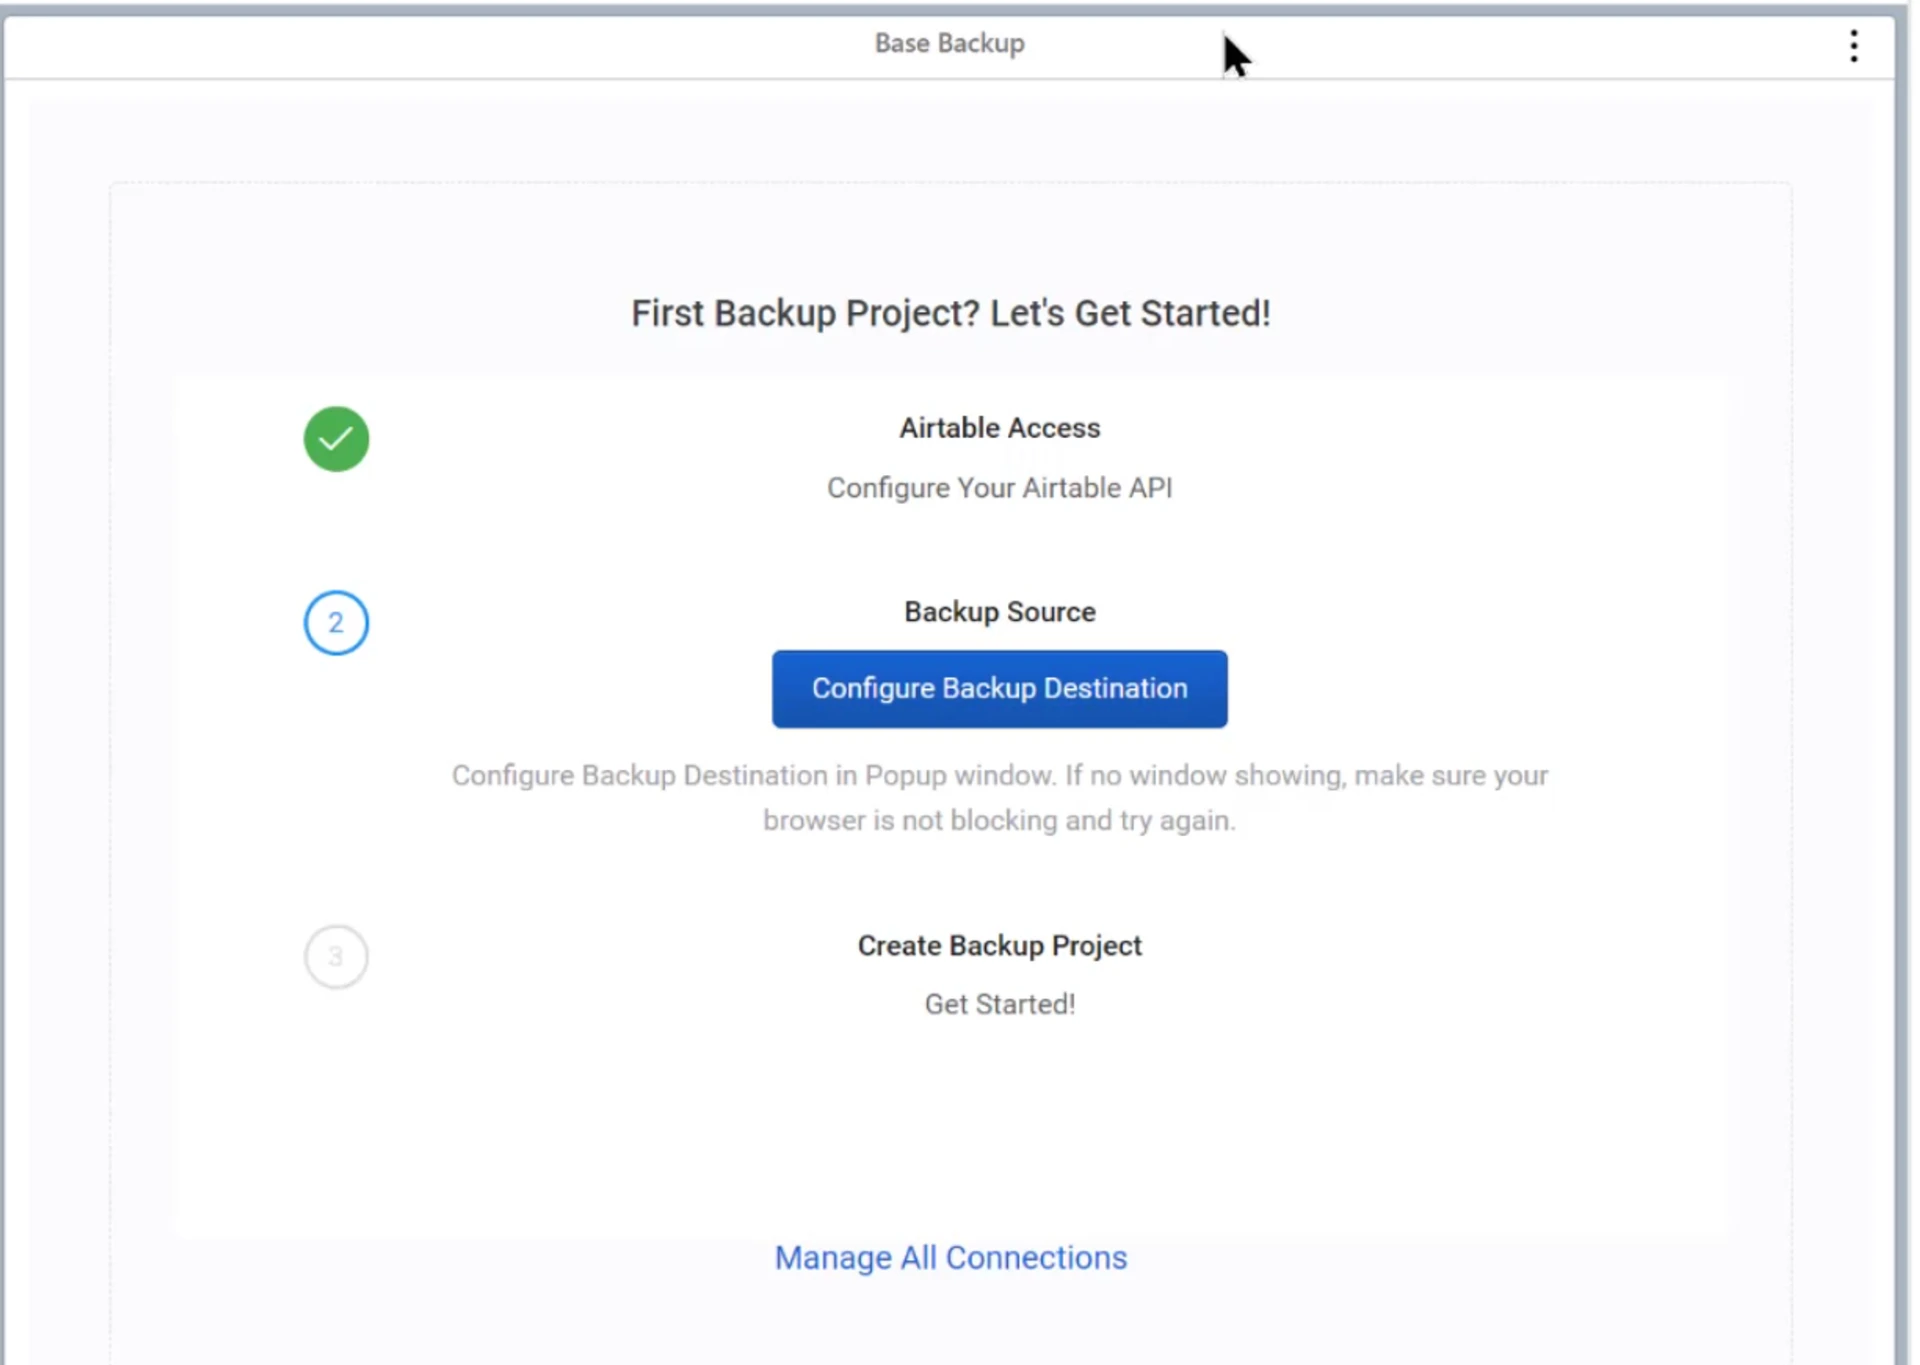
Section titled “3. Connect Your Cloud Storage Account (Google Drive, Dropbox, or Box)”Next, you’ll connect your cloud storage account in Google Drive, Dropbox, and Box.
- Click Configure Backup Destination
- Depending on your cloud storage option, the setup will look slightly different
You will need to accept the permissions that popup when connecting your storage drive to On2Air. Once you’ve accepted permissions and connected your account, you can now create a backup.
How to Connect Your Google Drive Account
How to Connect Your Dropbox Account
How to Connect Your Box Account
- Once you’ve connected to Storage, click Configure Backup Destination again, close the popup, and On2Air Backups will refresh and connect
4. Create a Backup Project
Section titled “4. Create a Backup Project”Once you’ve connected your storage drive, create your backup project
-
Click Create New Project
-
A Backups Project allows you to add 1 or multiple bases to a Project
-
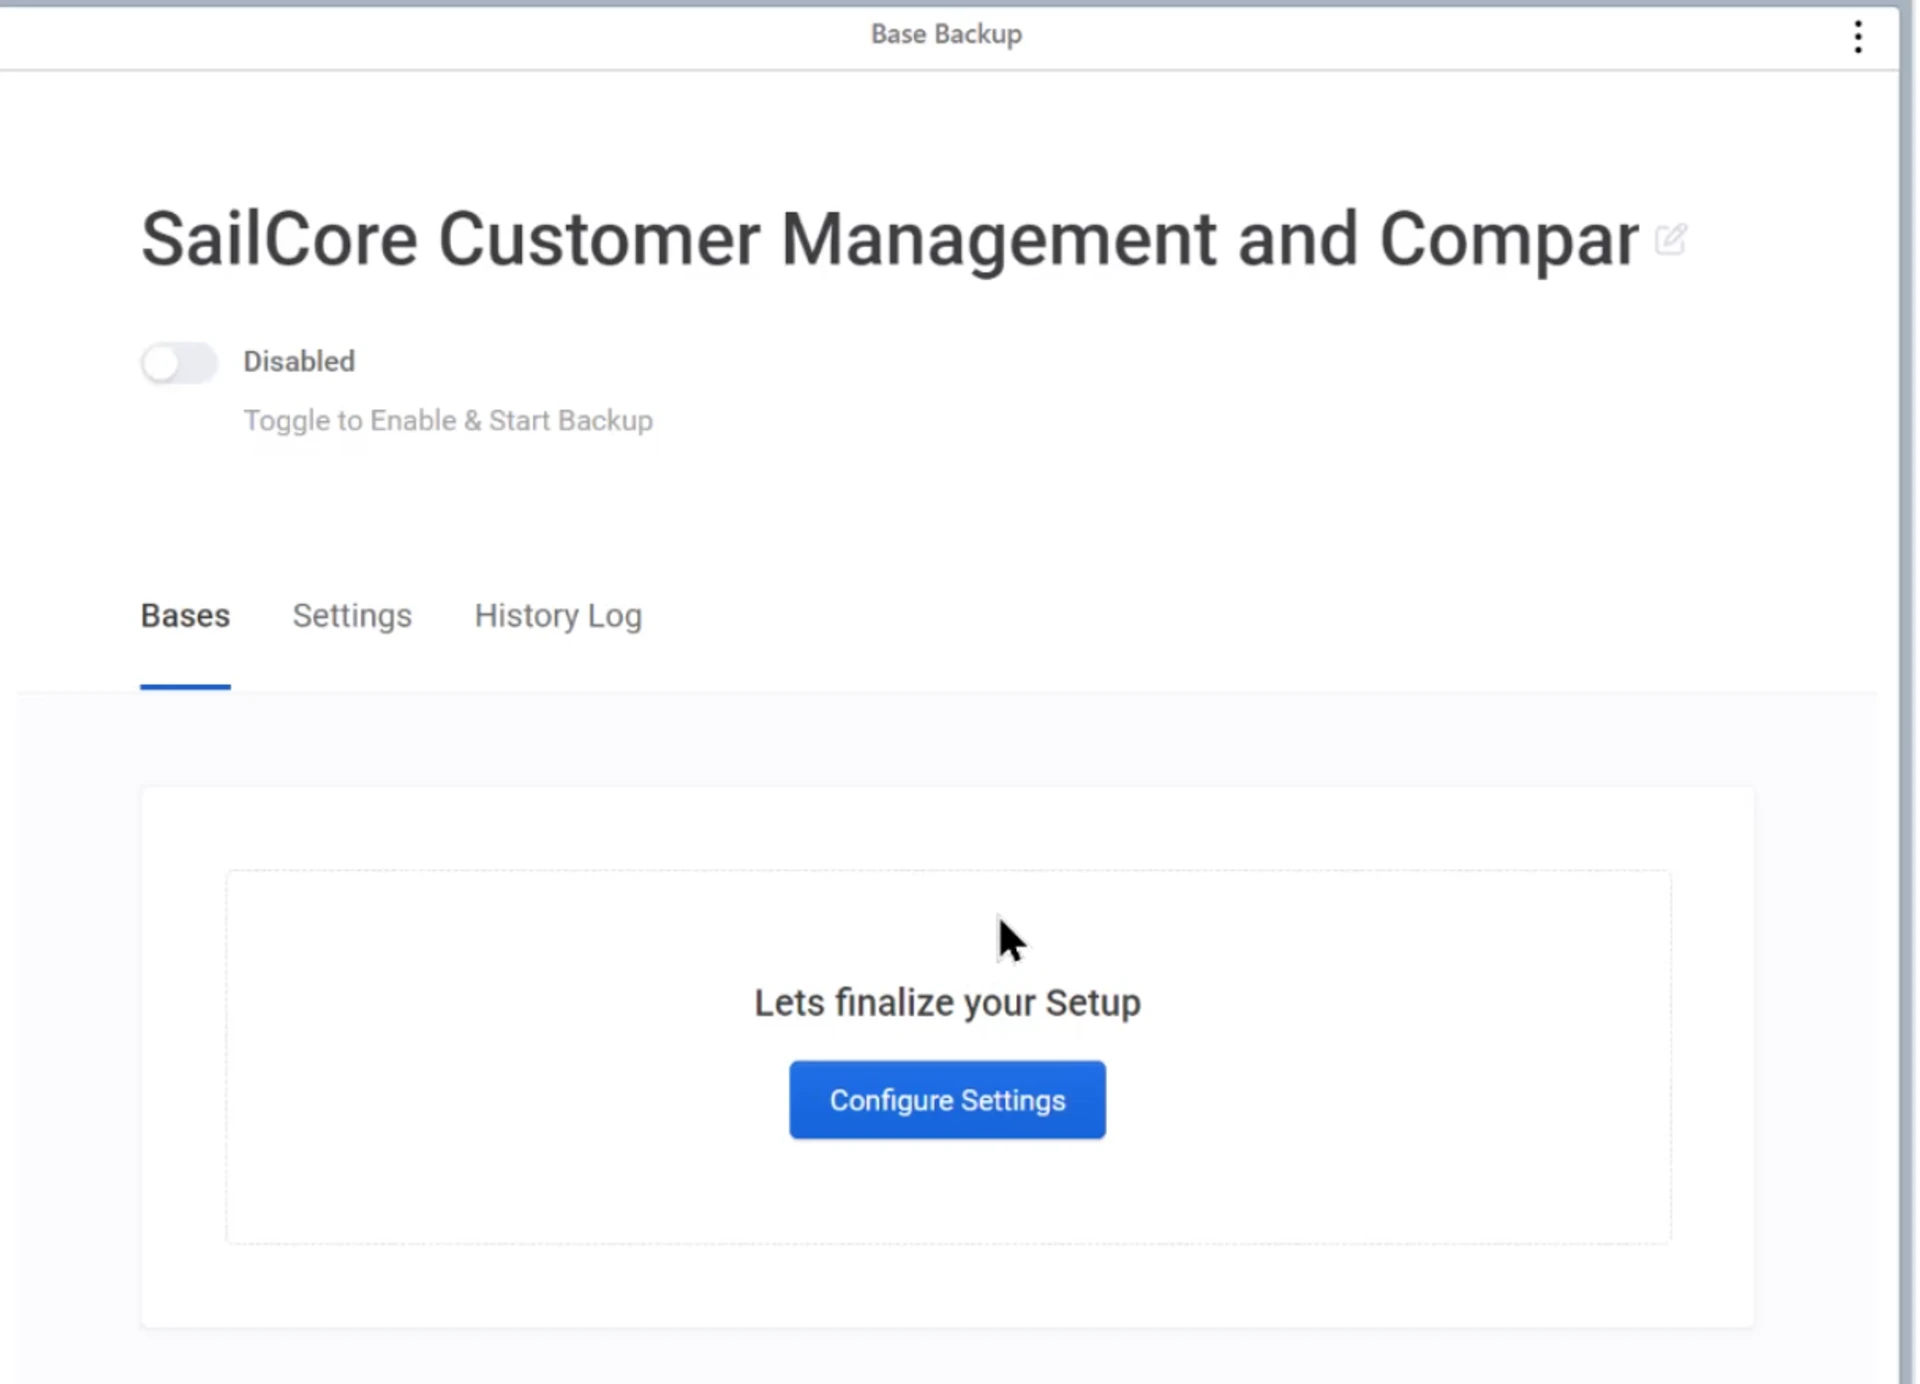
On2Air Backups will automatically detect the Airtable base you’re in
-
Click Configure Settings
-
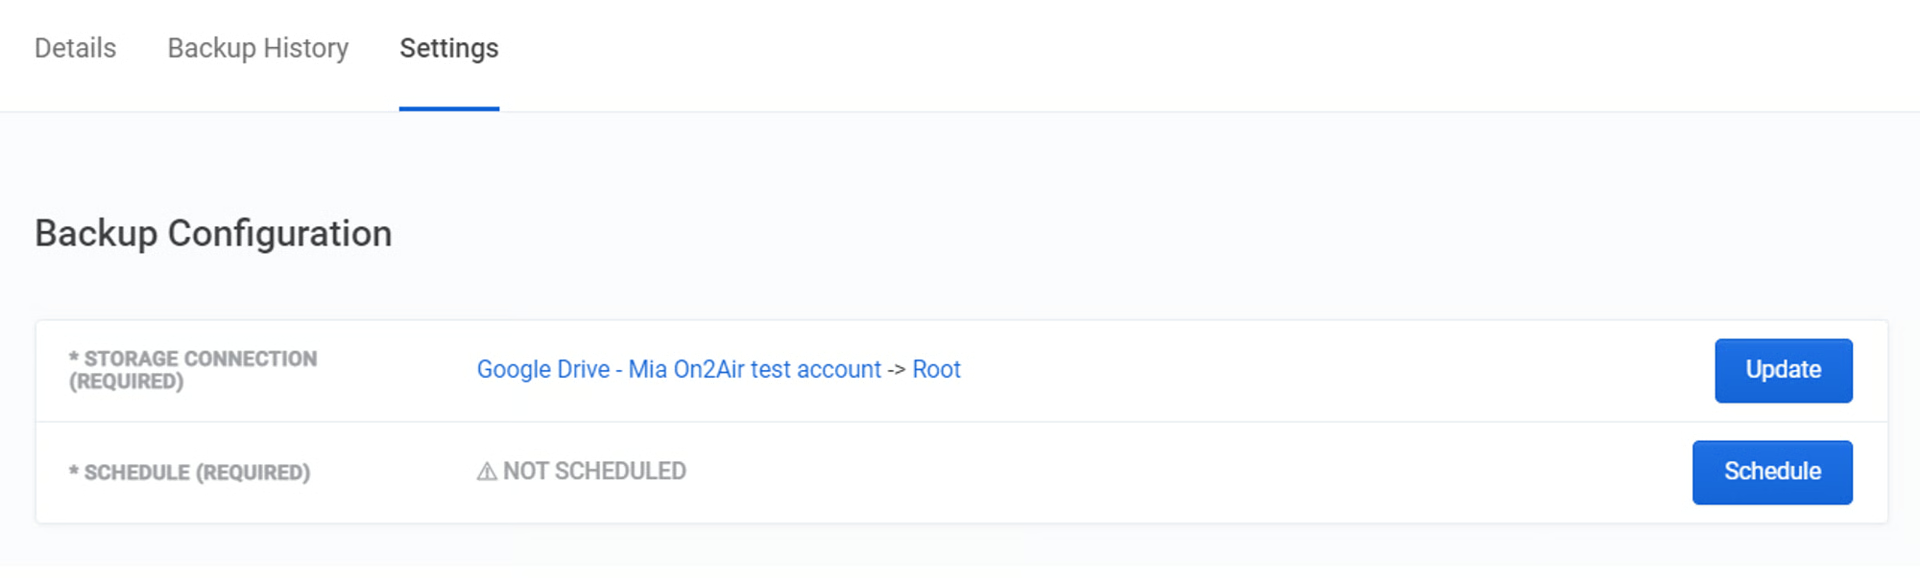
Next to Storage Connection, choose Update
-
By default, we’ll add the backup to the root of your storage drive. You can change to a specific folder
- Now, you can Choose a folder from your storage drive or Create a New Folder where your backups will be sent
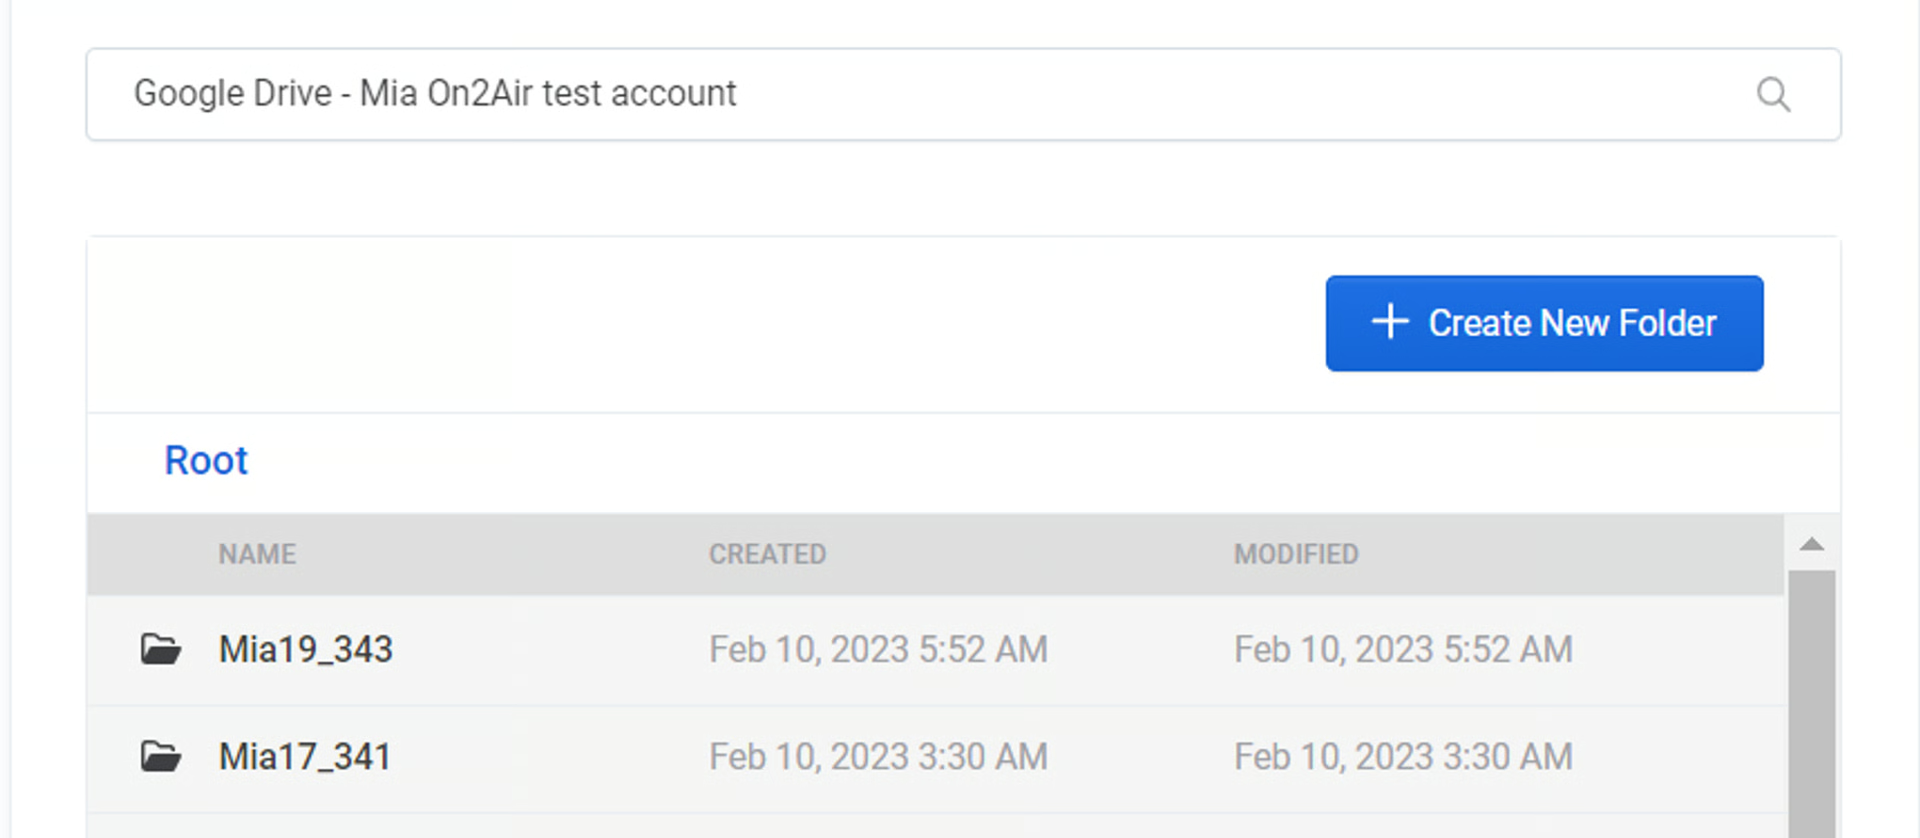
Then click Save Backups Details
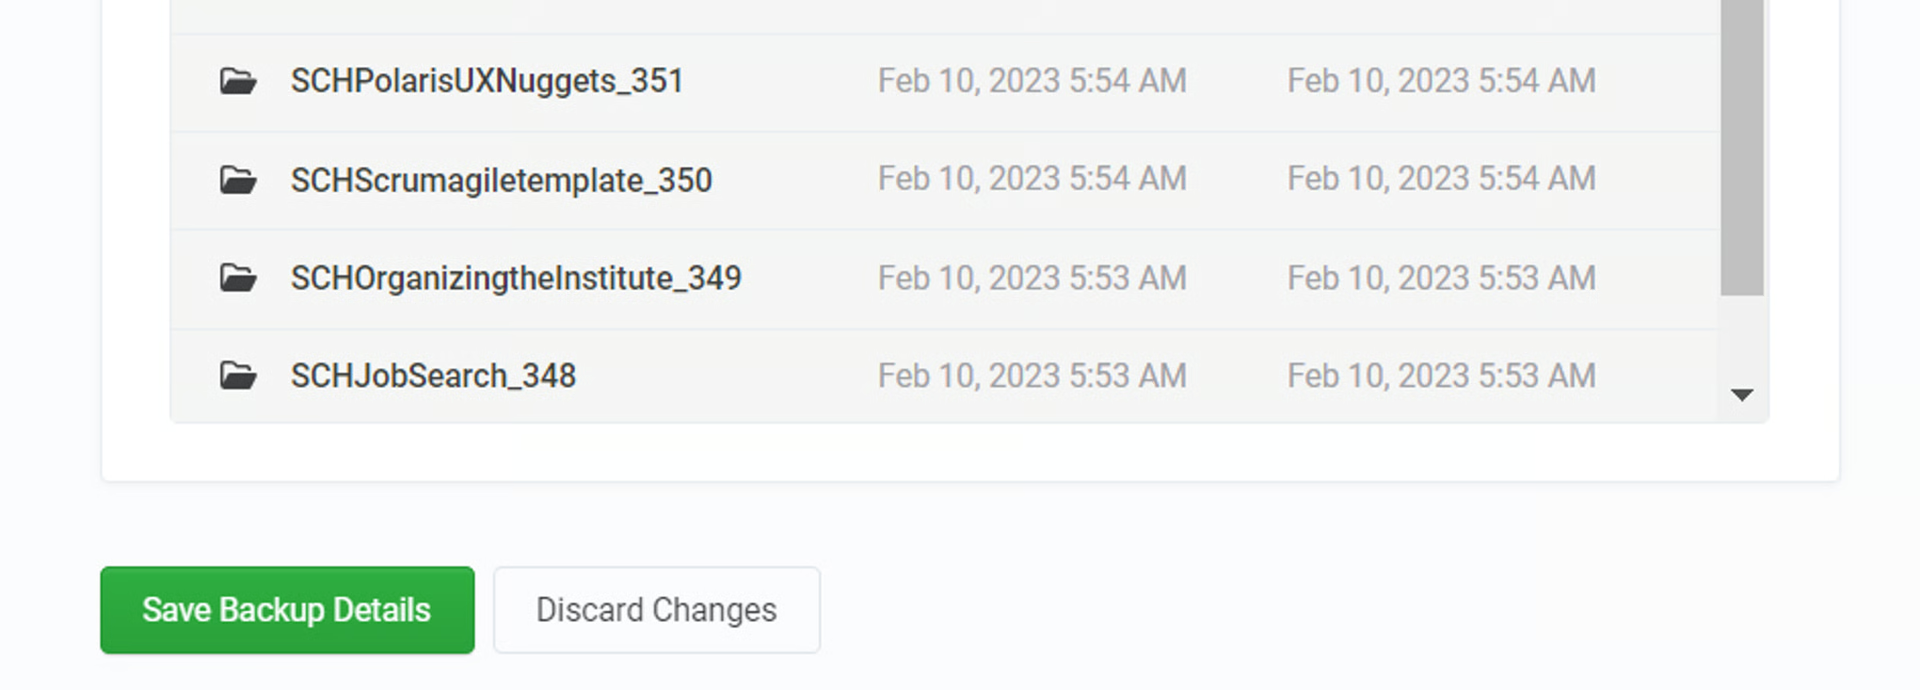
Now that your folder is chosen, the Trial Schedule is automatically set to One-Time.
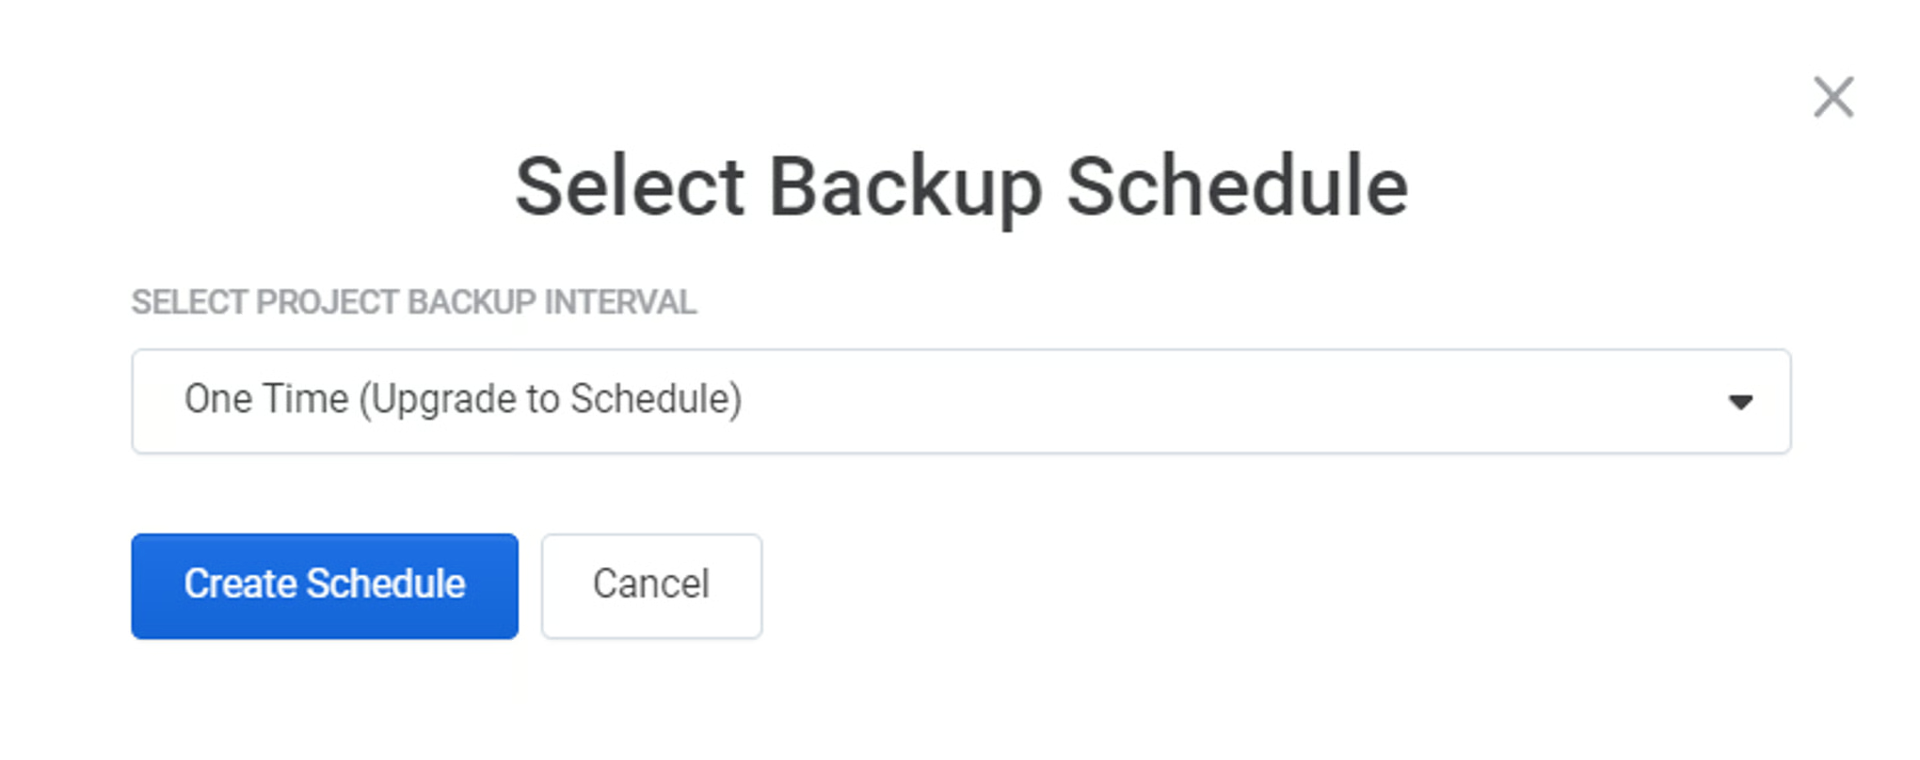
In the On2Air Backups Trial, we allow 1 Airtable Base, 10 Tables, 100 Records per table, and 25 Attachments (total). After the trial creates a backup to your storage drive, the backup project deactivates.
To enable an automated backup schedule, upgrade to a plan . Once you’ve upgraded, you’ll then need to set the Schedule and Reactivate the backup.
- Upgrade to a Backups Plan
- Set the Backups Schedule (Upgraded Plans)
⚙
To enable full automated backups, upgrade to a plan - Learn about backup schedule options and plans
5. Click Start Backup
Section titled “5. Click Start Backup”- Click Start Backup to start your Backup
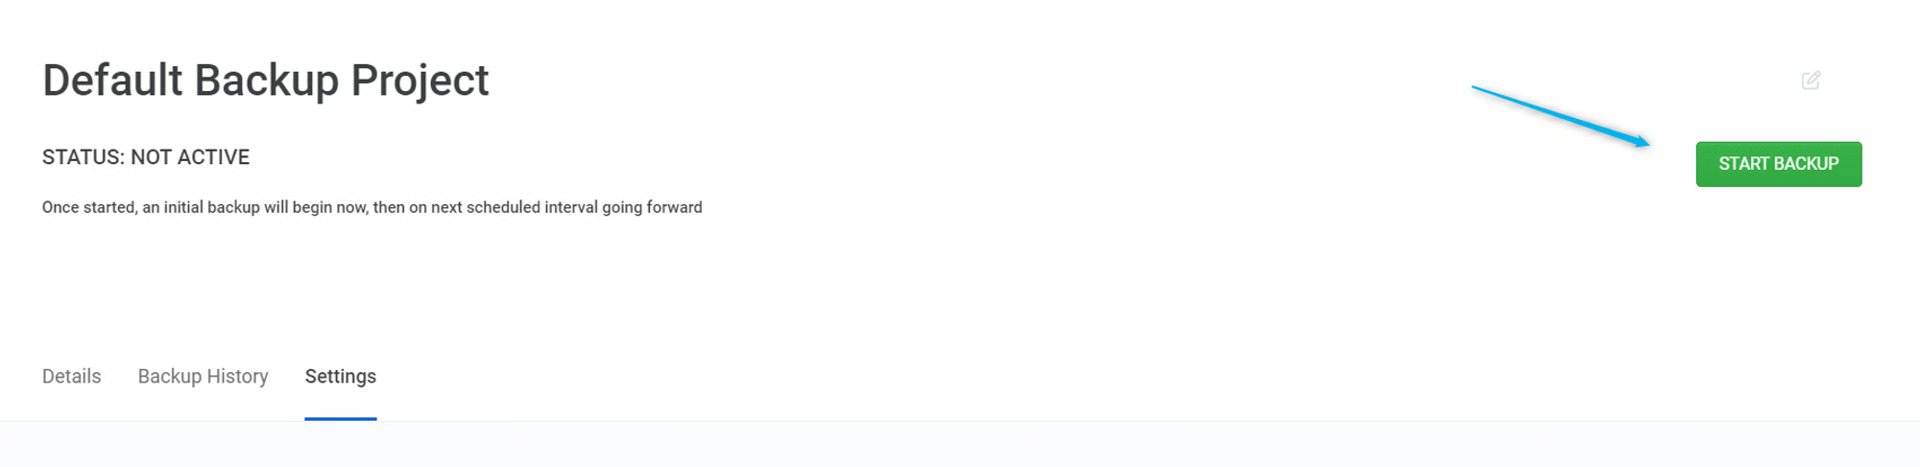
- The Status will change to Active while it creates a backup in your storage drive
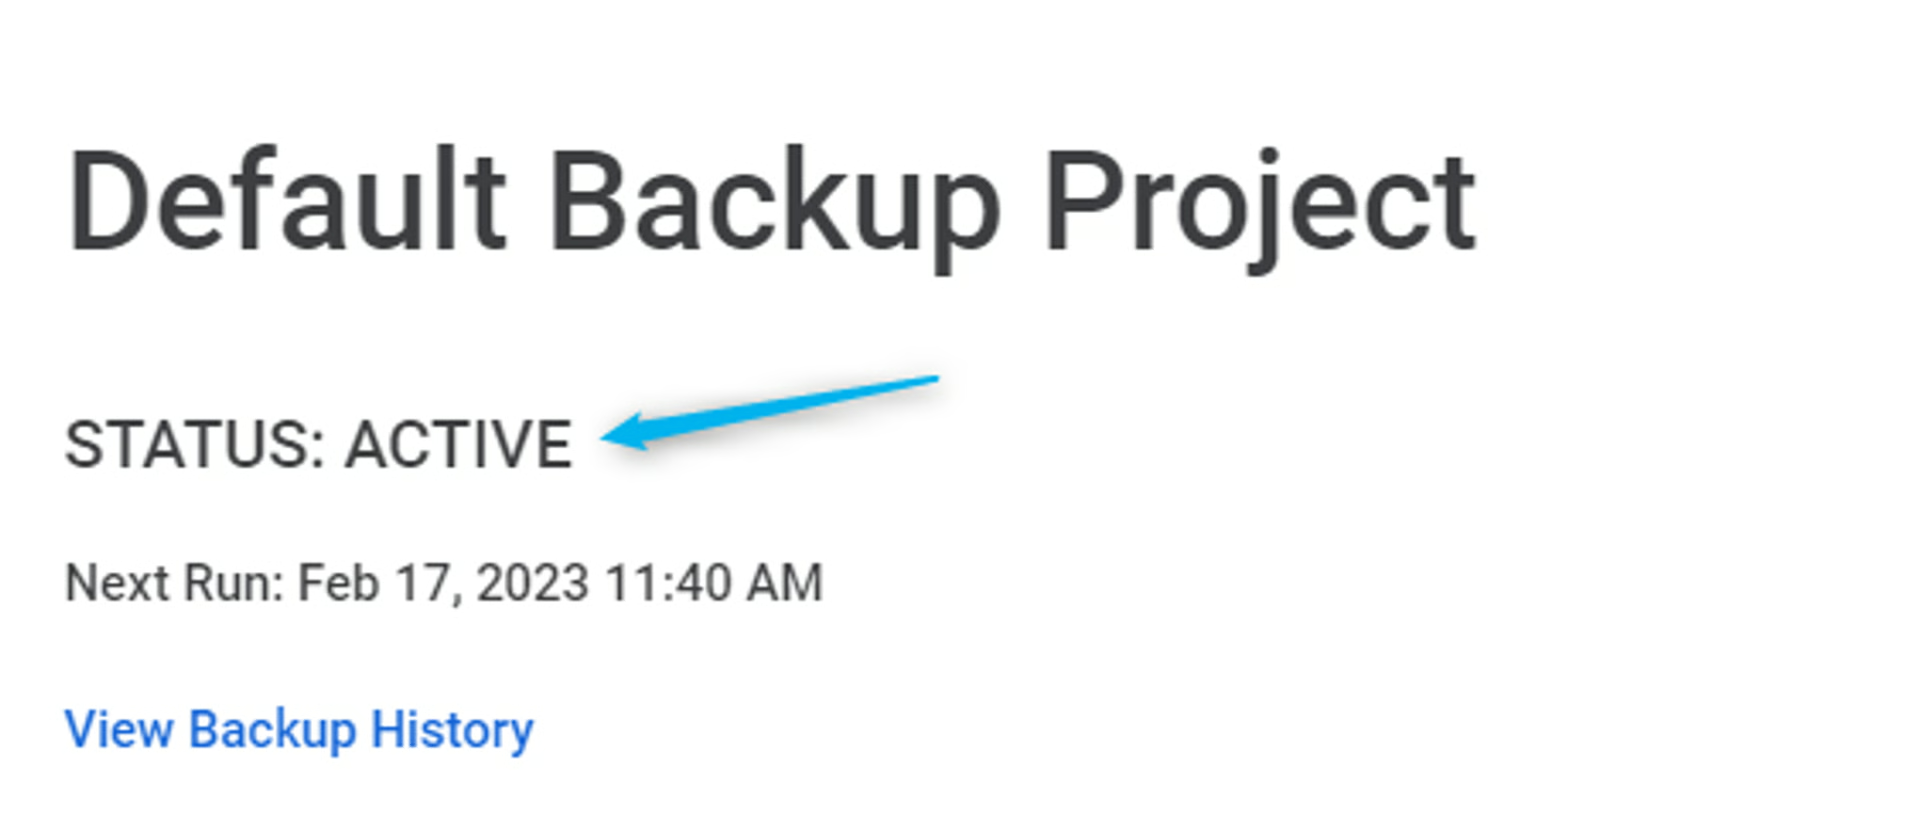
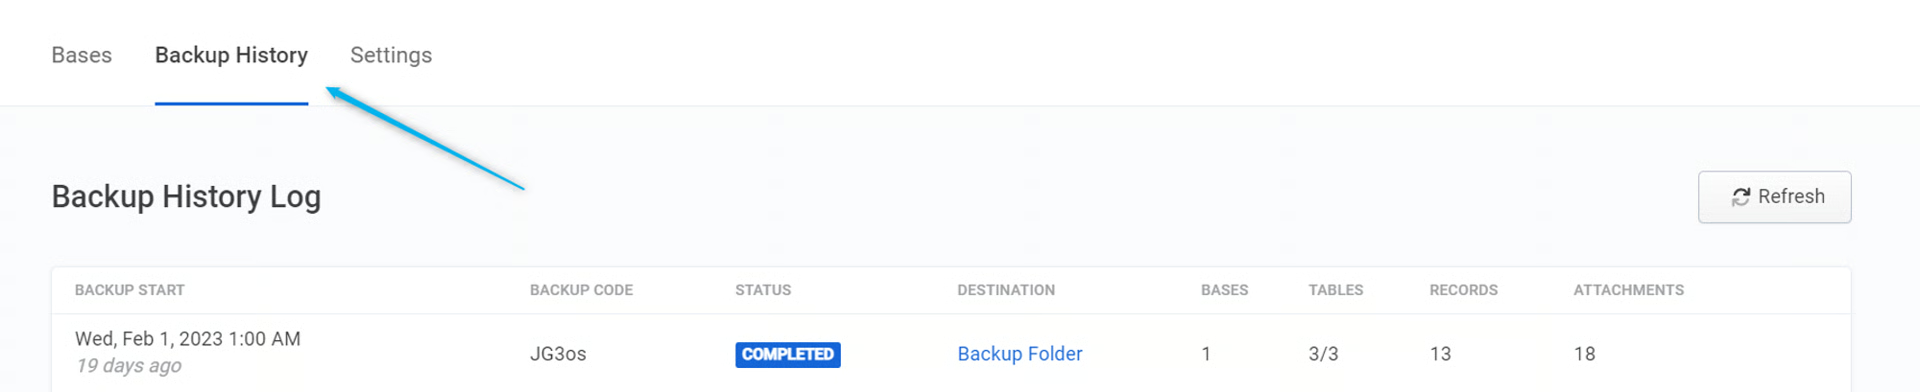
- Click Backup History to see the backups begin and when it’s done processing.
⭐
Backups will begin within approximately 1 minute. The initial backup takes time to complete the backup, depending on the number of records/fields in your Airtable base and the number of attachments. Subsequent backups will not take as long as we back up only the specific changes made.
- You can click Refresh on the Backup History page to watch the progress.
You can continue to the offline instructions with your Trial Airtable data or you can upgrade On2Air Backups to backup your entire base
6. Upgrade and Choose Your Backup Schedule
To fully automate Airtable backups, upgrade to a Backups plan
Enable Offline Mode for Your Airtable Data
Section titled “Enable Offline Mode for Your Airtable Data”Now that you’ve backed up your Airtable base, you can enable Offline mode depending on the Storage Provider you use.
How to view Airtable data offline using Google Drive
Section titled “How to view Airtable data offline using Google Drive”Before you turn on offline access
- You must be connected to the internet.
- You must use the Google Chrome or Microsoft Edge browser.
- Don’t use private browsing.
- Make sure you have enough available space on your device to save your files.
Using the Google Docs, Sheets & Slides Web version
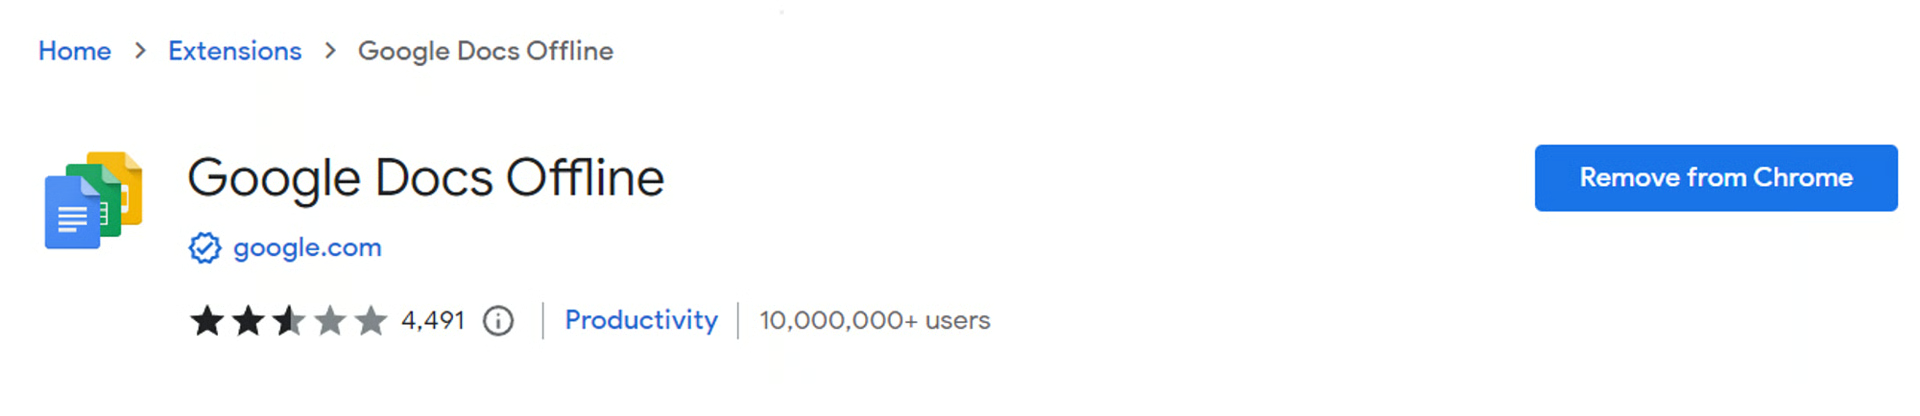
- Install and turn on Google Docs Offline Chrome extension
- Open Google Chrome or Microsoft Edge. If on Chrome, make sure you are signed into your desired account.
- Go to drive.google.com/drive/settings.
- Check the box next to “Create, open, and edit your recent Google Docs, Sheets, and Slides files on this device while offline.”

Next, you need to turn on Offline access for each file
Enable Offline Access for Google Drive files
- On your computer, go to drive.google.com.
- Right click the Google Docs, Sheets, or Slides file you want to save offline.
- Turn on “Available offline.”

To save multiple files offline, press Shift or Command (Mac)/Ctrl (Windows) while you click other files.
- Once you enable offline, you’ll see a checkbox next to the file name indicating you can view offline.
Preview Offline files
1. On your computer, go to drive.google.com. ◦ Make sure you turn on offline access first. 2. At the top right, click Ready for offline. 3. Click Offline preview.
View helps docs on how to use Google Drive files offline
How to view Airtable data offline using Dropbox
Section titled “How to view Airtable data offline using Dropbox”Learn how to view Airtable data offline using Dropbox.
Make your Dropbox files available offline
How to view Airtable data offline using Box
Section titled “How to view Airtable data offline using Box”Learn how to view Airtable data offline using Box.
Make Box files Available Offline
While it’s not perfect and requires some prior setup, you can view your Airtable data offline using On2Air Backups.