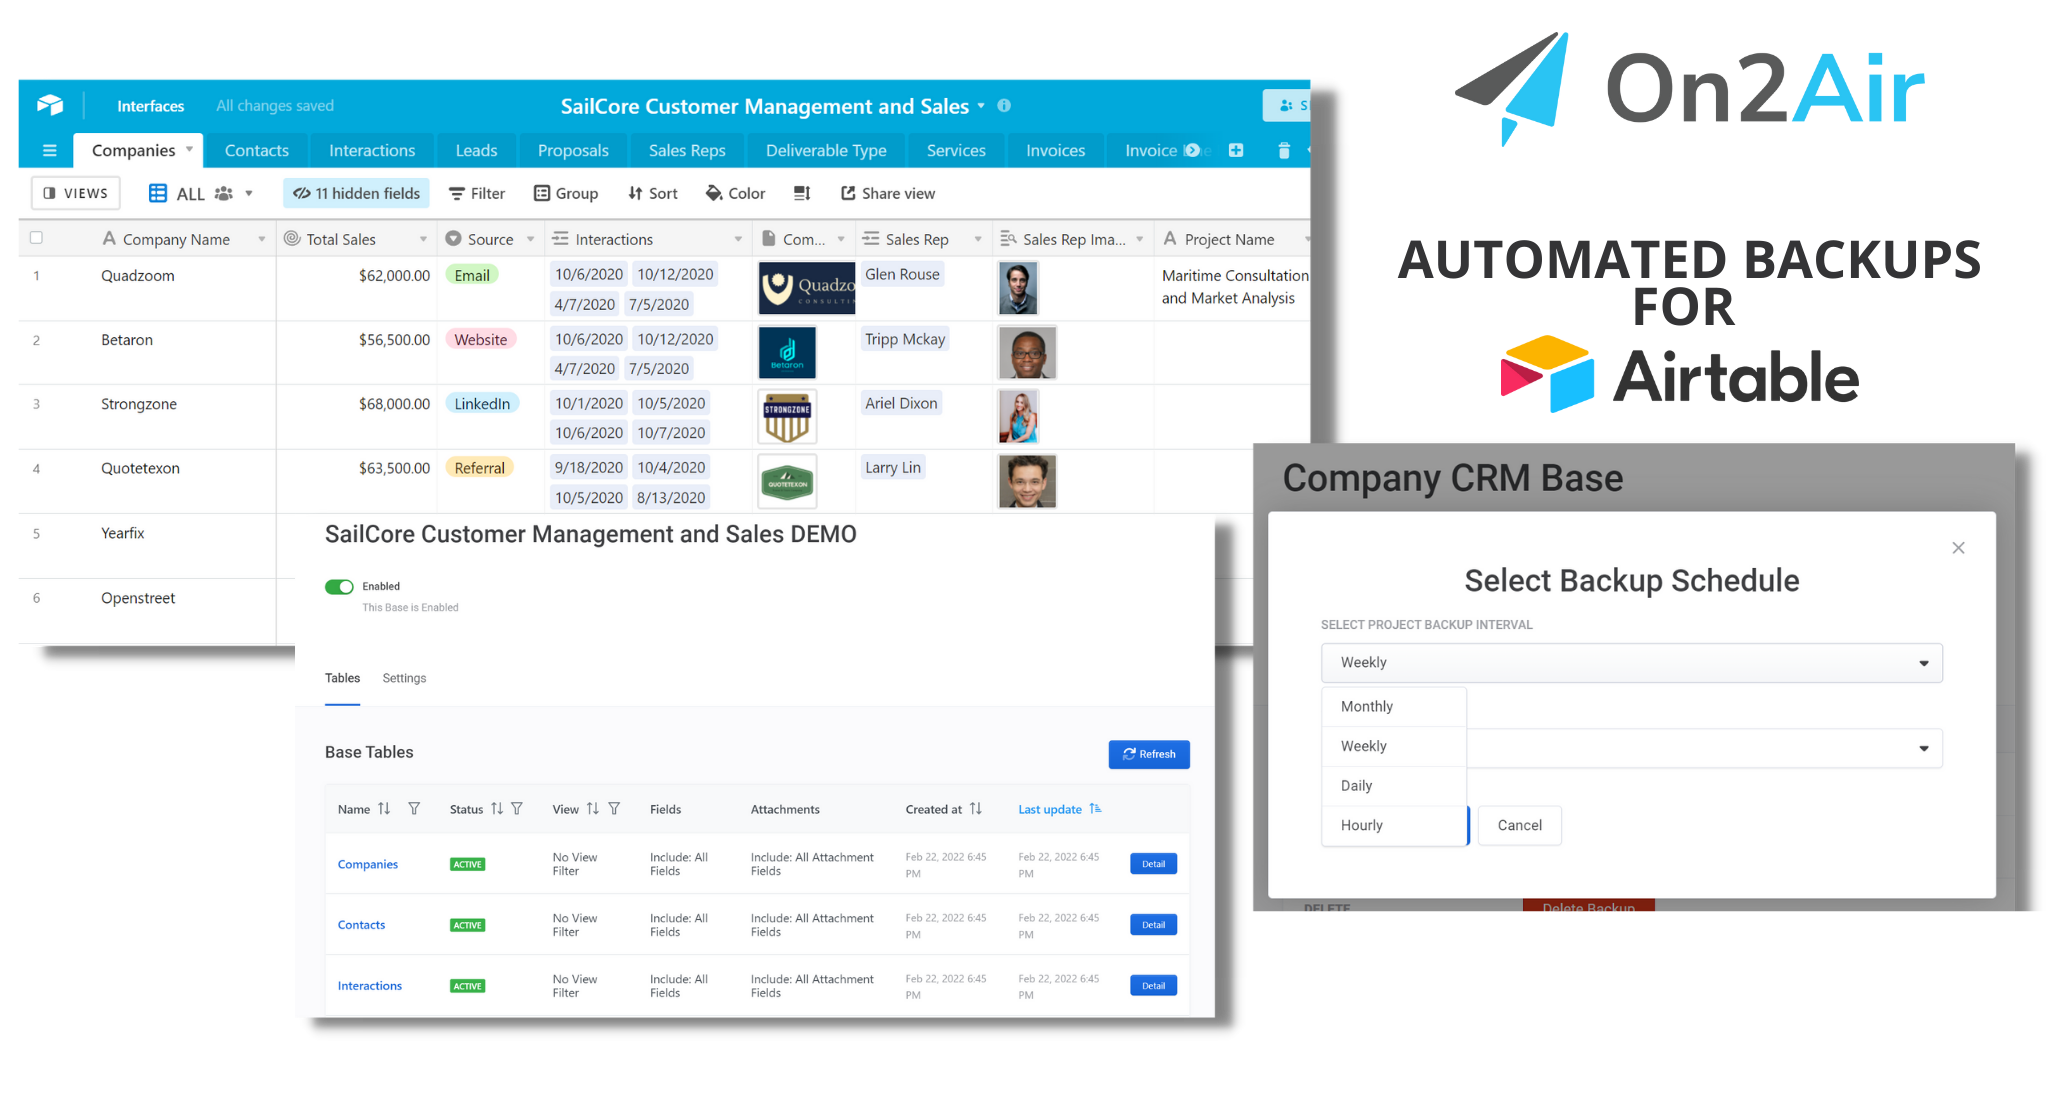
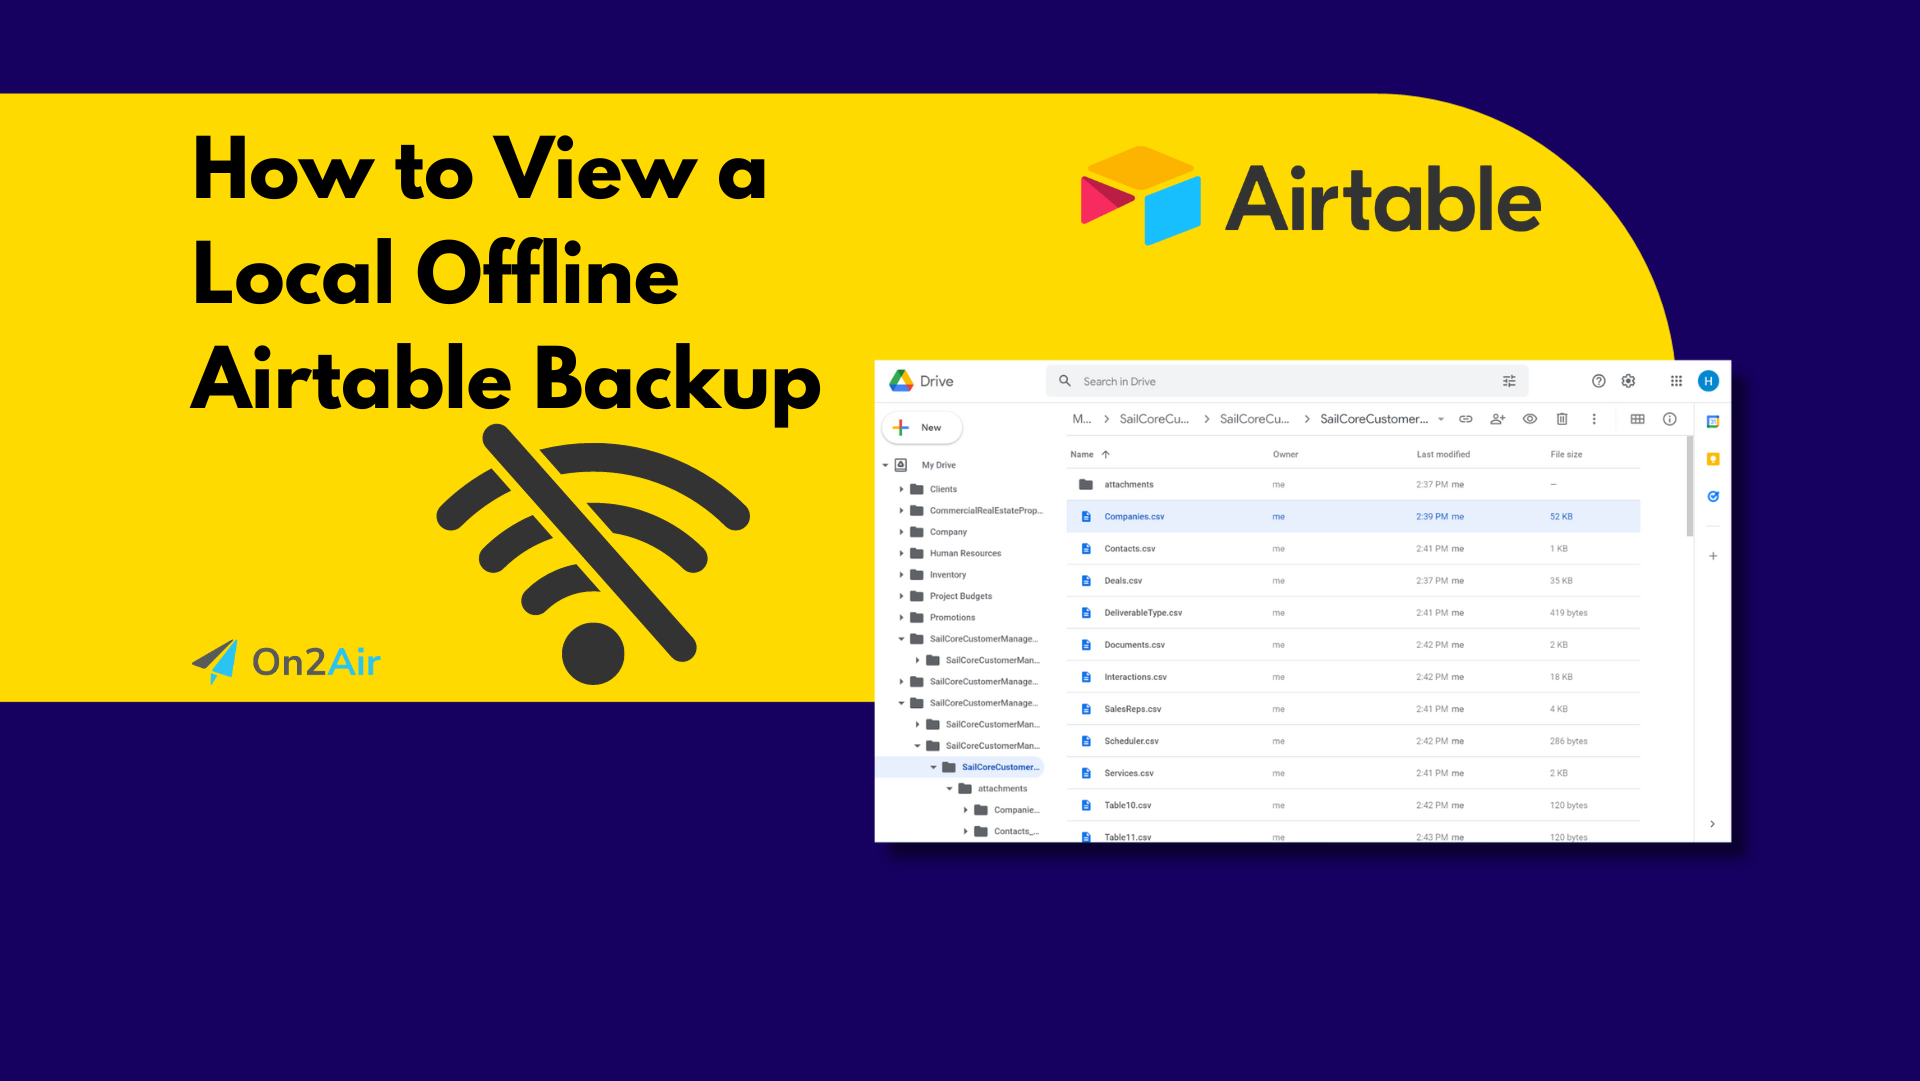
Picture this: You’re in a place with spotty internet, or you’re completely offline, but you really need to access your Airtable data to view a client’s information or make a decision.
Airtable, while a fantastic tool, lacks a built-in offline feature. But, you can view your data locally, on your laptop/desktop, and offline by using On2Air Backups and your storage provider, such as Google Drive, Dropbox, or Box.
In this guide, you’ll learn how to create an Airtable backup to quickly view data locally.
Get a FREE Airtable backup
💡We created On2Air Backups to automatically back up your Airtable data on a schedule to Google Drive, Dropbox, or Box.
In this article
Why have an offline local backup of Airtable?
Having an offline local backup of your Airtable data ensures uninterrupted access to your critical information. A backup serves as a fail-safe in multiple aspects, and allows you to access your company data even when you can’t connect to the internet. They add a level of flexibility and convenience.
How to create a local backup of your Airtable data
To get started, you’ll need to create an On2Air Backups account and connect it to Airtable. You’ll also need to have access to Google Drive, Dropbox, or Box.
In the free On2Air Backups trial, you can backup 1 Airtable Base with 10 Tables, 100 Records per table, and 25 Attachments (total). You do not have to upgrade to use the Offline option.
To backup your entire Airtable base(s) and automate backups, upgrade to a plan.
🎥 How to create an Airtable backup with On2Air Backups – Video Tutorial
✍️ How to create an Airtable backup with On2Air Backups – Written Tutorial
1. Install the On2Air Backups Extension in your Airtable Base
- First, open your Airtable base and click Extensions
- Find On2Air Backups and Install the Extension
(You don’t have to install the Extension in Airtable to use On2Air Backups. You can use our On2Air web app at app.on2air.com instead)


- Click Add Extension to add it to your Airtable base

- You’ll now click Create New Account to create an On2Air account. You’ll go through the account creation process.
If you’ve ever added On2Air Backups to other bases in your Airtable workspace, Select your On2Air account.

2. Connect Your Airtable Account
Now, you’ll need to connect your Airtable account to On2Air. First, login to your Airtable account. This will make the process as seamless as possible.
- Click the Configure Airtable API button

- Click the blue + icon and choose the Airtable connection


- Under Configuration (Oauth), click Connect to Airtable

- Click Connect to Airtable

- Next, you’ll see a page to authorize On2Air to connect to Airtable
- IMPORTANT: Click Add a base FIRST

- For best results to allow you to backup your Airtable bases, choose “All current and future bases in all current and future workspaces”.

- Click Grant access
- Your page will reload and display an “Authenticating” message”

- Once the Authentication is complete, you should now see your new OAuth authentication User ID.
- You have now connected Airtable and On2Air!

- Next, Activate the Airtable Connection toggle
- Click Save Changes
- Close out the popup and click the Configure Airtable API button again. This will refresh the app to accept your token.

Final view of Airtable connection

3. Connect Your Cloud Storage Account (Google Drive, Dropbox, or Box)
Next, you’ll connect your cloud storage account in Google Drive, Dropbox, and Box.
- Click Configure Backup Destination

- Depending on your cloud storage option, the setup will look slightly different
You will need to accept the permissions that popup when connecting Google Drive, Dropbox, or Box to On2Air. Once you’ve accepted permissions and connected your account, you can now create a backup.
How to Connect Your Google Drive Account
How to Connect Your Dropbox Account
How to Connect Your Box Account
- Once you’ve connected to Storage, click Configure Backup Destination again, close the popup, and On2Air Backups will refresh and connect
4. Create a Backup Project in On2Air
Once you’ve connected your storage drive, create your backup project.
- Click Create New Project
- A Backups Project allows you to add 1 or multiple bases to a Project

- On2Air Backups will automatically detect the Airtable base you’re in
- If you’re in the web app at app.on2air.com, click Add base to Backup and choose your base
- Click Configure Settings

- Next to Storage Connection, choose Update
- By default, we’ll add the backup to the root of your storage drive. You can change to a specific folder

- Now, you can Choose a folder from your storage drive or Create a New Folder where your backups will be sent

- Then click Save Backups Details

- Now that your folder is chosen, the Trial Schedule is automatically set to One-Time.

You’re now ready to create a backup.
5. Start Your Airtable Backup
- Click Start Backup to start your Airtable Backup

- The Status will change to Active while it creates a backup in your storage drive

- Click Backup History to see the backups begin and when it’s done processing.
⭐Backups will begin within approximately 1 minute. The initial backup takes time to complete the backup, depending on the number of records/fields in your Airtable base and the number of attachments. For trial backups, it’s typically 10 – 15 minutes. Subsequent backups will not take as long as we back up only the specific changes made.
- You can click Refresh on the Backup History page to watch the progress.

- After about 10-15 minutes, you should see your CSV files in your Drive

Next up, here’s how you will enable offline access to your backup.
Enable Offline Mode for Your Airtable Data
Now that you’ve backed up your Airtable base, you can enable Offline mode depending on the Storage Provider you use.
How to view Airtable data offline using Google Drive
Before you turn on offline access
- You must be connected to the internet.
- You must use the Google Chrome or Microsoft Edge browser.
- Don’t use private browsing.
- Make sure you have enough available space on your device to save your files.
Using the Google Docs, Sheets & Slides Web version
- Install and turn on Google Docs Offline Chrome extension

- Open Google Chrome or Microsoft Edge. If on Chrome, make sure you are signed into your desired account.
- Go to drive.google.com/drive/settings.
- Check the box next to “Create, open, and edit your recent Google Docs, Sheets, and Slides files on this device while offline.”

- Next, you need to turn on Offline access for each file
Enable Offline Access for Google Drive files
- On your computer, go to drive.google.com.
- Right click the Google Docs, Sheets, or Slides file you want to save offline.
- Turn on “Available offline.”

To save multiple files offline, press Shift or Command (Mac)/Ctrl (Windows) while you click other files.
- Once you enable offline, you’ll see a checkbox next to the file name indicating you can view offline.
Preview Offline files
1. On your computer, go to drive.google.com. ◦ Make sure you turn on offline access first.
2. At the top right, click Ready for offline.
3. Click Offline preview.
View helps docs on how to use Google Drive files offline
Get a FREE Airtable backup
💡We created On2Air Backups to automatically back up your Airtable data on a schedule to Google Drive, Dropbox, or Box.
How to view Airtable data offline using Dropbox
Learn how to view Airtable data offline using Dropbox.
Make your Dropbox files available offline
How to view Airtable data offline using Box
Learn how to view Airtable data offline using Box.
Make Box files Available Offline
Final
While it’s not perfect and doesn’t allow for editing data, you can view your Airtable data locally offline using On2Air Backups.
Start using On2Air Backups
While you hope to never have data deleted or be in a situation where your data is missing, it happens.
With On2Air Backups, your data from Airtable is automatically exported on a schedule you choose to Google Drive, Dropbox, or Box. This automation can be Hourly, Daily, Weekly, or Monthly.


