
At On2Air, we’re focused on ensuring companies protect their data with our premium Airtable backups app, On2Air Backups.
The tutorial you’re looking for is no longer active.
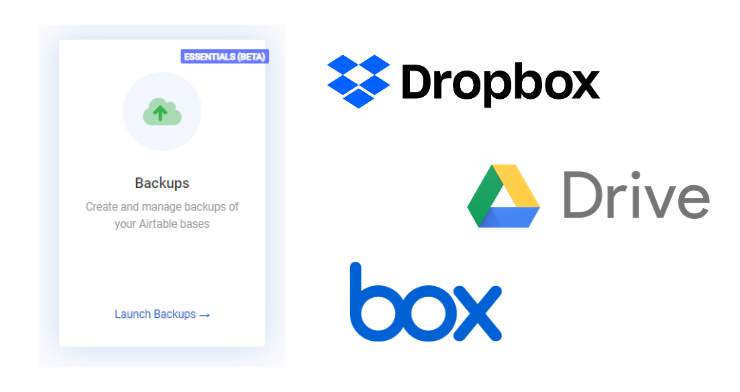
On2Air Backups automatically backs up your Airtable data to Google Drive, Dropbox, or Box on a schedule.
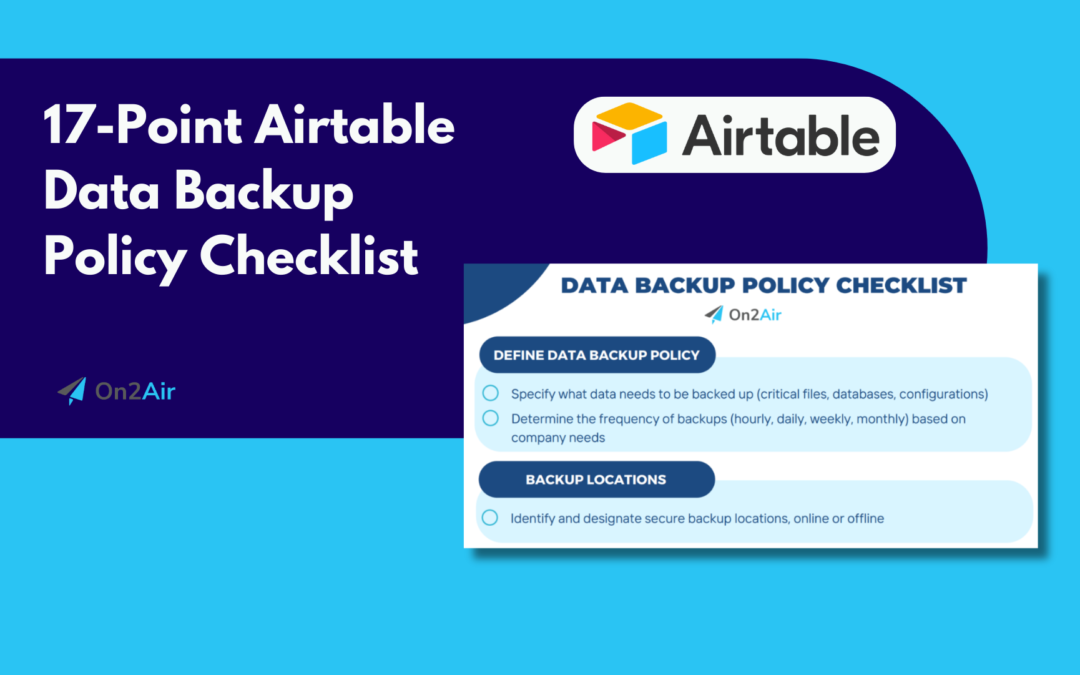
17-Point Airtable Data Backup Checklist ✅
Grab this 17-point Airtable Data Backup Policy Checklist to ensure you have the most comprehensive data backup policies and procedures for your company’s data in Airtable.
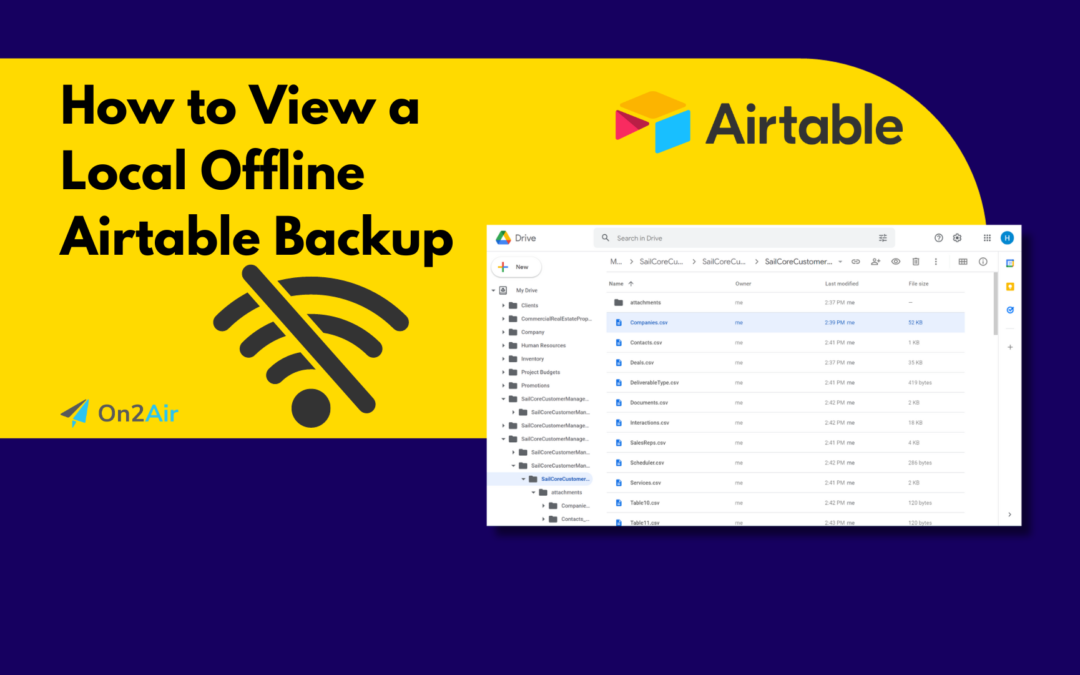
How to Create a Local Offline Airtable Backup
In this tutorial, you’ll learn how to view your data locally, on your laptop/desktop, and offline by using On2Air Backups and your storage provider, such as Google Drive, Dropbox, or Box.
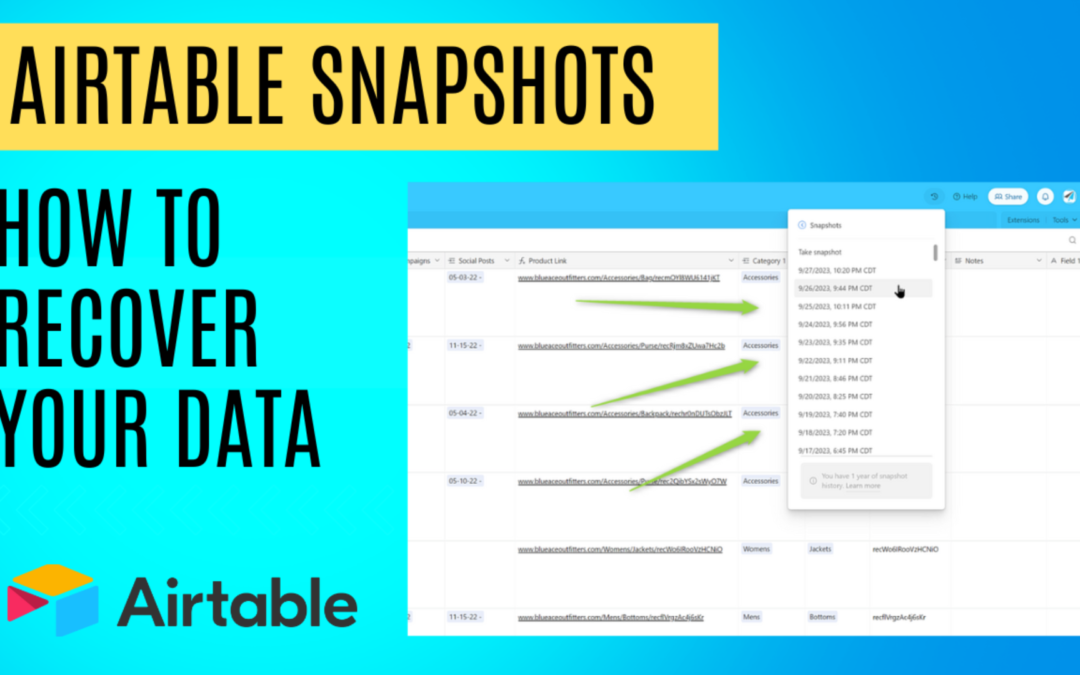
Airtable Snapshots – Everything You Need to Know
With Airtable, one way to recover data is through an Airtable snapshot. In this tutorial, you’ll learn what Airtable snapshots are, when to use them, and how to use them to recover your data.
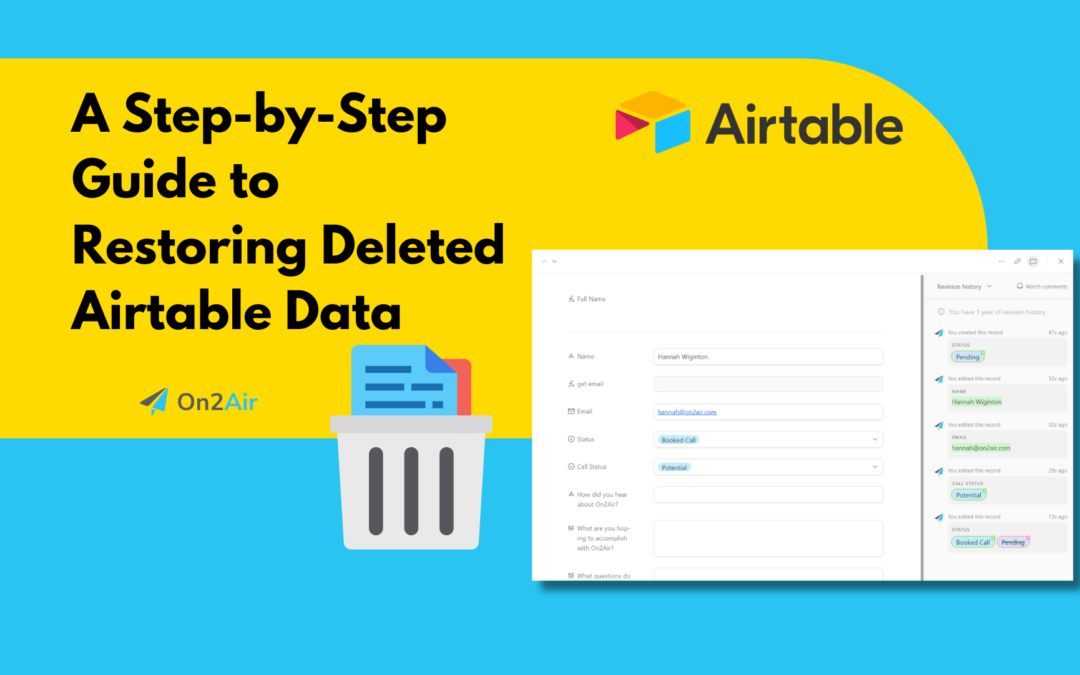
A 7-Step Guide to Restoring Deleted Airtable Data
Data loss in Airtable through accidental error, incorrect automation setups, human-error, or anything else can be devastating. If you’ve just discovered that you’ve lost some data or you fear it will happen to you, this is the source you need. In this tutorial, you’ll learn step-by-step what you need to do to restore your Airtable data.
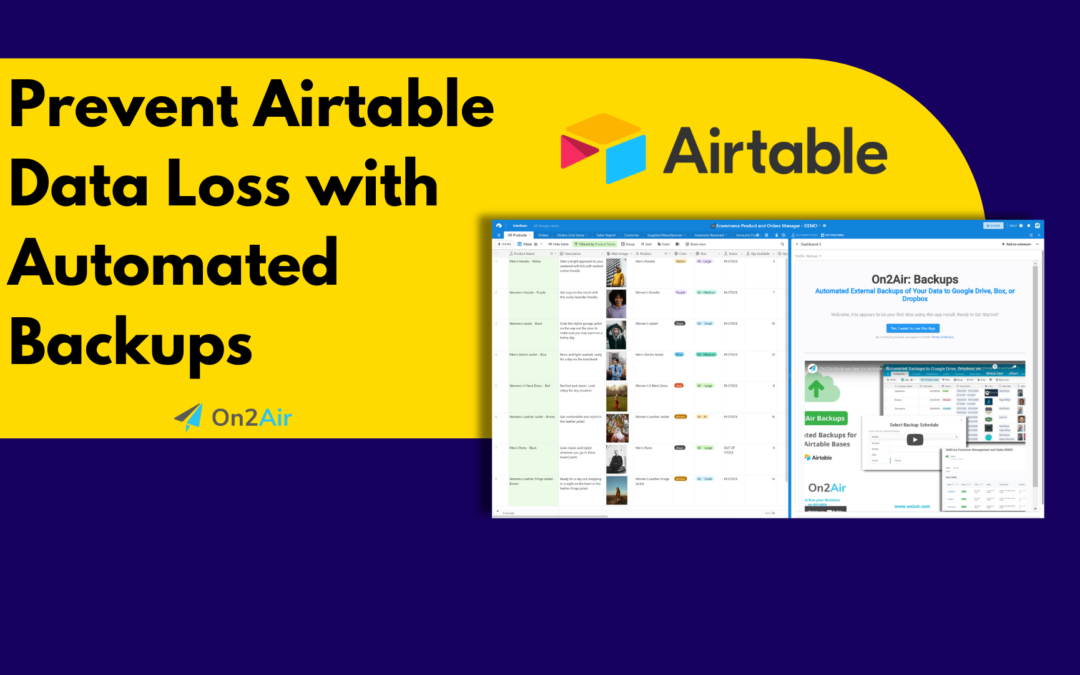
Prevent Airtable Data Loss with Automated Backups
Imagine you woke up one day, sat at your computer to start working and realized you lost some or all of your valuable business data. In this article, we’ll guide you through the process of scheduling automatic backups for your Airtable data using the On2Air Backups extension. We’ll show you how to keep your information safe and secure, so you can focus on what matters most—running your business.

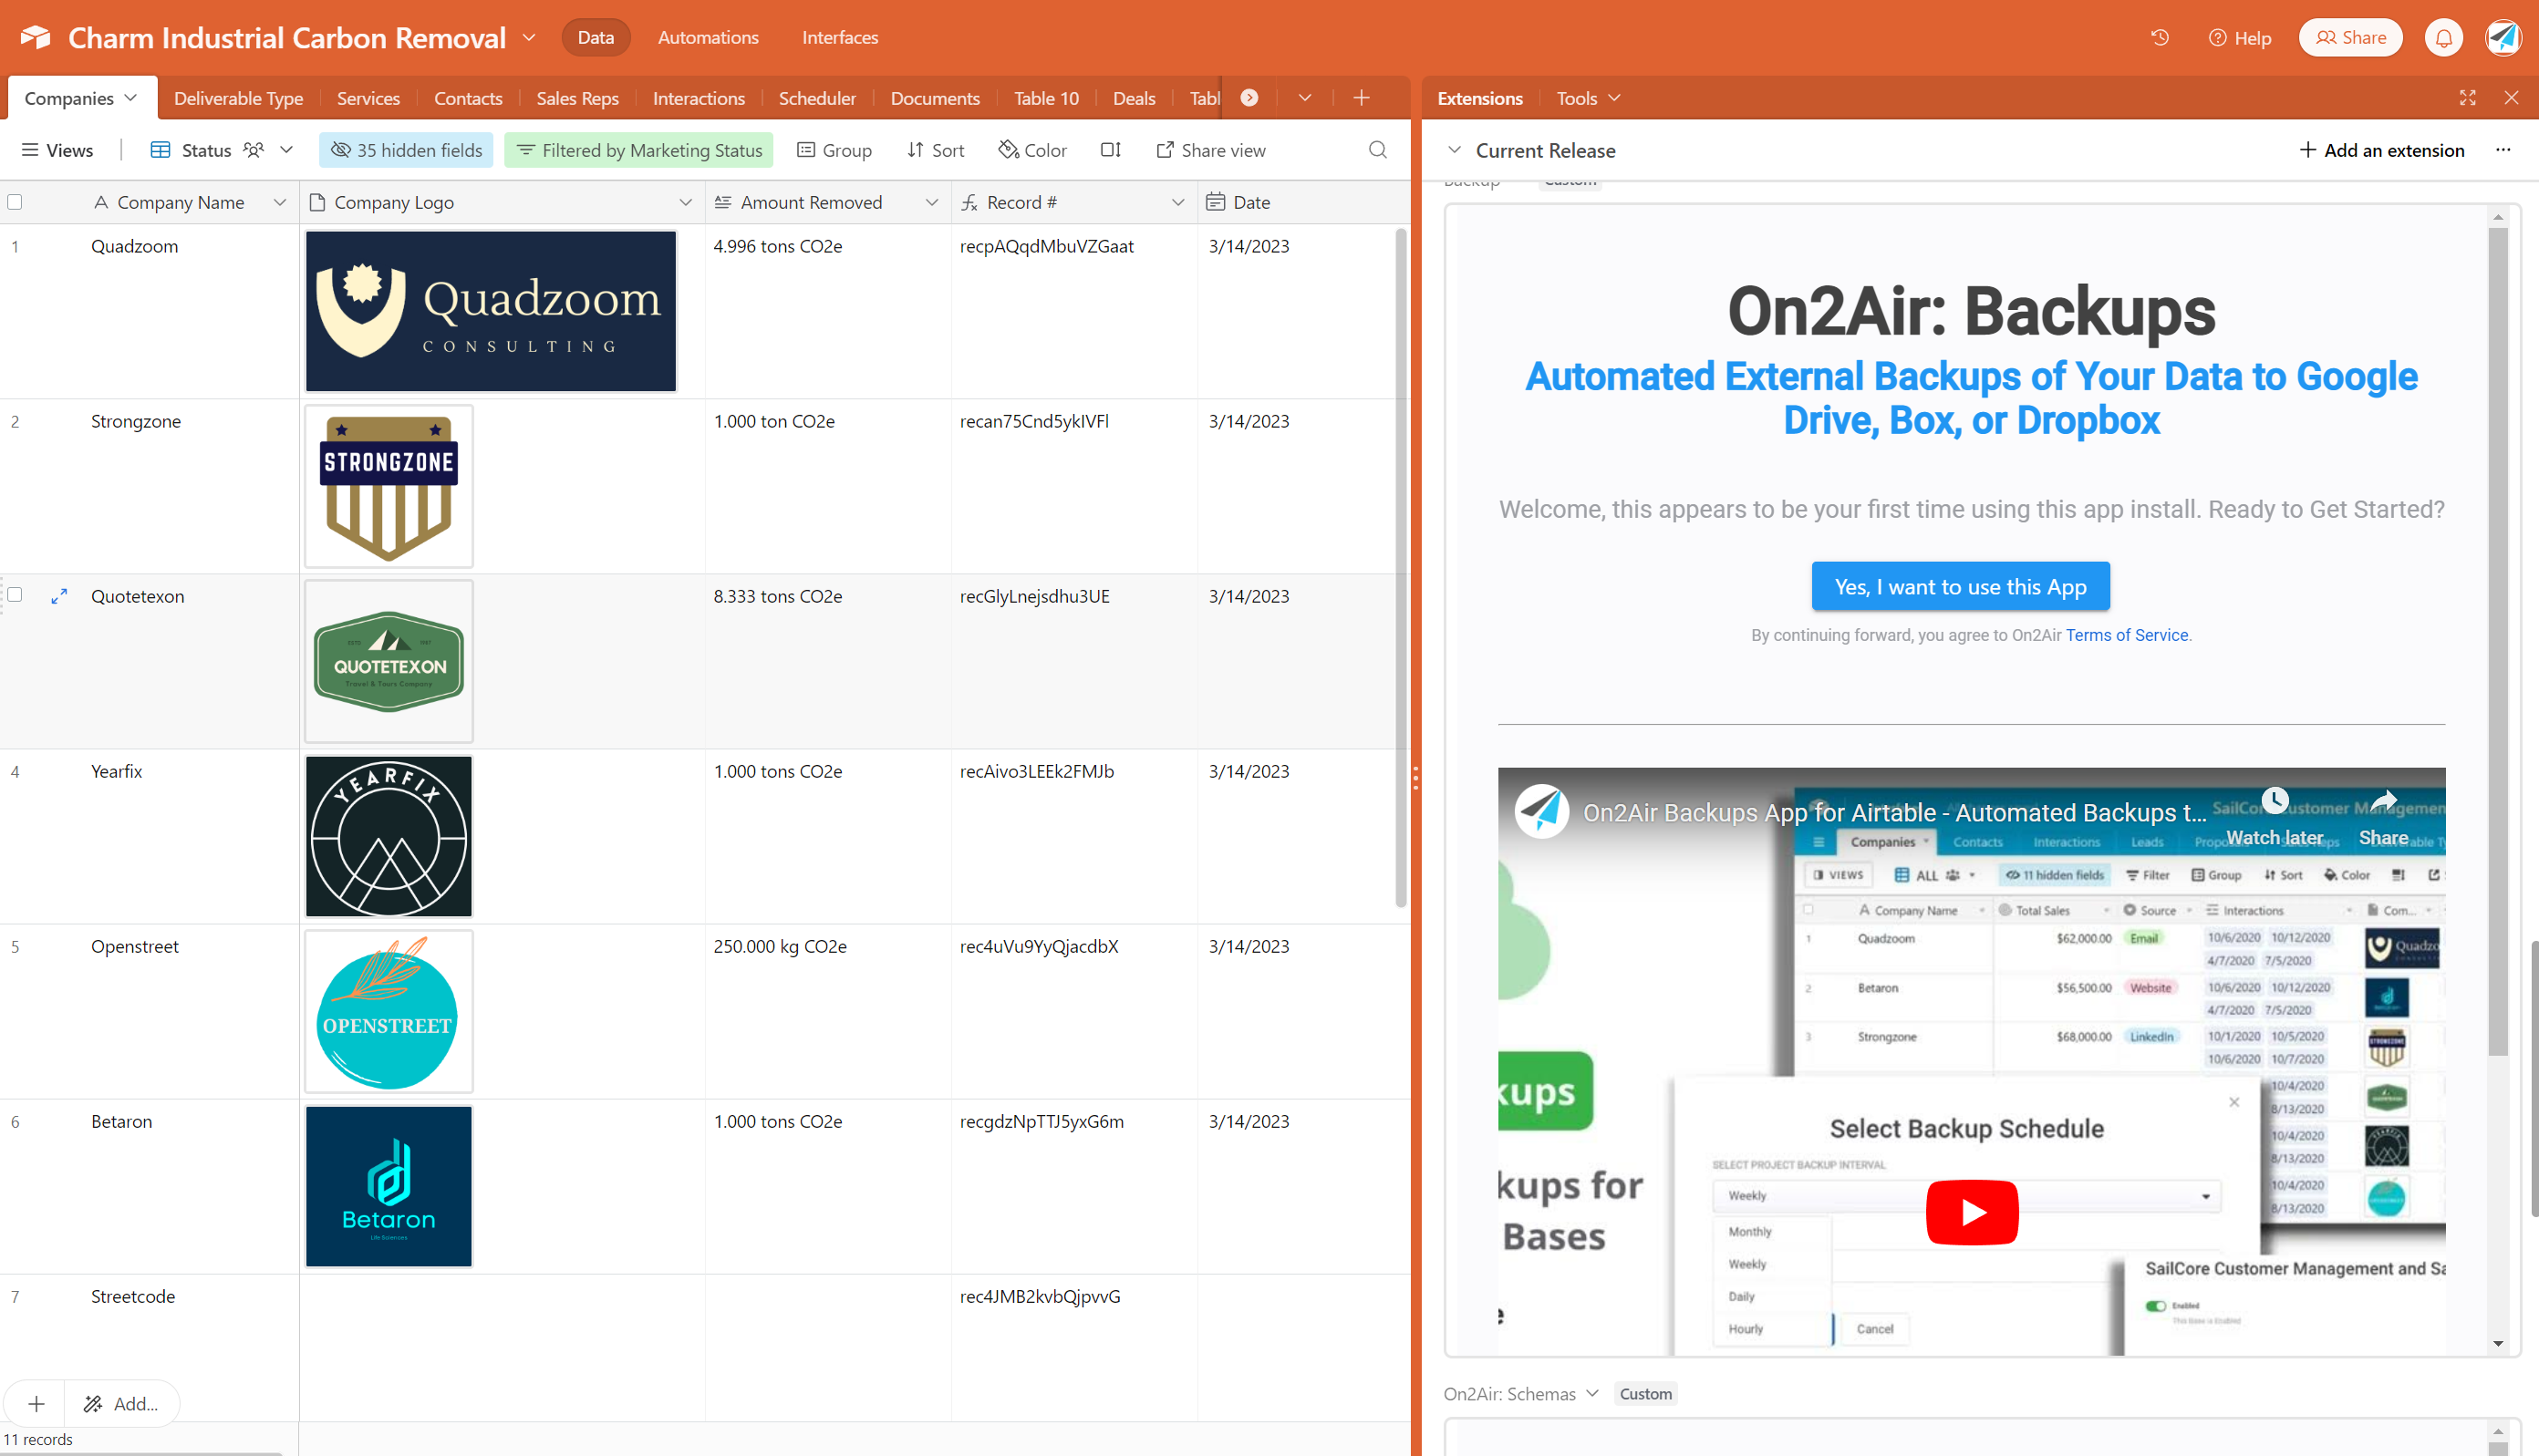
How Charm Industrial Backs Up Mission Critical Airtable Data with On2Air Backups
Learn how this carbon removal company uses On2Air Backups to backup their vital company data stored in Airtable to Google Drive.