How to Use Zapier Webhooks in Airtable
When you need to send your Airtable data to multiple sources or don’t have access to a direct connection, a webhook can help you connect to various sources. This tutorial will show you how to add a webhook to Airtable automations using the ‘Run Script’ option. We’ll provide you with the code to start sending your Airtable data to Zapier, where you can then send your data to any other app in Zapier.
When you need to send your Airtable data to multiple sources or don’t have access to a direct connection, a webhook can help you connect to various sources.
A webhook is a custom URL that accepts data from an app. It’s useful when you want quick access to information sent from one app to another. You can use a webhook to connect to Zapier from Airtable automations.
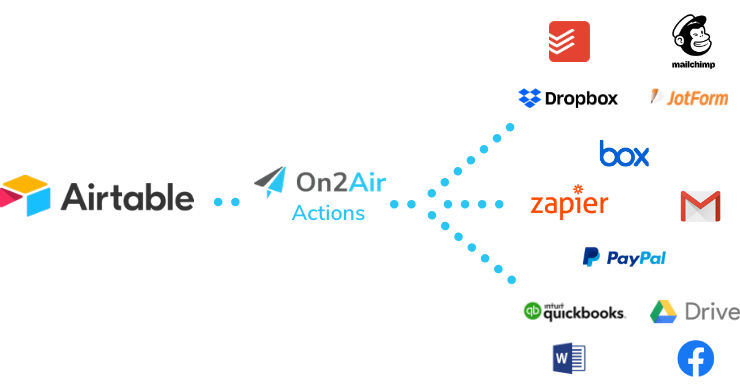
When you send your information to Zapier via a webhook, you can connect it to over 2,500 apps.
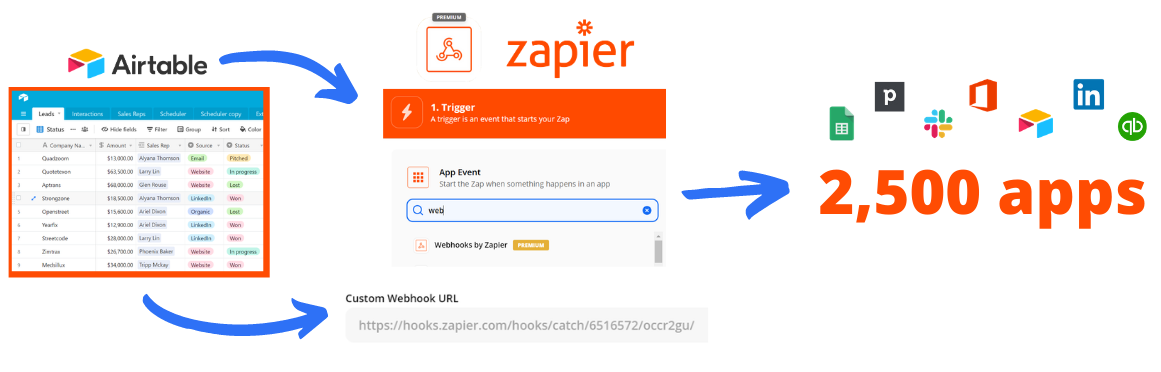
Table of Contents
Use Airtable Automations to connect to Zapier webhooks
Set up your On2Air trigger for Sales of $25,000 and over
Create a webhook URL with a Zapier trigger
Add the On2Air trigger and webhook script to the automation
Test your On2Air trigger and Airtable Automation
Finalize your Webhooks Zap in Zapier
Add the Zap action – Send an email with Won Leads over $25,000
Send your Airtable information to multiple apps in Zapier
Using On2Air and Zapier webhooks for your Airtable data
Use Airtable Automations to connect to Zapier webhooks
This tutorial will show you how to add a webhook to Airtable automations using the ‘Run Script’ option. We’ll provide you with the code to start sending your Airtable data to Zapier, where you can then send your data to any other app in Zapier.
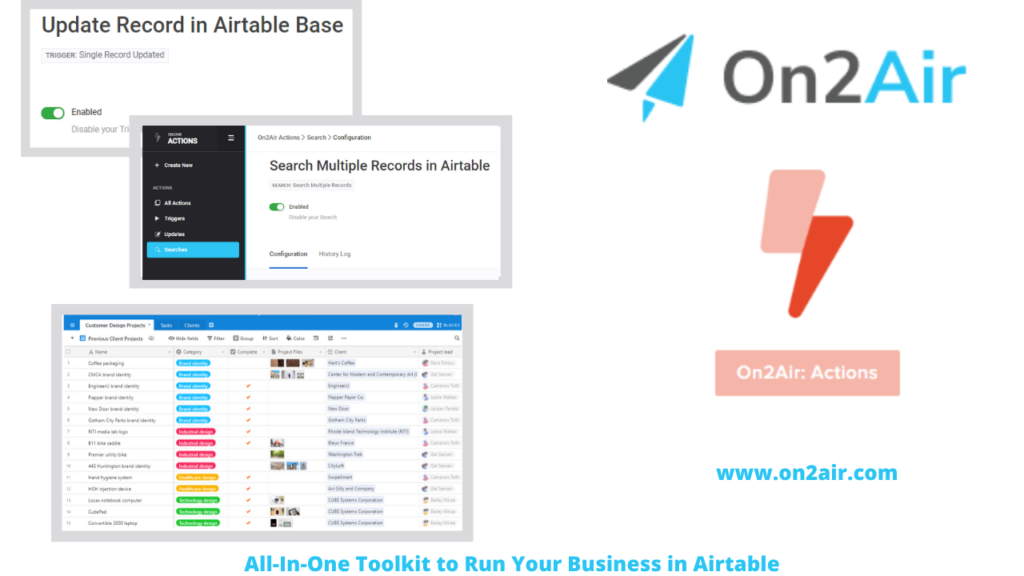
This setup will use a company sales base. We will use On2Air: Actions to capture sales over $25,000 and send multiple records in bulk to Zapier. We will use this in combination with our Scheduler automation to send it on a set schedule.
The scheduler will process the automation every hour. When a sale is added to the Leads table with an amount of $25,000 and higher and a Status of Won, the sales information will be sent to Zapier via the webhook.
Before starting
-
Be sure you have connected your Airtable account to On2Air.
-
Copy our Sales base from Airtable into your workspace. It includes a Leads table, a view filtered to Sales $25,000 and over and Status marked as Won, and fields with a Sales Person Name, Company Name, Status, Amount, Date Closed, and another Date field labeled INTERNAL – Comparison.
-
You’ll also need a Zapier account on a paid plan to use their Webhook option.
Optional: Set up the Scheduler automation in the Sales base. The scheduler will process the data on your desired schedule. If you choose not to do this, you can create an automation based on your needs. You’ll need to create a trigger in Airtable automations, then add the Run a script option as the Action. Once you have the Run a script option selected, you can continue with the tutorial.
Set up your On2Air trigger for Sales of $25,000 and over
On2Air: Actions allows you to capture multiple Airtable records at a time and send them to other apps. This trigger will grab all Leads over $25,000 that have a status of Won. On2Air: Actions provides an advanced option to connect to Airtable and allows you to capture multiple records instead of just a single record.
-
First, create a Trigger in On2Air: Actions of ‘Multiple Records Updated’
- New Trigger > Multiple Records Updated
-
Choose your Airtable connection
-
In the Configuration, choose the Sales base, the Leads table, and the Over 25K view
-
For the Selected Fields, choose Sales Person Name, Company Name, Amount, and Date Closed
-
For the Trigger mode, choose Date
-
For the Date field, choose the Date Closed field
-
For the Comparison Field, choose the INTERNAL – Comparison field
-
Click Save Trigger Details
-
Enable the Trigger
Create a webhook URL with a Zapier trigger
Now that you’ve created the Trigger in On2Air, you need to get the webhook URL from Zapier.
- Open Zapier and click **Create Zap
***Webhooks is available on Zapier paid plans - For the Trigger, search and select the Webhooks by Zapier app
- Choose Catch Hook as the Trigger Event
- Click Continue
- You will see a Custom Webhook URL displayed
- Click Copy next to the URL and paste it somewhere you can grab it again
- Click Save & Continue
Don’t click Test Trigger just yet!
Add the On2Air trigger and webhook script to the automation
After you set up the Scheduler automation, you’ll need to add another Action to the end of the automation.
- Copy the code from your On2Air Trigger
- To do this, open your trigger in On2Air and click Installation
- Choose Automation as your Installation Source
- Select an API Key
- You can choose to Include Documentation or not
- Click Copy to Clipboard
- Add the Run script action in your Airtable scheduler automation after the Update record action
- Paste the On2Air script into the text box in the Run Script action
- Next, grab your Webhook URL again
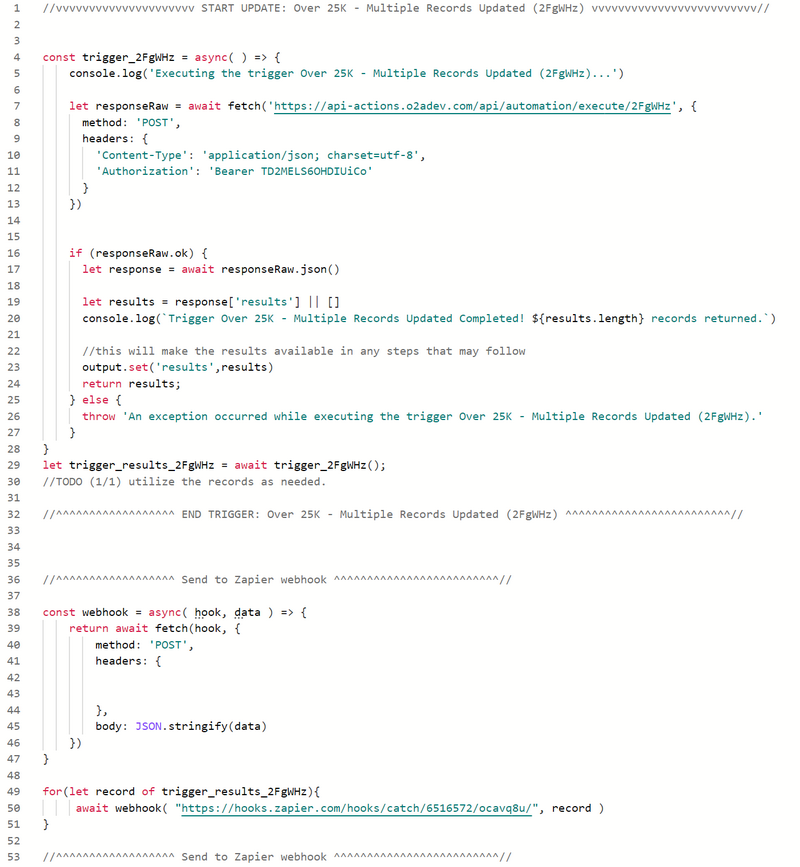
- Add the following script to the text box below the On2Air trigger
//^^^^^^^^^^^^^^^^^^ BEGIN Send to Zapier webhook ^^^^^^^^^^^^^^^^^^^^^^^^^//
const webhook \= async( hook, data ) \=> {    return await fetch(hook, {
method: ‘POST’, headers: , body: JSON.stringify(data)
    })}
for(let record of trigger\_results\_2FgWHz){     await webhook( "https://hooks.zapier.com/hooks/catch/6516572/ocavq8u/", record )}
//^^^^^^^^^^^^^^^^^^ END Send to Zapier webhook ^^^^^^^^^^^^^^^^^^^^^^^^^//- Replace trigger_results_2FgWHz with your trigger ID found in On2Air_Yours will be trigger_results_XXXXXX_

- Replace the URL with your Webhook URL from Zapier


- The entire script should look like this with your Trigger ID and Webhook URL
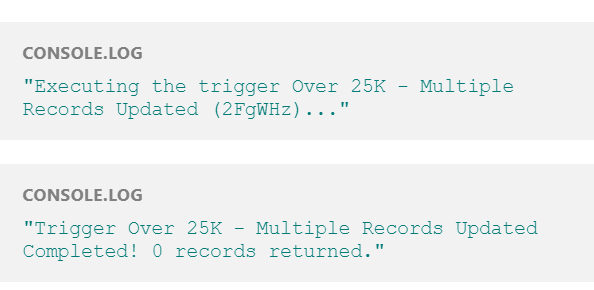
- Click Run Test
- Your On2Air Trigger should show as Completed with 0 records returned
- Click Done
Test your On2Air Trigger and Airtable Automation
Now that everything is set up, open the Leads table in your Sales base.
- Create 2 or 3 leads over $25,000 that include the Company Name, Amount, Sales Rep, Date Closed, and Status of Won
- Open the Run Script action text box
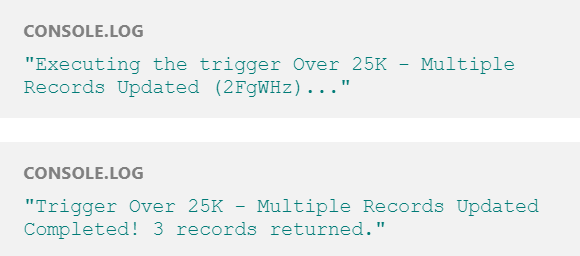
- Click Test
- You should see the number of records you added displayed as “3 records returned” or however many records you created
Finalize your Webhooks Zap in Zapier
Now that everything is working in Airtable, let’s finalize the Zap to capture the webhook data.
- Open the Zap you created
- Click Test Trigger
- You should see the records from your base!
- Click Continue
Add the Zap action – Send an email with Won Leads over $25,000
Next, let’s add an email action step that emails someone with all the information captured from the webhook.
- In the Action, search and choose Email by Zapier
- For the Action Event, choose Send Outbound Email
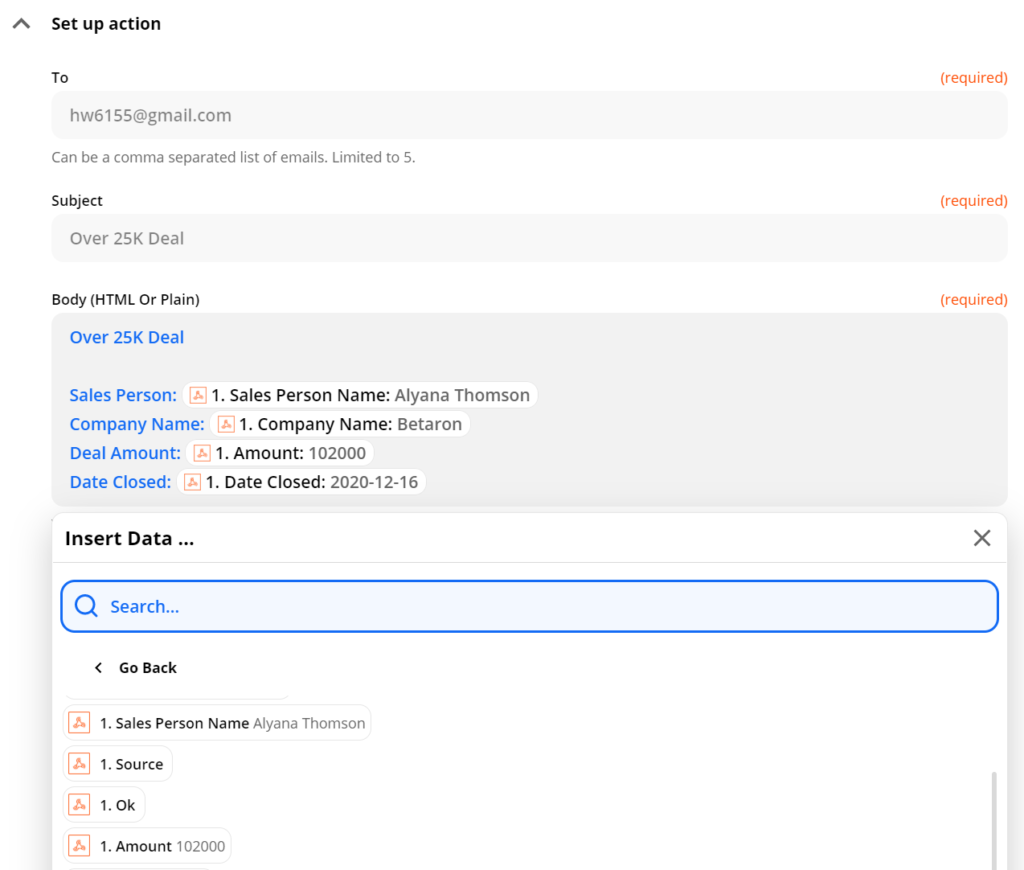
- Add the email address in the To field and the Subject in the Subject field
- In the Body, you can add the data captured from the webhook, including the Sales Person, Company Name, Deal Amount, and Date Closed
- Click Save & Continue
- Click Test & Continue
- Your email should be sent!
- Click Turn on Zap
Send the information to multiple apps
In addition to sending an email, you can send the data from your Sales base to other apps in Zapier. You can send the information to other bases in Airtable, to a channel in Slack, or Excel or Google Sheets.
Using On2Air and Zapier webhooks for your Airtable data
Using On2Air to capture multiple records from your Airtable bases and a webhook in Zapier allows you to connect to multiple apps. You can create an automation in Airtable, use the Run script action, create a trigger in On2Air, and paste the provided script into the text box. With webhooks, you can send your vital business data to any app.
Integrate with On2Air: Actions Trigger
Once you’ve created a schedule, you can combine it with On2Air: Actions to have more control and customization.
On2Air allows you to connect multiple Airtable bases together to create, update, or delete records.
You can create a trigger in On2Air to update multiple records, which is not possible in Airtable. You can also update a single record, delete a single record, or delete multiple records.
When you incorporate On2Air into your Airtable automations, the possibilities are endless. You can update or search your records and integrate with Zapier.
Final Thoughts
Now, you know how to send Airtable data to Zapier with a webhook! Copy our base for your template, create the automation, add the script, and create a Zap.
For more scheduling options for automations and to connect your automations to other bases or different software, start a free trial of On2Air: Actions. On2Air gives you more control and customization for your Airtable automations. Learn more about automations like adding a checklist of tasks for each new project and how to connect multiple field records together.
Even More Powerful Automations
Automations in Airtable make it easy to complete basic in-app tasks. However, the automations in Airtable have multiple limitations. On2Air: Actions fills the gap to help you connect your Airtable data better.
If you need more automation power and connection to over 2,500 other apps, try On2Air: Actions, an advanced Airtable connector.
Sign up for a free trial of On2Air: Actions today!
Current Limitations in Airtable Automations:
- Unable to integrate with other apps you use
✅ On2Air: Actions integrates with Zapier to connect to over 2,500 other apps
- No bulk record automation - only single records at a time
✅ On2Air: Actions allows you to process multiple records at one time in bulk
- Many field types are not available to use in automations, such as attachments, linked records, lookups, multiple-select, rollups with only values, and collaborator fields with more than one collaborator
✅ On2Air: Actions is able to use every field type available in Airtable
- 1-second limitation on script runs
✅ On2Air: Actions has no script run limitations - scripts allow you to do just about anything in Airtable using JavaScript
- The ‘Send email’ action is branded with Airtable logo and information
✅ On2Air: Actions allows you to integrate with any email provider you choose
- Limitation on the number of automation runs per month - when you hit the limit, your automations will stop working
✅ On2Air: Actions has no limit on the number of runs per month and the number of actions is significantly higher depending on the plan you choose
- Limitation on the number of automations per base
✅ On2Air: Actions allows for a significantly higher number of automations
With On2Air: Actions, you can create automations with more field types, add conditional actions based on previous actions, update multiple records at once, and connect to all your other business software.